For 15 years and all of my canoe tripping life I’ve been renting, borrowing and using the canoes supplied by the various companies whose summer jobs managed to get me an education. With driver’s licence, degree, real job and wife all checked off my list, buying my own canoe seemed the last rite of passage left for this skinny Canadian man. Seasons spent kneeling on blue foamy sleep pads in boats whose only modifications were Kevlar patches inspired fantasies of one day building my Ultimate Tripping Canoe (UTC). I pitched the idea to wilderness river tripper and meticulous boat outfitter Brian Shields and late last fall the project began.
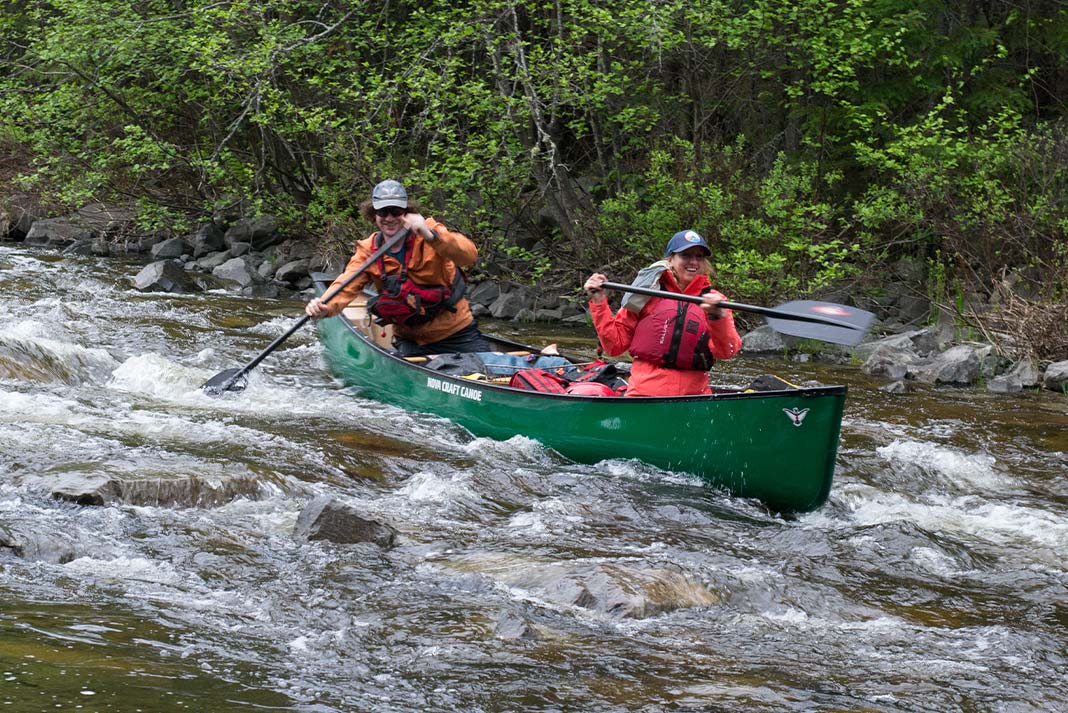
The basis of the ultimate tripping canoe is a good boat. I chose the Esquif Canyon for its generous rocker and depth, which make it both a big-water tripping boat and also one that likes to play the river. The Canyon will be slower and not track as well in flatwater but we were building our ultimate whitewater tripping canoe and were willing to make some sacrifices for river paddling performance.
The DIY guide to outfitting your canoe for whitewater
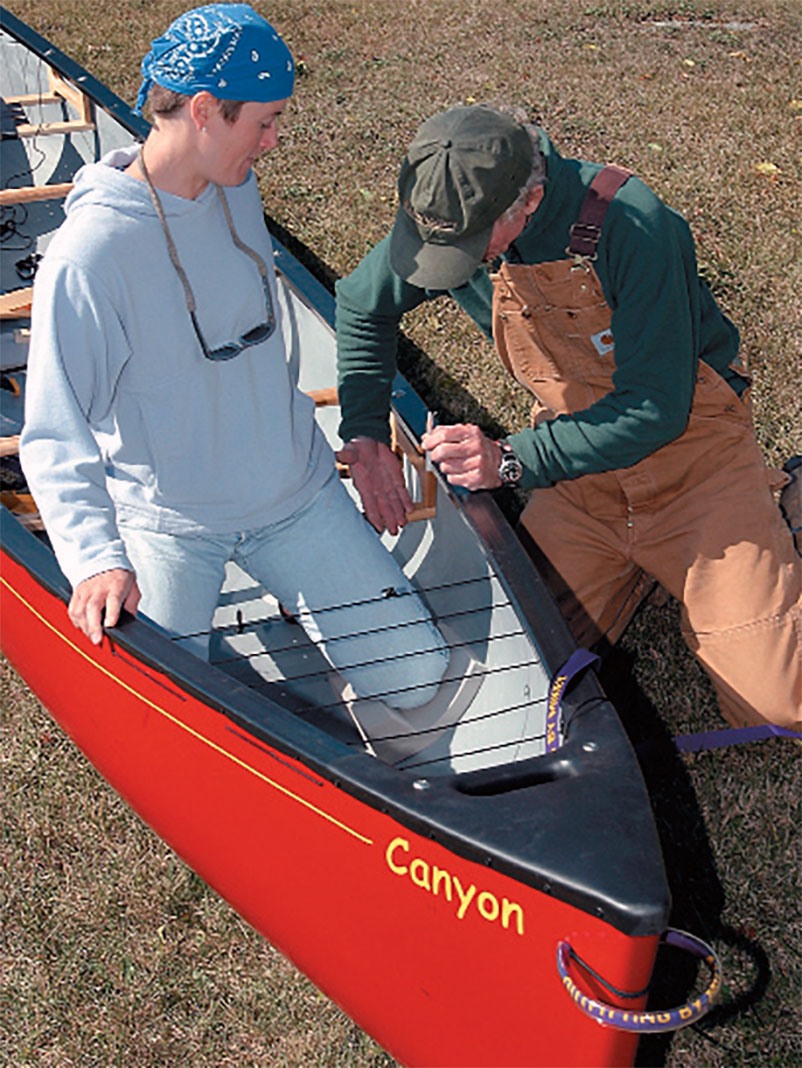
1 Where to start…
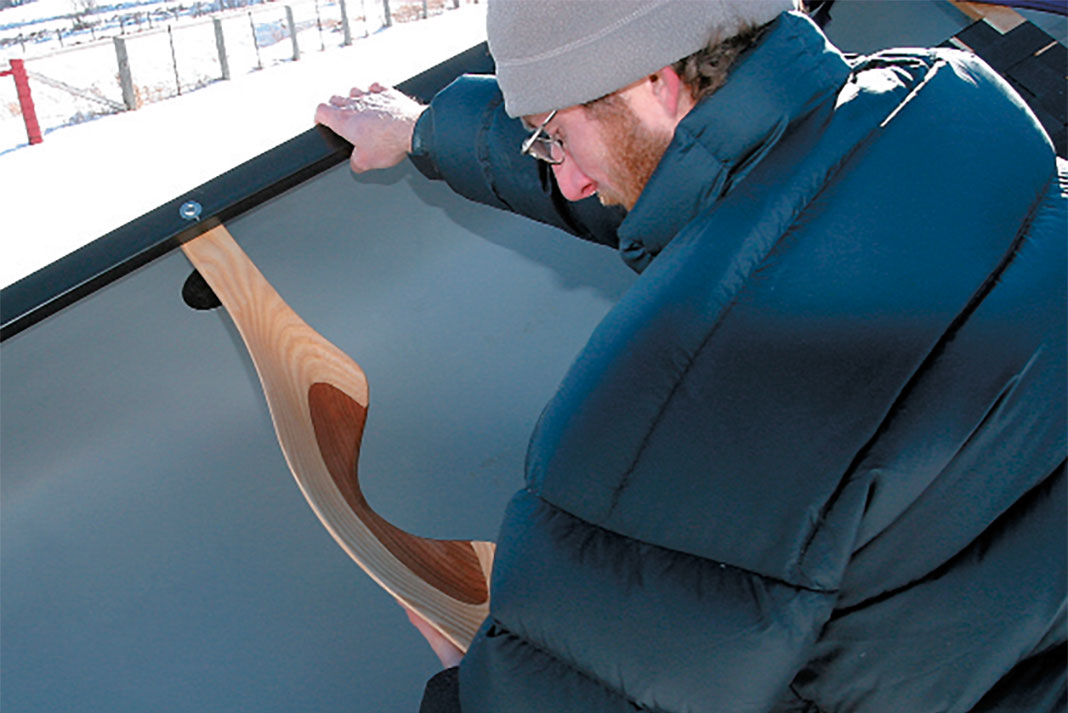
We began at the yoke, replacing the Esquif stock version with a laminated ash and cherry yoke by Madawaska Valley yoke builder SlipStream—an aesthetic touch with the highest benefit-to-cost ratio when it comes to slugging our fully outfitted 77-pound tripping boat.
Tanya and I have fallen into the pleasant agreement that I’ll spend my time in the stern and she will enjoy the freedom and view from the bow. Locating our seats and thwart position to accommodate our typical tripping gear was the next and most important step, and one that affects the rest of the outfitting process. Having legs better for walking in deep snow than sitting comfortably on public transit, I made leg room my top priority. The Canyon comes set in a more aggressive and centred playboat-like seating position so we had to move the stern seat rearward to gain my stretching room and leave space ahead of the seat for camera gear. We know we will have to shift gear forward to weight the bow to compensate and trim the boat.
Adjusting seat height and angle are the easiest and cheapest modifications you can do to improve your paddling comfort. Moving my stern seat naturally raised the seat and increased the tilt due to the rise in the gunwales toward the stern. This was perfect for my larger feet and longer legs. The bow seat we lowered and tilted forward slightly so Tanya could reach a comfortable kneeling position without the nagging ache of a level seat bar eating into her legs. Add too much tilt without thigh straps, however, and you slide forward off the seat. Remember to be kneeling on a kneepad or piece of foam to ensure correct seat height and angle.
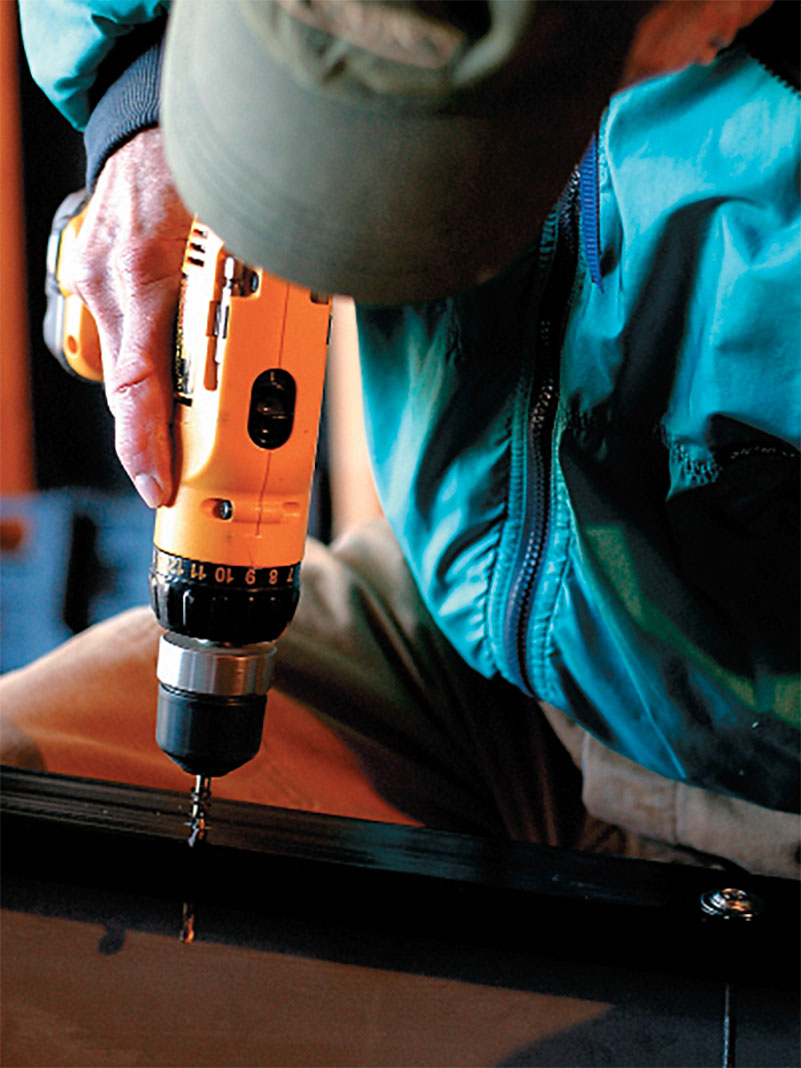
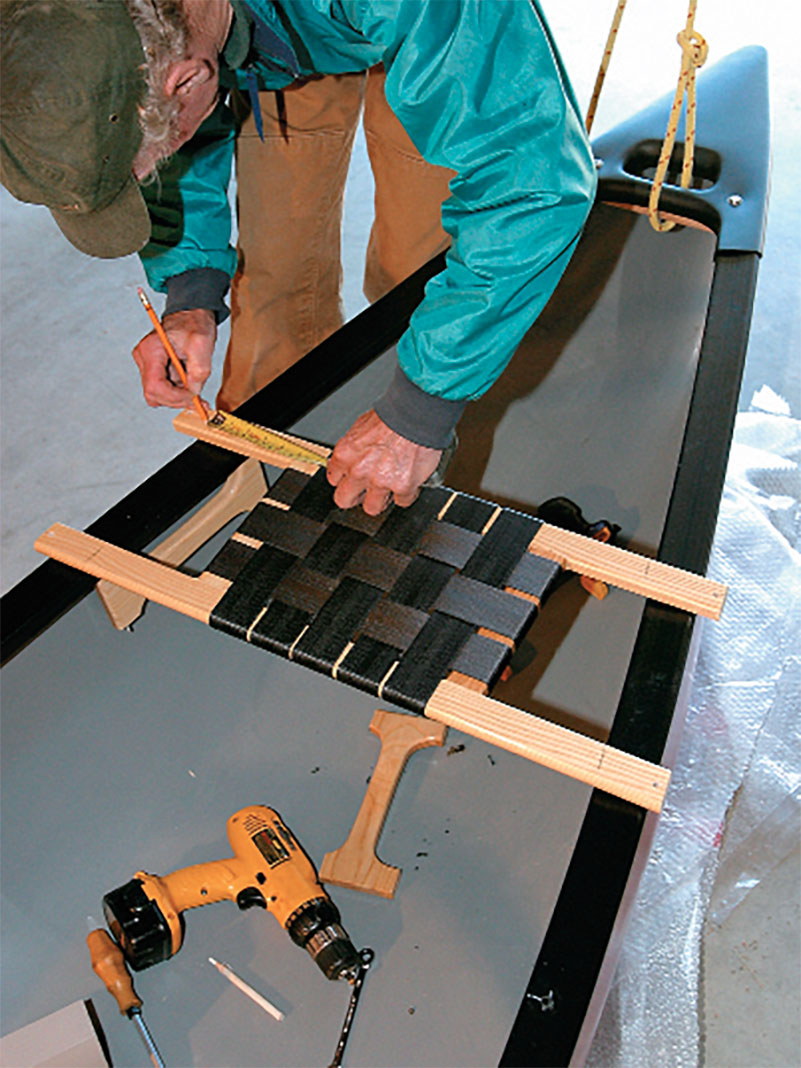
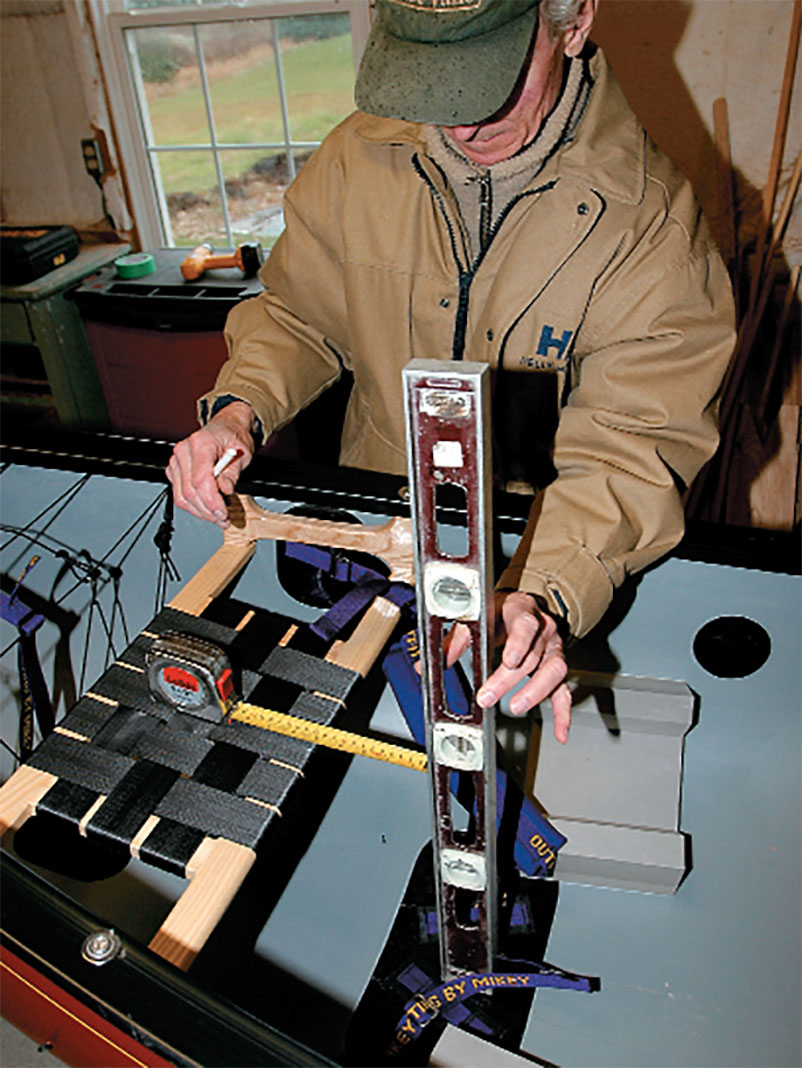
How to adjust yoke & stern seat
Installing the SlipStream yoke, we used the existing yoke as a guide for cutting to length, centring, marking and drilling the bolt holes. To allow two 60-litre barrels to fit snugly side by side yet still load and unload easily, we redrilled the gunwales and moved the rear thwart back to 24.5 inches from the yoke. Don’t inadvertently add flare or tumblehome to your canoe when moving thwarts—trim them to fit or replace them with longer ones.
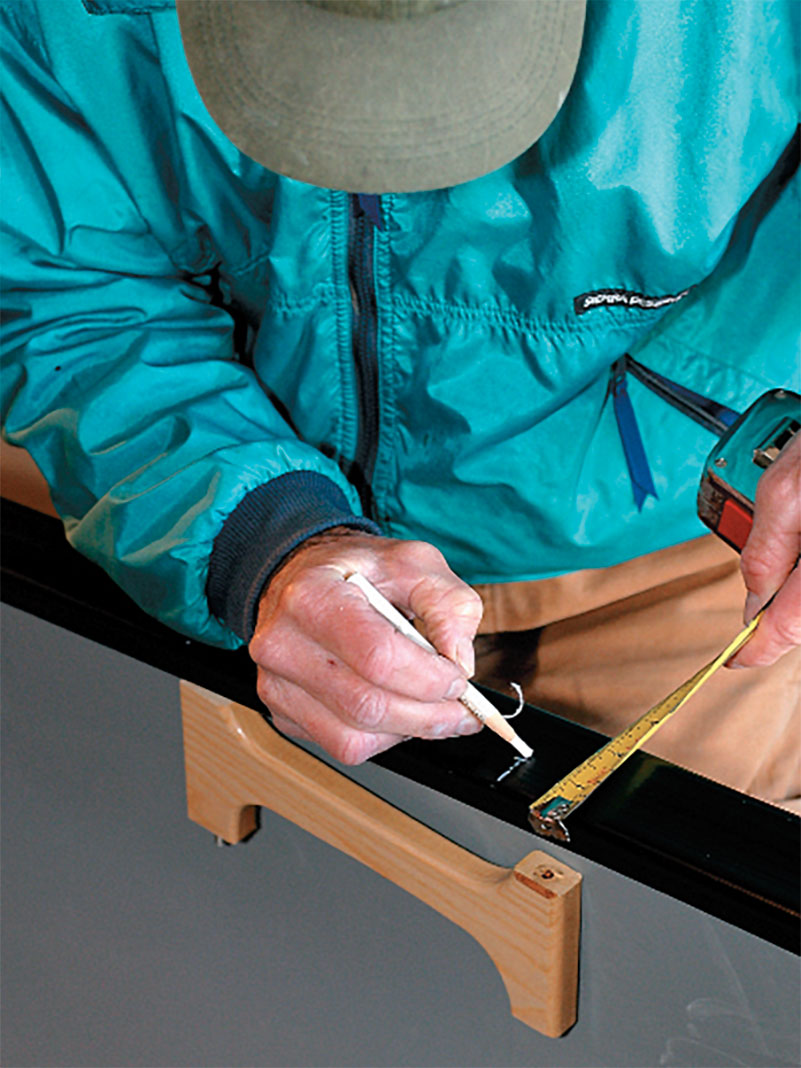
Think carefully about the compromises involved in moving the seats from the balanced standard positions. Balance, dryness, maneuverability and gear carrying capacity will be affected. White grease pencils, found at office supply and craft stores, are ideal for marking—measure twice, drill once.
Vinyl-covered aluminum gunwales can easily be drilled without harm. Typically seat and thwart hardware is 3/16-inch diameter and stainless. Use a 3/16-inch drill bit so bolts fit snugly. Recessed washers tuck bolt heads inside and disperse the pressure on a larger surface area of the gunwale. Underneath use washers and nylon locknuts. Pack a Leatherman tool and a metre of farm fencing wire and you can fix anything on trip.
For legroom and working space we ended up moving the Canyon’s seat back a massive eight inches to a more traditional tripping measurement of 24 inches from stern. The seat had to be carefully narrowed to fit farther back in the tapering stern. Be sure to err on the side of too long when you are making your cuts and then trim and angle the seat bars for a perfect fit. A perfect installation has the seat just clear of the inside of the hull. Simply moving a seat forward or back affects the seat height and angle following the shear or gunwale lines of the canoe. Adjust seat height and angle using longer seat bolts and new seat pillars, or cut and drill wooden spacers for between the seat and pillars. We drilled the holes and loosely bolted the seat in place, tweaking height and angle after we installed the outfitting.
2 Float bags
Perhaps the best insurance policy you can buy for your whitewater canoe is a set of float bags and properly installed bag cages. Float bags come in both nylon and vinyl. Vinyl bags are worth the extra money. They are lighter, easier to work with, especially in the cold, and far more durable. Voyageur 36-inch end bags are the perfect length for tandem tripping boats, tucking just ahead of the bow paddler’s knees and behind the stern seat.
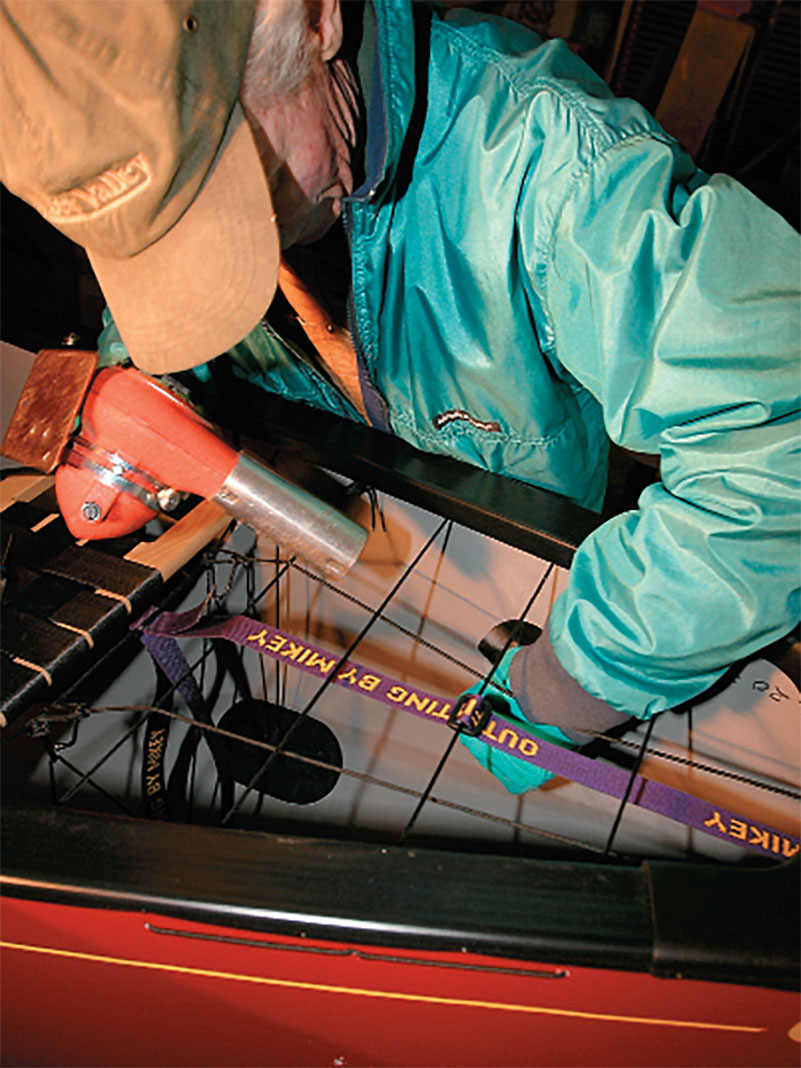
The Mike Yee Outfitting bag cage system is far superior to tying bags into the boat. Although all float bags have sewn tabs, tying bags into your canoe isn’t enough to keep them down. An upright boat full of water floats the bags, focusing all the stress at the sewn tabs. The water will displace the bag above the gunwales, rather than the bag displacing the water in the hull.
As we installed the stern bag cage, we realized the combination of moving the seat back and me having long legs meant that my feet were going to interfere with the anchors. This was aggravating, and dangerous if my river shoes caught when I needed out of the boat. We simply moved the anchors back, shortening the cage area by a couple of inches.
By necessity, the copious leg room usually enjoyed by the bow paddler gets filled by the face of the bow cage; however, we were sure to lay out our kneepads and eye things up before we drilled the cage holes to set their location. We wanted to ensure there was still enough space in front of the bow seat for Tanya to sit up and stretch a little.
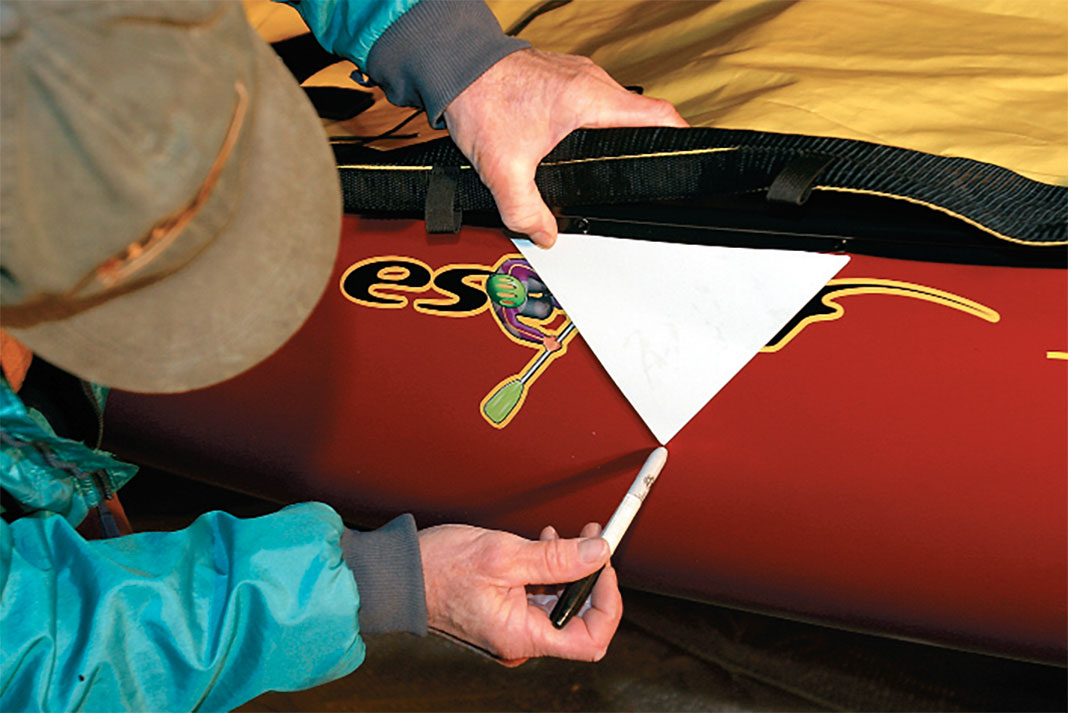
How to install float bags
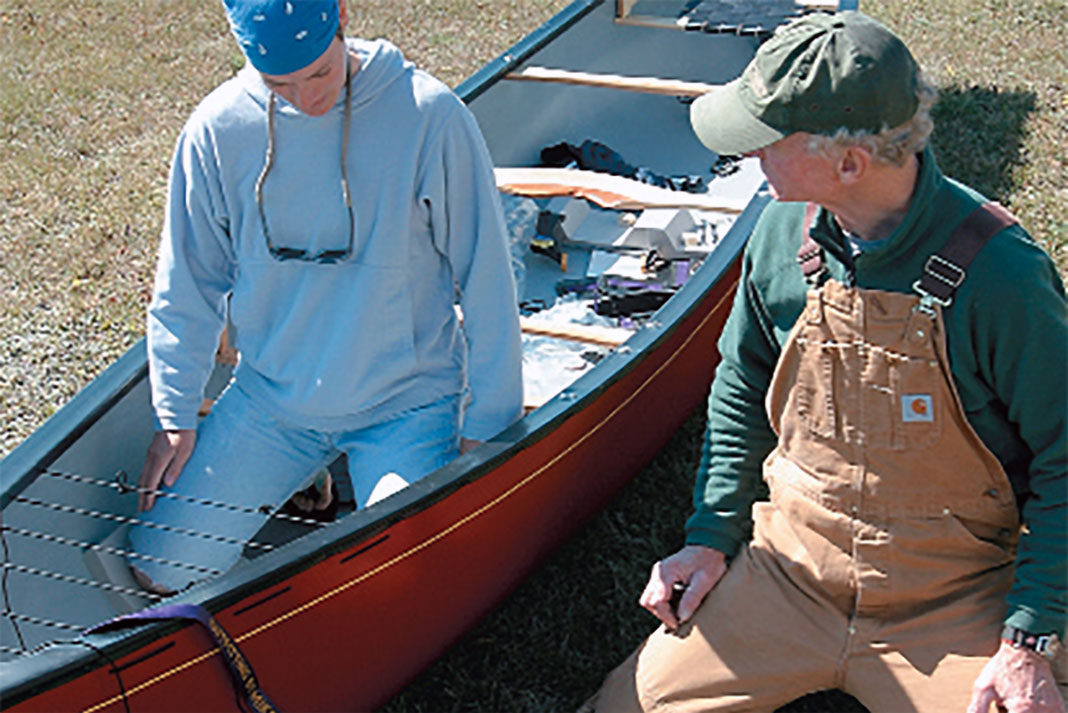
Use a paper, cardboard or plastic jig to mark the float bag cage holes so they are aligned with the holes on the other side of the boat. Mark the 3/16-inch holes every four inches starting at the end of the deck plates and continuing for as far as you want the bags to extend. Drilling holes in a new hull feels wrong, but the holes will be filled when laced with nylon cord. Be gentle with the drill, even the dullest of drill bits can tear through Royalex with ease.
To install a bow or stern grab loop and another anchor point for the cages, drill a larger 7/16-inch hole. We checked first to ensure the holes wouldn’t interfere with the spray deck we will install later. Tie a single loop of 3mm nylon cord through the holes with the ends inside the boat. Pick up some 5/8-inch OC clear vinyl tubing and a metre of webbing at a hardware store. Force the webbing through the tube, into the holes and tie it on the inside of the canoe for a cheap, comfortable and easy-to-use handle.
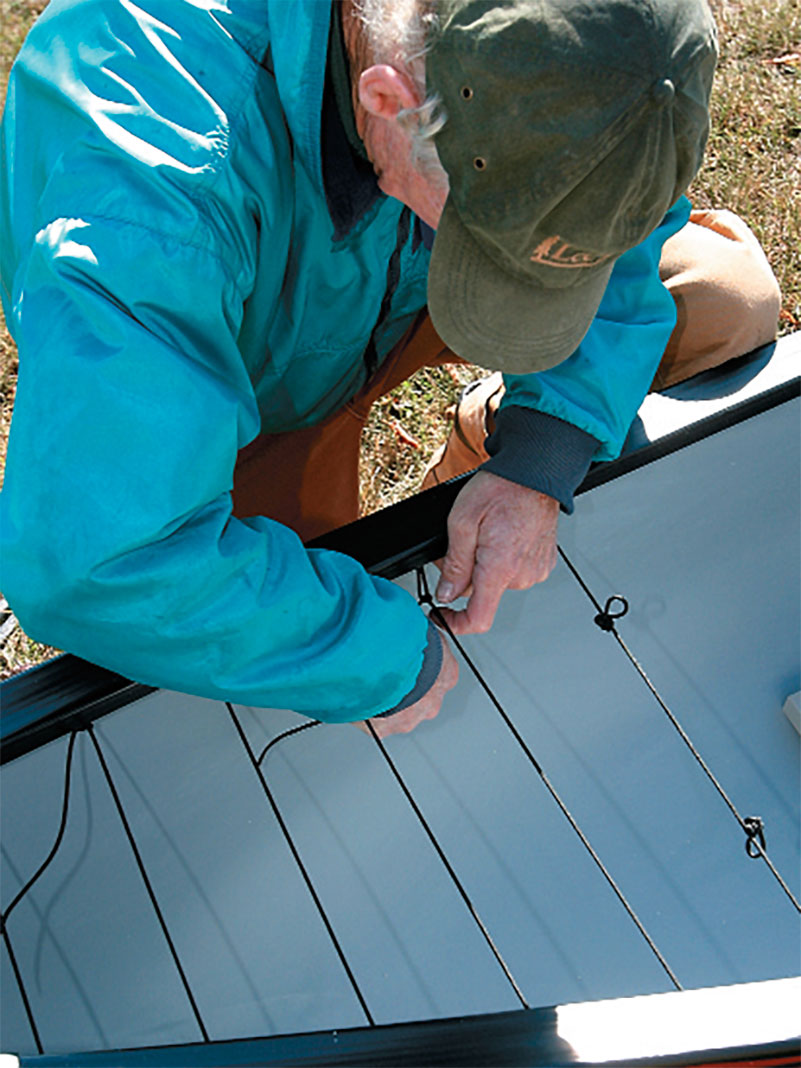
Weave the nylon cord through the 3/16-inch holes starting from the bow or stern. On the last crossing on the inside of the hull tie a loop as a stopper using a figure eight on a bight. Then tension the cord backward through all the holes until you’re back at the first end. Thread the first end back through one of the holes and tie it off with a few half hitches on the inside of the boat. Go back to the last crossing and tie three additional evenly spaced figure-eight loops. Tension this end, threading it back through one hole to tie it off on the inside of the hull with half hitches. The result is a snug cage in which the last strand has two evenly spaced loops in the middle and two stopper knots against sides of the boat so they can’t slide off centre.
Without the deck plates on this playboat you can see how the webbing grab lop and single loop of nylon cord are attache.d The nylon cord loop is the anchor for a piece of webbing running down the centre of the bag cage. The two nylon cords run from the grab loop holes to the figure-eight loops, underneath the nylon cords that go across the canoe to form a grid with gaps small enough to keep the bag from rising and escaping under water pressure.
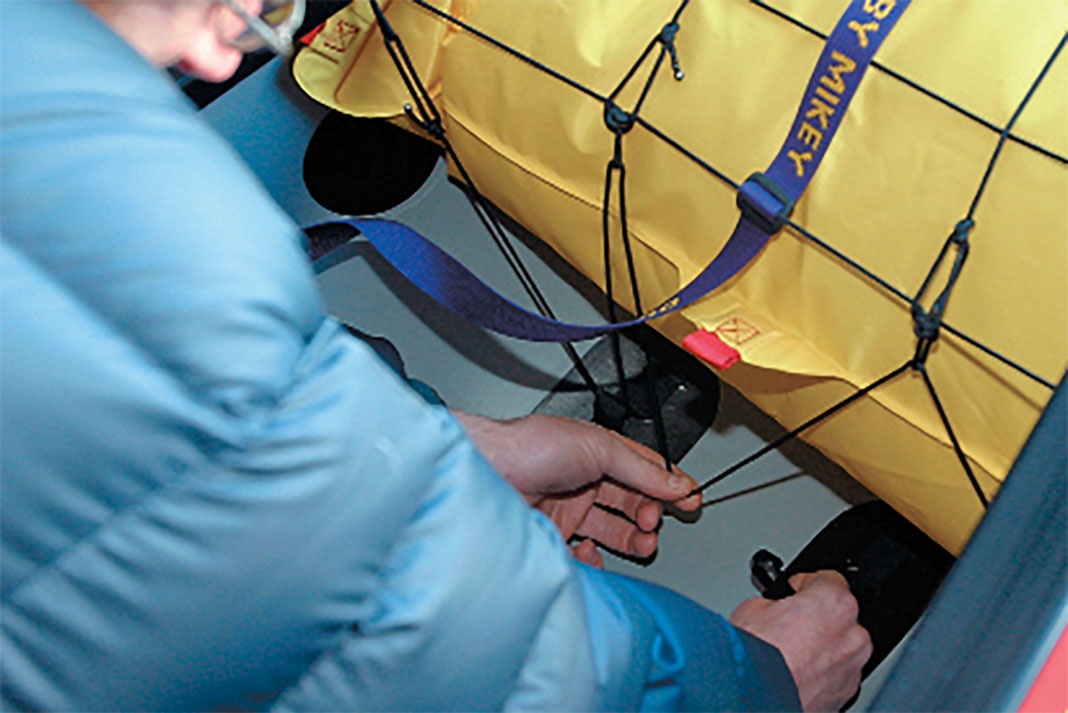
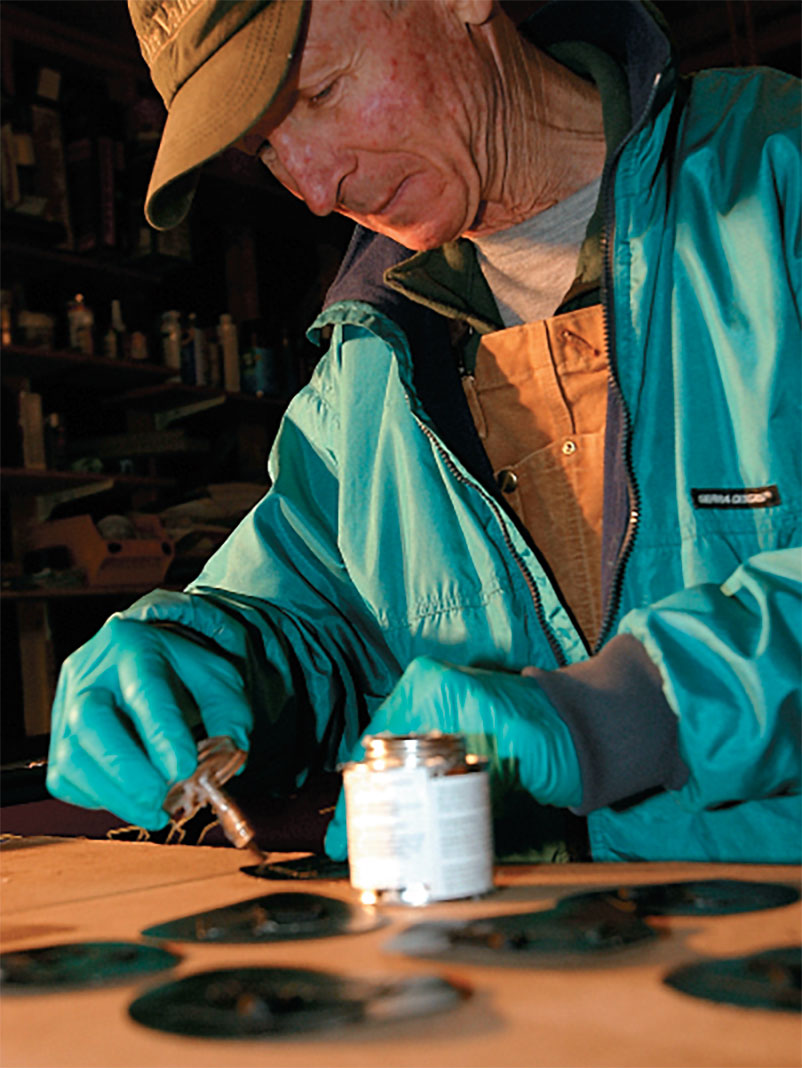
Directly below the line below the figure-eight knots, place three evenly spaced vinyl patch anchors. Mark the outlines of the patches with a grease pencil and glue them in place. Let the glue dry for 24 hours, then thread the cord through the figure-eight knots and anchors in a “W” pattern at the end of the cage. Using a centre anchor with a clip allows you to easily unclip the cord and webbing to access the float bag area.
3 Comfort and security
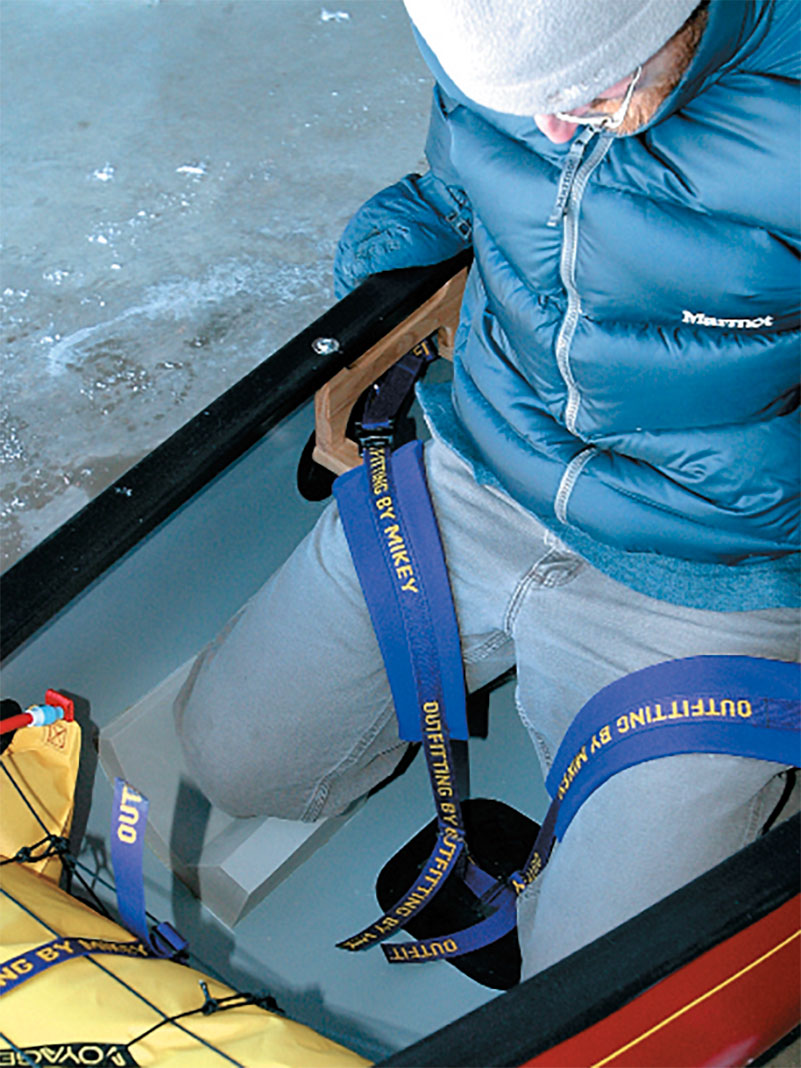
Thin pieces of blue foam offer some comfort to the knees, but proper outfitting has so much more to offer. Contoured knee pads and thigh straps stop your knees and butt from sliding around and connect you to the boat. Coming from a tripping and playboating background, we wanted the comfort and security of quality, well-placed kneepads and outfitting in our ultimate tripping boat. If the bow and stern positions will be shared, the kneepads have to be located to fit both short and tall paddlers. A tip from Brian was to be sure to space the kneepads far enough apart that you can drag a bailer between them. We also wanted this gap between the kneepads for stepping in and out of the boat.
We anchored our thigh straps on the sidewall of the boat, centred between the seat supports. Some canoe tripping outfitting loops around the seat pillar or around the seat itself but the ultra-fine stainless steel bolts used as seat hangers are not suited for the lateral forces exerted by the thigh straps. The bolts bend, work loose and can break under your body weight if the canoe happens to ram and stop on a rock. Having the anchor between the seat support brings the thigh straps into an aggressive, secure position.
How to install kneepads & thigh straps
Position the kneepads widely enough for differential balance of the canoe with pressure on either knee. Get comfortable, you shouldn’t be stretching to reach the kneepads. When you’re sure of their placement, mark the position. Now, run around the yard and get back in to ensure it feels natural. Then, glue them in using contact cement.
With the kneepads held in the correct position, we lowered the seat and tilted it forward slightly so that Tanya’s shorter legs could reach a comfortable kneeling position. Esquif’s solid, one-piece seat hangers allowed us to cut wooden spacers to lower the seat. You might need to buy longer seat bolts. Adjusting seat height and angle are the easiest and cheapest modifications you can do to improve your paddling comfort.
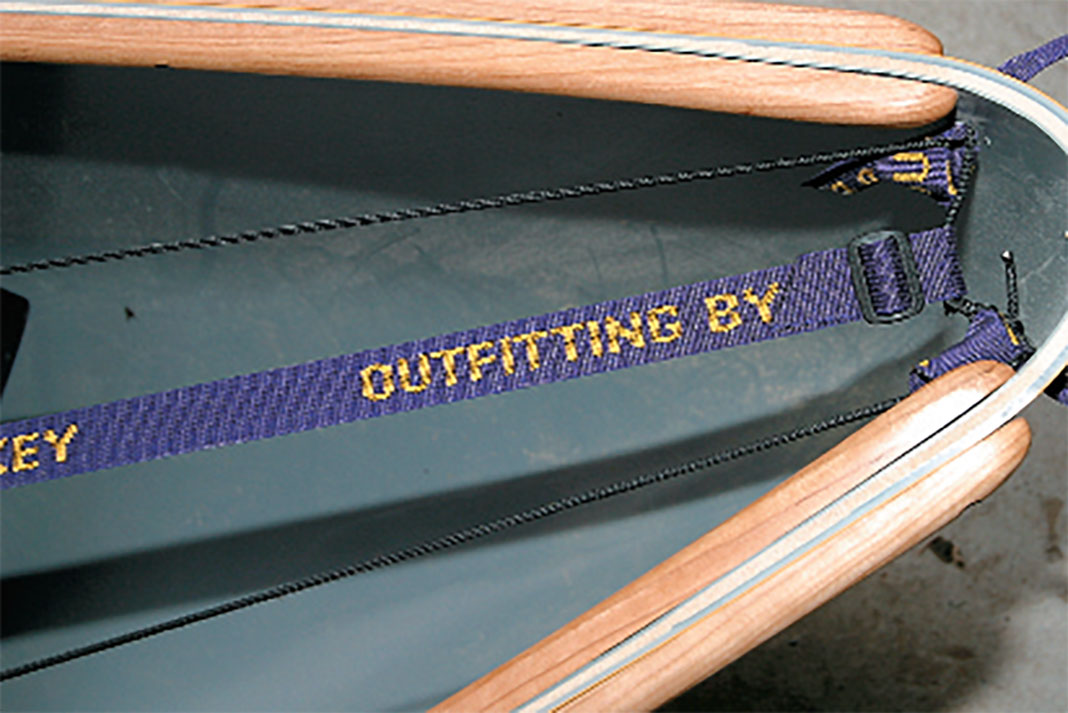
Both bow and stern anchors for the Mike Yee Outfitting thigh straps are centred in the boat five inches forward of the seat bar. Find the centre of the boat with the centre of the seat webbing and use a level to measure up from where the anchor loops leave the floor. Locate the wall anchors centred between the seat supports, with the tops near the gunwales. Mark outlines, location slashes and orientation arrows for the anchors on the hull so you know their placement and which way is forward.
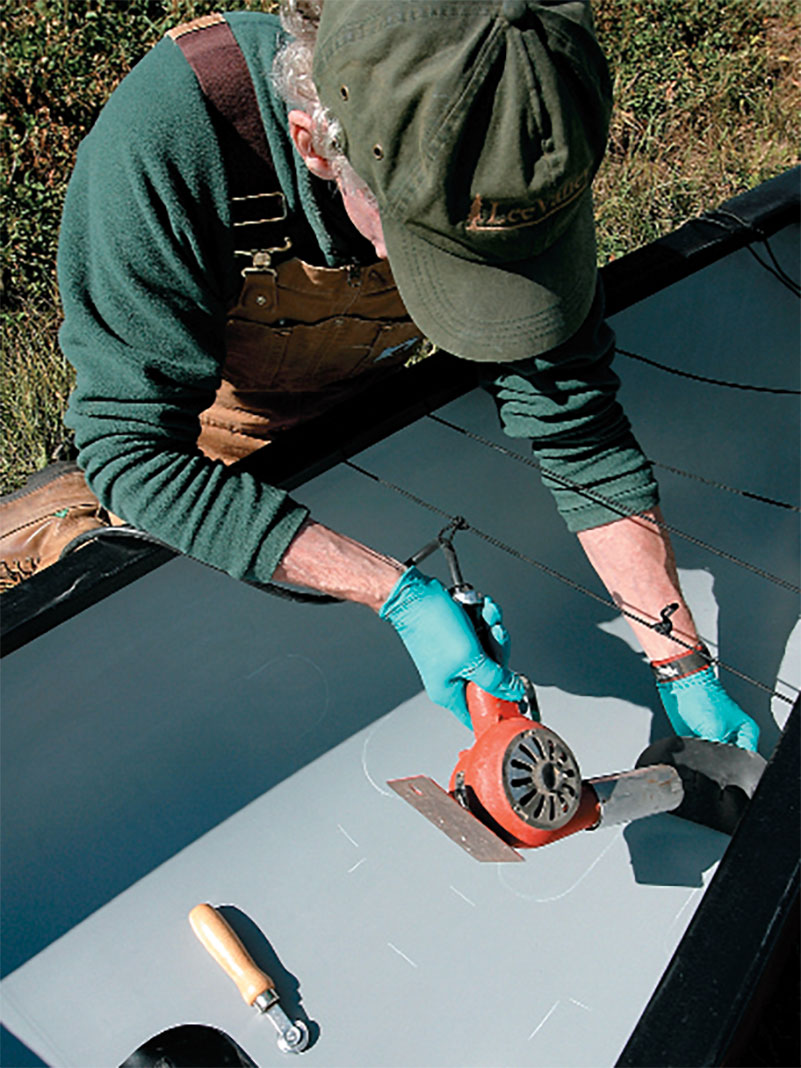
The secret to installing secure vinyl anchors is to keep everything clean. Wipe the hull and anchors sparingly with acetone. Wearing gloves, apply vinyl glue to both surfaces; be sure to go right to the edges. Let dry 15-20 minutes. Reactivate the glue with a heat gun, align and stick. Roll out with lots of pressure using a screen door roller tool.
Be sure to let it dry for 24 hours before you thread your thigh straps and haul on the anchors.
Although some paddlers may say we’ve gone overboard on the outfitting for wilderness river trips, the sporty Canyon with fully rigged outfitting bridges the gap to tandem playboat.
But, we didn’t stop there.
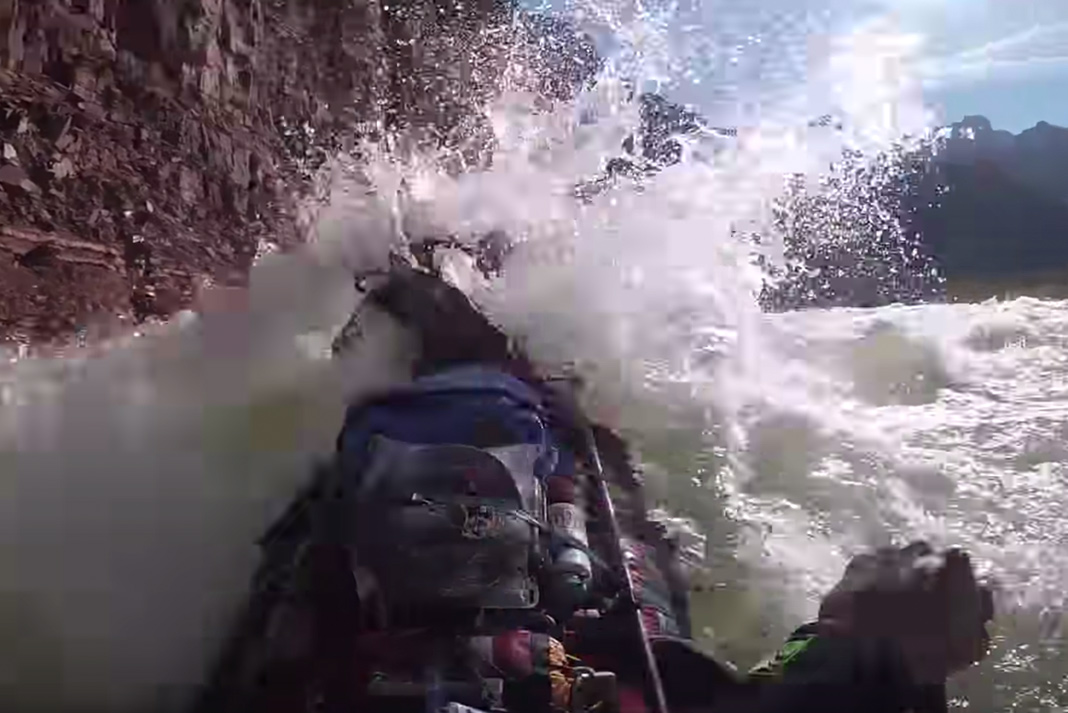
4 Getting northern-river ready
With dreams of traveling north to explore the massive rivers draining the Hudson Bay watershed—the Harricanaw, Rupert and Moose—I placed a call to Morgan Goldie at North Water to order our Expedition Spray Deck. I found myself in the garage with a tape measure and the cordless phone.
I hadn’t thought about it, but all canoe covers are custom-made. Any modification from the canoe builder’s specs affects the cut of the deck. I had moved my stern seat eight inches back, so North Water had to cut my cockpit opening to line up with my seat—it’s imperative to have your seats set before you order your deck.
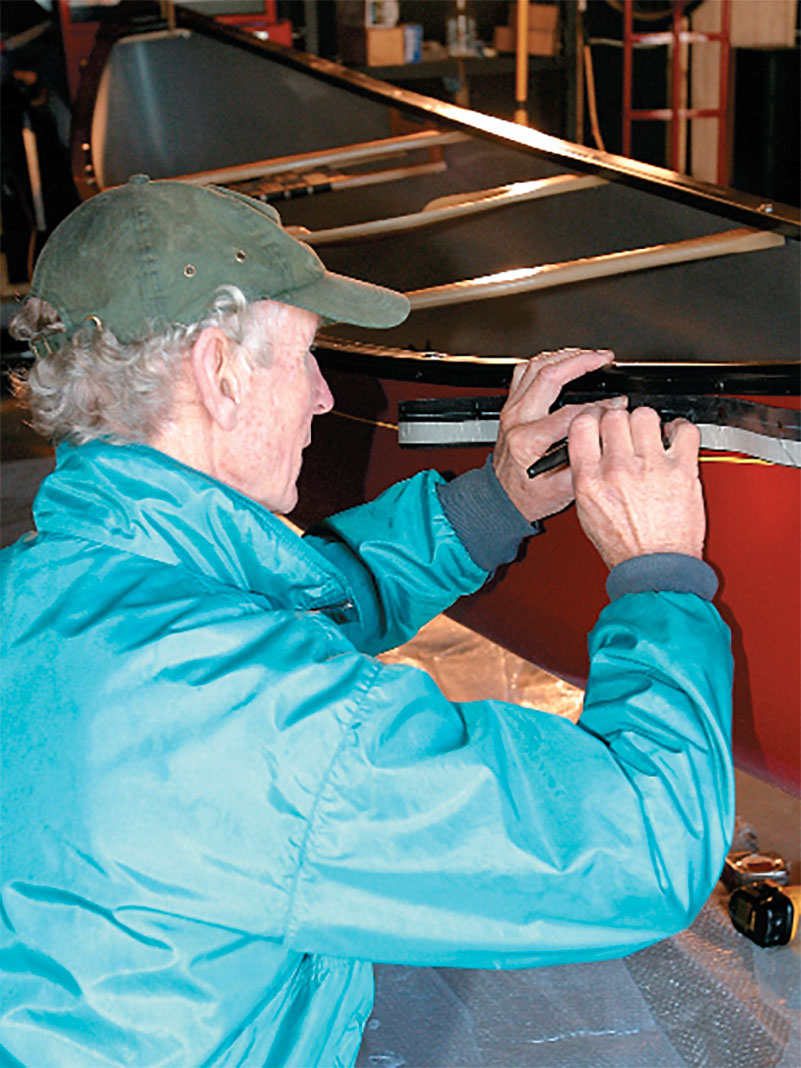
How to install a spray deck
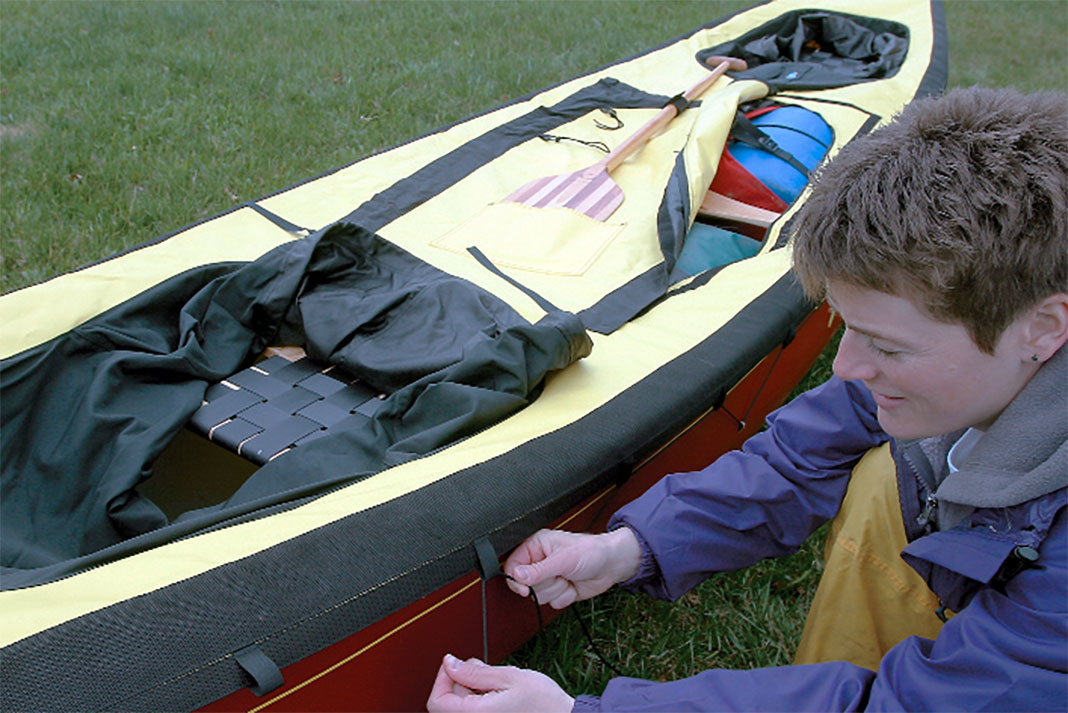
The first step to installing the North Water Expedition Spray Deck is laying it out and using the included jig to mark where you will drill the 12 anchor holes down each side of the canoe. Yes, holes! Some canoe spray covers are attached with Velcro or clasps, and some lash to a strip of webbing riveted from bow to stern. The North Water laces in place with nylon cord weaved through tabs on the deck and tiny loops poking out of the holes. Confused? Read on.
Once we drilled the 3/16-inch holes, we poked the loops through and traced the vinyl patches on the inside of the hull. Apply the supplied vinyl adhesive to both the patch and the hull. The secret is to let it dry, reactivate it with a heat gun and then carefully stick it in place.
Working around our existing bag cages and outfitting was a little awkward but doable. Before beginning the project, we checked that the North Water was compatible with our Mike Yee outfitting. The grab loops and outfitting anchors don’t interfere with the spray cover. Setting the deck anchors in place is a one-shot deal. We installed the first few patches in places hidden by the deck plates or float bags in case they weren’t too pretty. Be sure to rub firmly (especially the edges) with a blunt object such as a screwdriver handle or ideally a screen door roller tool to secure the bond.
See why the North Water system is so clever? The drilled holes are filled with nylon loops and patched on the inside. No sharp edges. The boat is completely watertight. And you only see little black dots on the outside of the hull. The deck laces in place using nylon cord and secures around the bow and stern with webbing and ladderlock buckles. The Expedition Spray Deck covers most of the deck plates, so North Water has sewn on Velcro loops for painter storage. The deck comes with one paddle pocket and we added tabs to hold a map case. The large cargo access option is key for easy access to barrels and packs.
5 Getting ramming-speed ready
There is no doubt in my mind that Captain Kirk had a quality set of Voyageur skid plates protecting the bow and stern of the Enterprise. Low-water weekend trips grinding down the Petawawa, Dumoine, Coulonge and Madawaska take their toll, even on ABS boats. And “ramming speed” is the ABS canoeist’s answer to shallow sections and keeping feet dry at portages. When you wear the skid plates out, simply grind them down and slap on another set. Remember this isn’t a cedar dock decoration. This is our whitewater UTC.
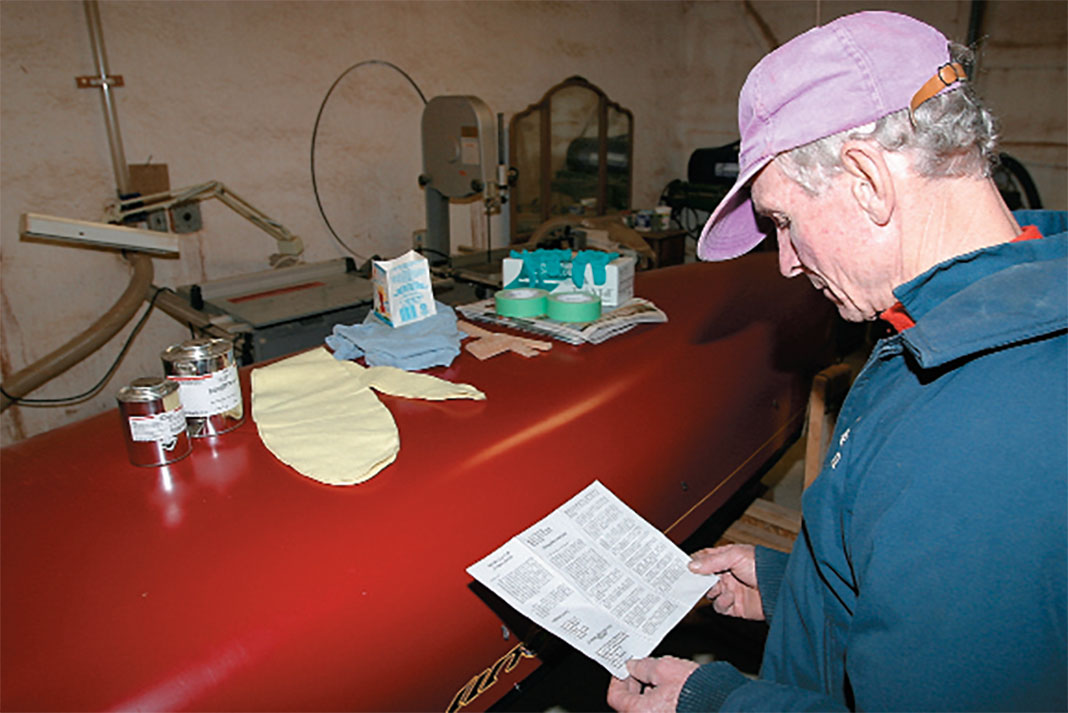
How to install a skid plate
Step one: Collect and organize all necessary items. The Voyageur skid plate kit comes with almost everything you’ll need: Kevlar felts; resins; sandpaper and sanding blocks; gloves and (yes, we read them) instructions. You’ll need to round up a mixing container, masking tape, stir sticks and a disposable surface for apply the resin to the felts.
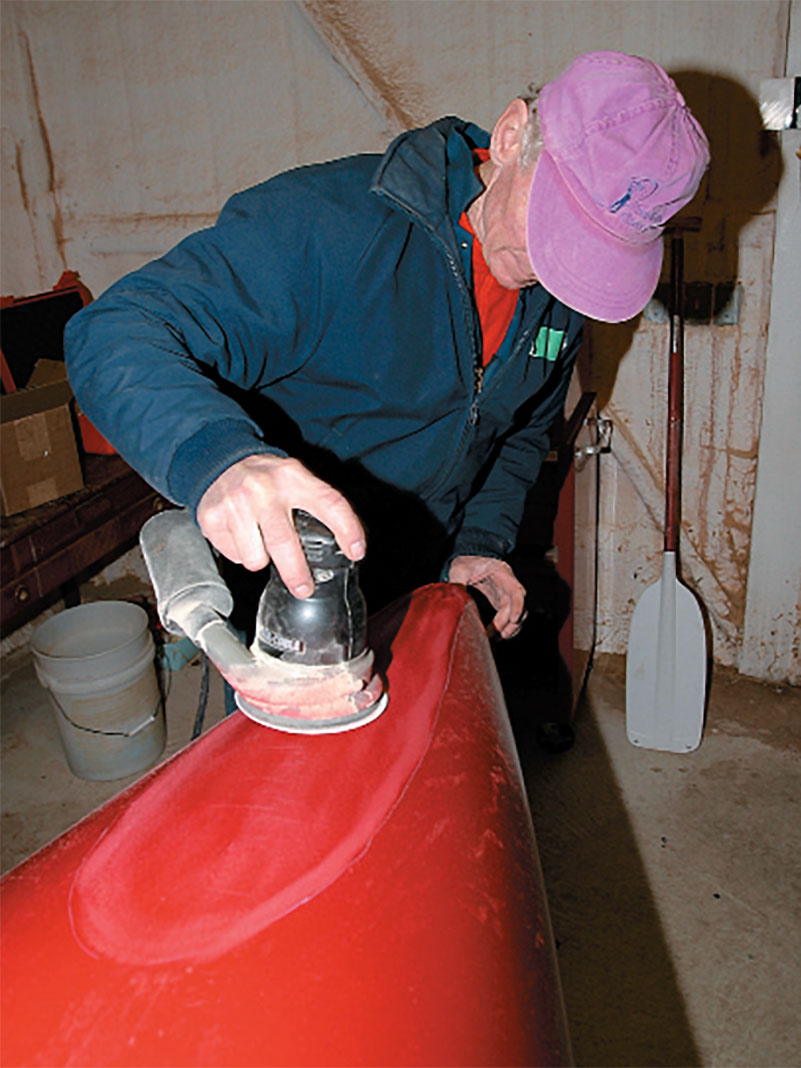
Whether you’re building your UTC from scratch or souping up your existing boat, you’ll need to roughen up (or maybe smooth out) the Royalex. Trace the felts and sand a half-inch or so past your outline—we found the patches tend to expand when wet with resin. Use the included sandpaper or speed up the process with power tools. CAUTION: sand gingerly, just roughing up the surface, not removing it. Brian took over the sanding.
Not only did Brian mask out the area. He created a rain gutter border to channel any excess resin. He masked an inch outside of where we expected the skid plates to be and then painted the entire area with resin for a clean-looking finish.
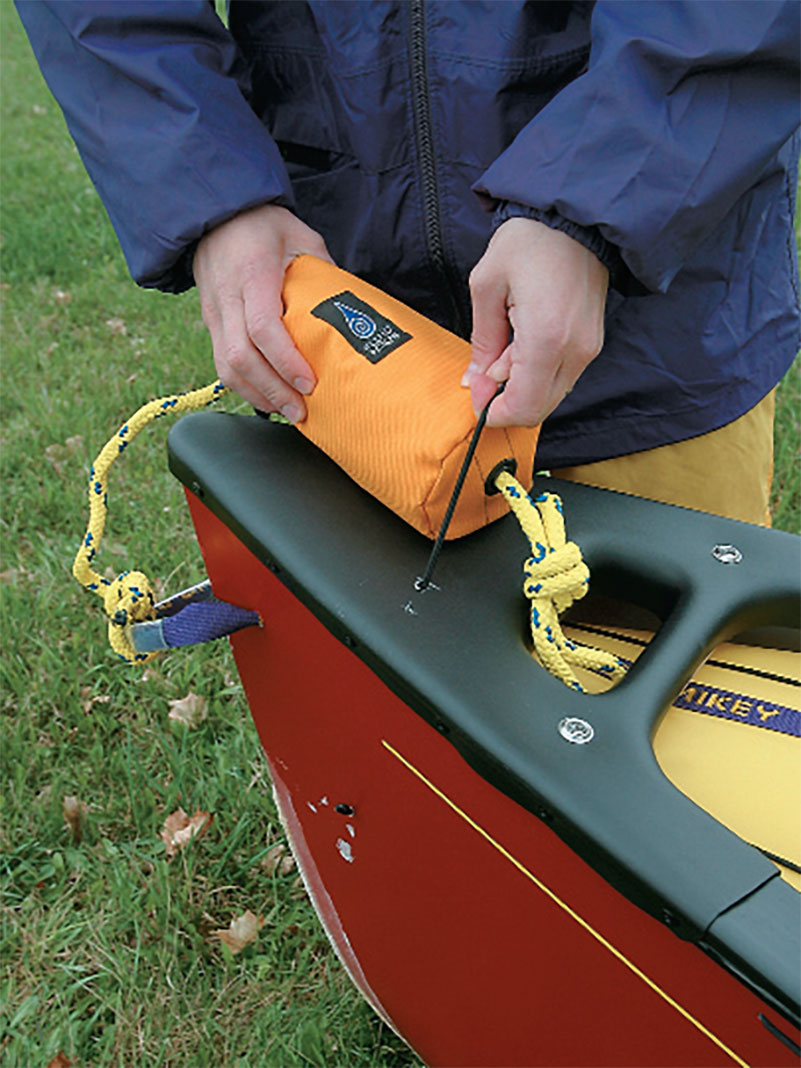
Ropes on your canoe need to be accessible when needed and otherwise out of the way. Brian’s bungee cord on the deck is cheap, easy to install and works like a charm. The secret is to ensure it is perpendicular to the boat. The Fluid Designs painter bags hide the standard 30 feet of bow and stern rope and are easily re-rigged for self-rescue or lining.
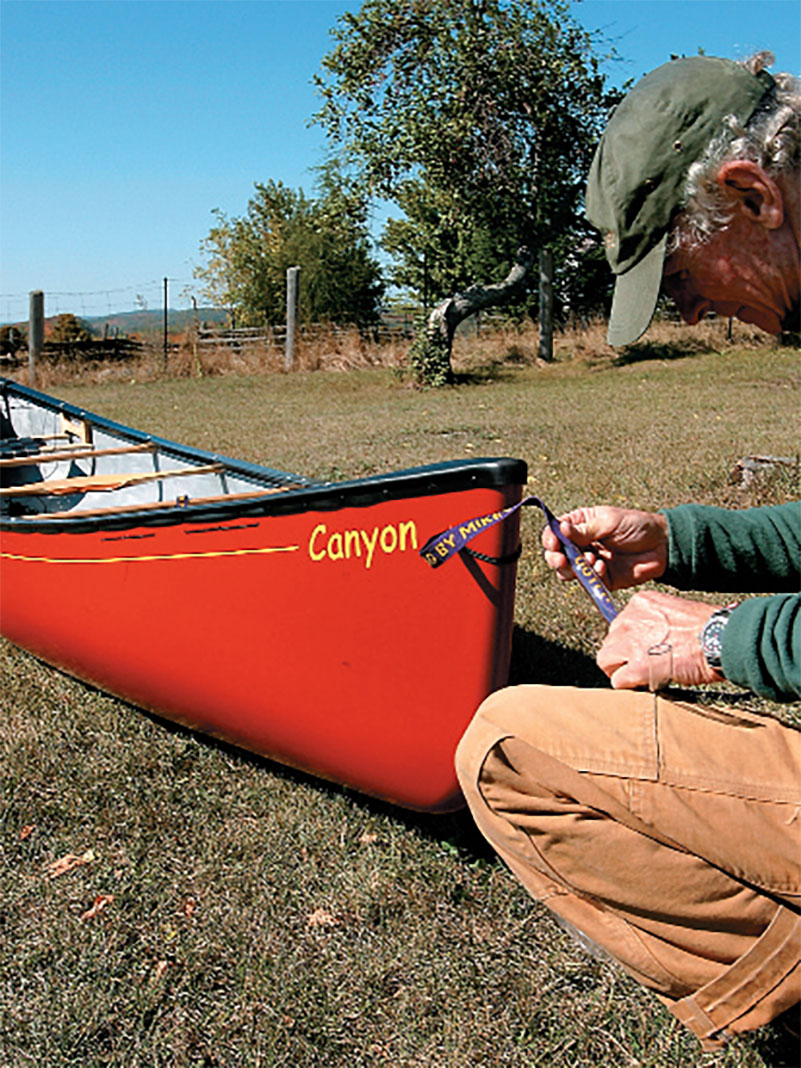
6 Finishing touches
“You’ll thank me later,” Brian said as his Black and Decker augered holes in the Canyon’s plastic deck plates. I’d sourced a pair of Fluid Designs’ nacho-coloured Painter Bags. These babies are the bomb for keeping your ropes from looking like bowls of spaghetti. They come with 30 feet of floating 3/8-inch rope stuffed inside. Through his new holes, Brian tied short pieces of 1/8-inch bungie cord and snapped my painter bags in place on the decks—very clever. With age comes wisdom.
How to install a deck bungee
Too cheap to smash the celebratory bottle of Blue Nun on her bow, we slid our UTC quietly into the river—no marching band or confetti. Feeling like we’d just walked into a honky tonk in graduation tuxes we ferried our fully rigged and decked northern river tripper into the crowded eddy of Class II weekend canoeists. My whitewater adolescence paddling in beat-to-a-pulp rental canoes is over.
This two-part article was first published in the Early Summer 2003 and Summer 2003 issues of Rapid Magazine. It was republished in part in the Spring 2008 issue of Canoeroots Magazine. Subscribe to Paddling Magazine’s print and digital editions, or browse the archives.

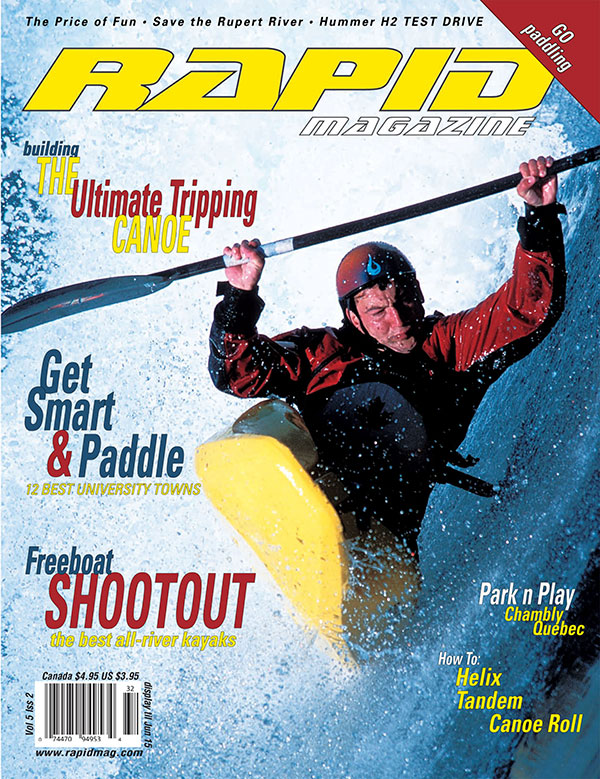
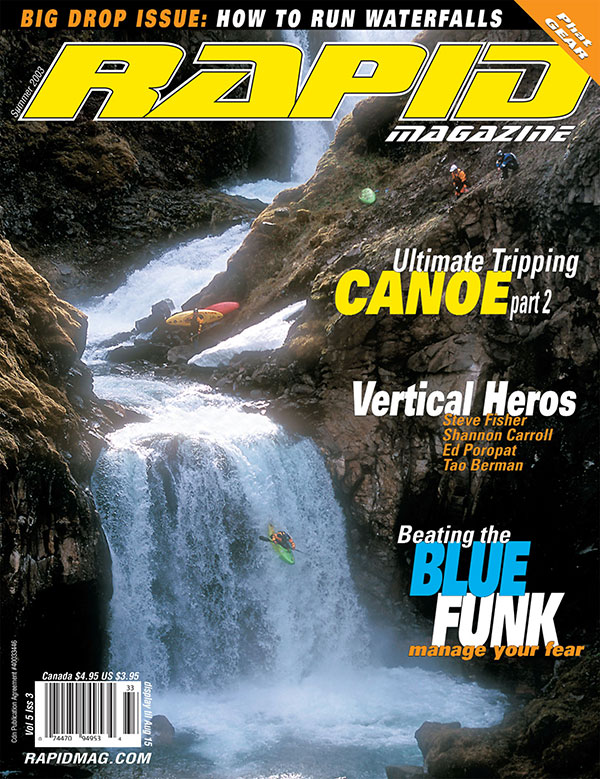 This two-part article was first published in the Early Summer 2003 and Summer 2003 issues of Rapid Magazine. It was republished in part in the Spring 2008 issue of Canoeroots Magazine.


