Home Blog Page 412

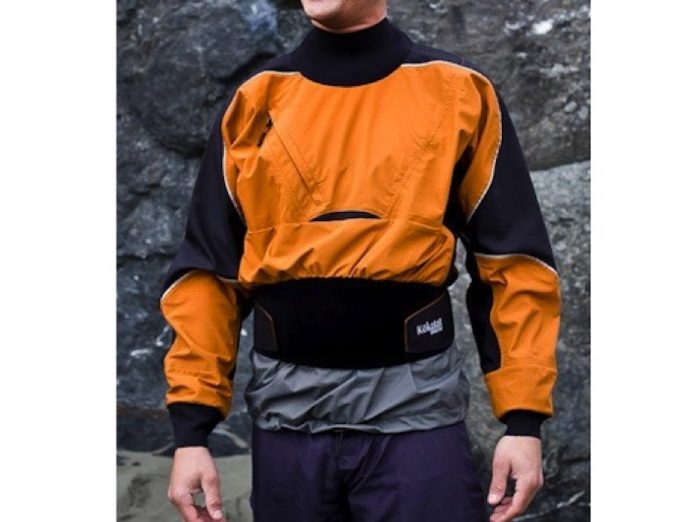
Kokatat Rogue Review

Photo: Courtesy Kokatat
Dry Top Review

The lightest of the tops we’ve tested, Kokatat’s high-performance expedition top offers an ideal mix of protection where you need it with breathability where you want it. High wear areas like the shoulders, elbows and fore­arms are Cordura-reinforced, while the side panels are made of ultra-breathable Gore-Tex XCR. Attention to details like a key lanyard in the self-draining chest pocket and a taste­ful reflective logo make this one classy jacket.

High Sign: Unsur­passed fit that feels tough without any unwanted bulk.

Low Sign: No imported beer for an entire season to afford this one.


$425 | www.kokatat.com 


This review originally appeared in Rapid, Early Summer 2012. Download our free iPad/iPhone/iPod Touch App or Android App or read the rest here.

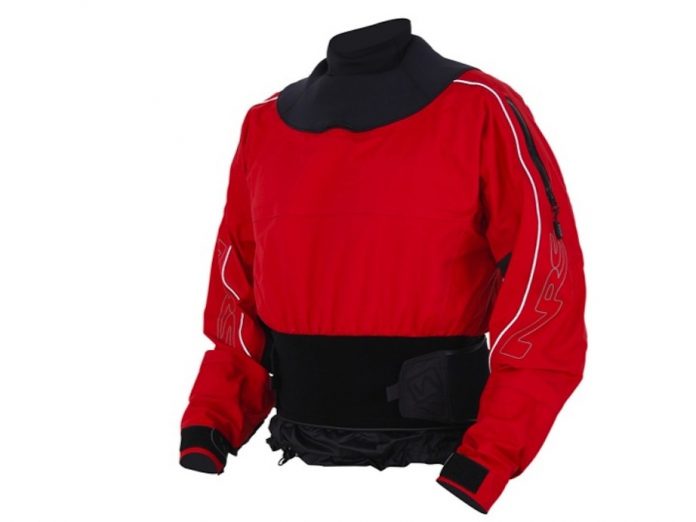
NRS Revolution Review

Photo: Courtesy NRS
Dry Top Review

As soon as we got our hands on this dry top, we knew it was expedition-grade. The hefty 400-denier body and Cordura elbow patches provide protection from creek beds, canyon walls and over­growth on portages. Redesigned for 2012, the Revolution is equipped with a standard neoprene collar and a Velcro, neoprene and nylon tunnel. Not so standard are the liquid-sealed seams. Rather than just using seam tape to seal the jacket, NRS has applied liquid rubber sealant to the seams and gaskets for extra leak-proof insurance.

High Sign: So heavy duty you may never wear it out.

Low Sign: Heavyweight protection means, well, heavy weight. 

$330 | www.nrs.com 

This review originally appeared in Rapid, Early Summer 2012. Download our free iPad/iPhone/iPod Touch App or Android App or read the rest here.

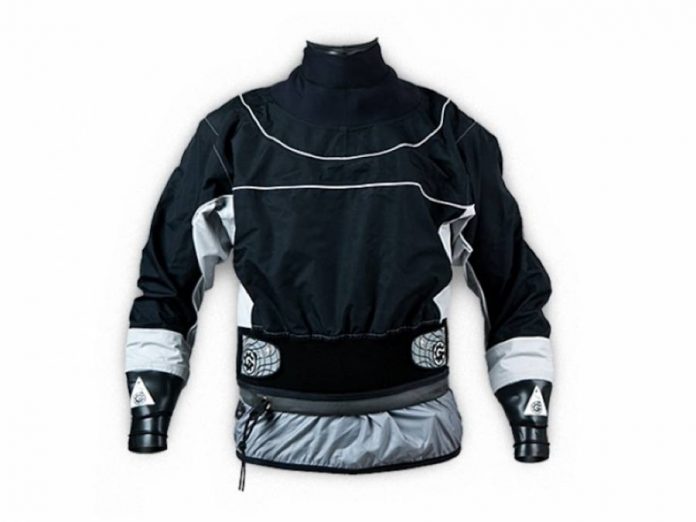
Bomber Gear Bomb Long Sleeve Review

Photo: Courtesy Bomber Gear
Dry Top

Bomber Gear splashes back onto the whitewater scene with a new line of dry gear including this flagship dry top. We found the Bomb’s highly water resistant, Sub-screen treated neoprene cuffs protected the wrist gaskets and improved fit, helping the sleeves stay put on our wrists. The sticky neoprene outer tunnel did a great job saving us from the crop top effect of bracing and rolling. The inner liner is a light and silky Tricot waterproof-breathable nylon that doesn’t bunch or chafe against bare skin. 

High Sign: Bomber Gear’s gaskets aren’t glued; they’re chemically fused for longer-lasting protection.

Low Sign: No elbow or forearm reinforcement may lead to premature wear.

$390 | www.bombergear.com


This review originally appeared in Rapid, Early Summer 2012. Download our free iPad/iPhone/iPod Touch App or Android App or read it here.


Video: Nepal Kayak Adventure

[iframe width=”560″ height=”315″ src=”//www.youtube.com/embed/AKQ-jpej-10?list=UUsWXWGpi5ae_XihtNJUlCDg” frameborder=”0″ allowfullscreen ]

Join Ben Brown on a month long expedition to the Democratic Republic of Nepal to explore the high volume whitewater rivers of the Himalayas. Shot 100% on the GoPro Hero3+.

Thanks to Ultimate Rivers Nepal: www.ultimaterivers.com.np

Music Track: Kåm∆nd¡ – Wolf.Lord(Ookami)

From Ben Brown.

6 Steps For Building A DIY Backcountry Sauna

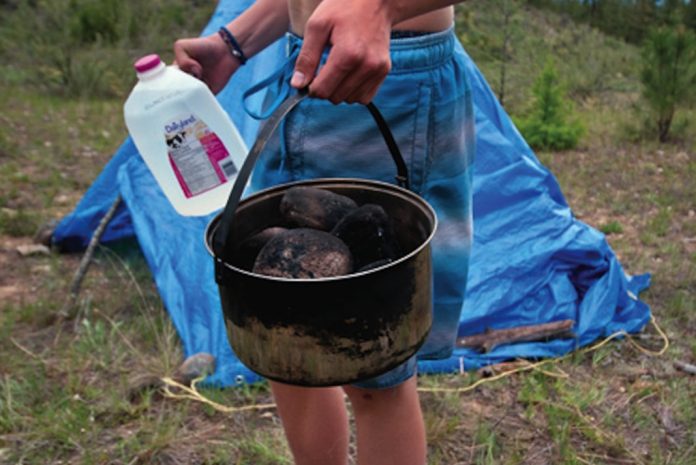
Person holding a jug of water and pot with blue tarp in background
True "glamping." | Photo by: Dave Quinn

The sauna (sow-na), or sweat, is a traditional pastime used for thousands of years. A sauna generally involves creating hot steam in a closed space by pouring water on a super-heated surface, and allowing the moist heat to relax muscles, ease the mind and renew your spirit. Whipping your friends with juniper boughs and leaping repeatedly into icy water are optional.

A sauna is an excellent way to pass a weather-bound day, while relaxing and getting clean in the bargain. After all, generations of First Nations people and Fins can’t be wrong.


How to build a backcountry sauna

Step 1: Choose site

The ideal sauna site is right next to a good deep-water jumping spot or swimming beach. You also want to be as close as possible to the spot where you will heat your rocks.

Step 2: Build the frame

Use driftwood or fresh-cut green boughs to create the sauna structure; set it up so there is just enough room for your group to sit inside without touching the hot rocks. Note: only use living trees if they are in the process of being washed away—do not cut trees from the forest. Drive the thick ends into the sand or block them with stones. Bend in and tie the thin ends together to form a small structure. The smaller the hotter!

Step 3: Add the shelter

Drape a large, four-by-four-metre tarp (that you don’t mind getting dirty) over the structure and seal the edges with sand, rocks or driftwood.

Step 3: Rock and roll

Collect grapefruit-sized or smaller stones for the sauna. Avoid softer, lighter, weathered and odorous rock and be sure to stay away from rocks that have been soaking in water, as they are more likely to explode. Look for crystalline igneous rocks or metamorphic rocks that are formed from igneous rock. For the geologically fluent, experts recommend peridotite, olivine, vulcanite and basalt. Stay away from sedimentary rocks such as sandstone or shale and collect your rocks from a dry area.

Collect a lot of firewood and light a large fire in an existing fire-pit or a low-impact spot. Let the fire burn down to a good bed of hot coals and place your rocks in the coals until they are red hot. Transfer the hot rocks into the sauna using a metal pot or bucket or pairs of strong, forked sticks. Add more rocks to the fire as replacements for those cooling in the sauna.

Step 4: Bliss

Strip down as bare as you dare, crawl into your sauna and seal the door. Pour water on the rocks and—ahhh… To make it a sweat in the native tradition, enter clockwise and exit the way you came in. Don’t forget to bring in water for drinking and extra for sprinkling on the rocks.

When you’re ready for a break, make a dash for your swimming spot to complete the thermotherapy routine—hot and cold immersion gives you a natural high and is said to strengthen the immune system. The hot rocks should be good for two or three repeats. If it’s cold out, crawl back inside the lukewarm sauna to dry off after your final plunge.

Step 6. Erase evidence

The backcountry or beach sauna is not a low-impact technique. Save the sauna for special occasions and suitable places—think ocean beaches, not alpine lakes. Make sure you’re getting rocks from a place where they won’t be missed and throw any blackened or cracked rocks out of sight into deep water. Burn your fire down to white ash and put it out before you leave.


Sauna rules:

1. Stay hydrated—drink at least a cup (250mL) of water every 15 minutes.

2. Exit sauna to cool down every 10 to 15 minutes.

3. Try a cold-water dunk at least once!

4. Clothing optional.

These articles originally appeared as “DIY Backcountry Sauna” in Canoeroots and Family Camping‘s Summer 2009 issue and “Build Your Own Beach Sauna” in Adventure Kayak‘s Summer 2006 issue.Subscribe to Paddling Magazine’s print and digital editions here, or browse the archives here.


True “glamping.” | Photo by: Dave Quinn

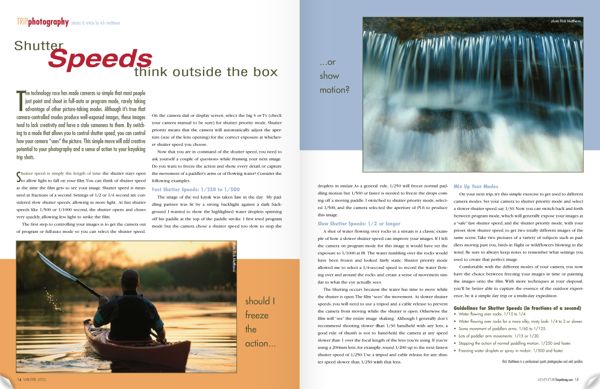
Trip Photography: Shutter Speed

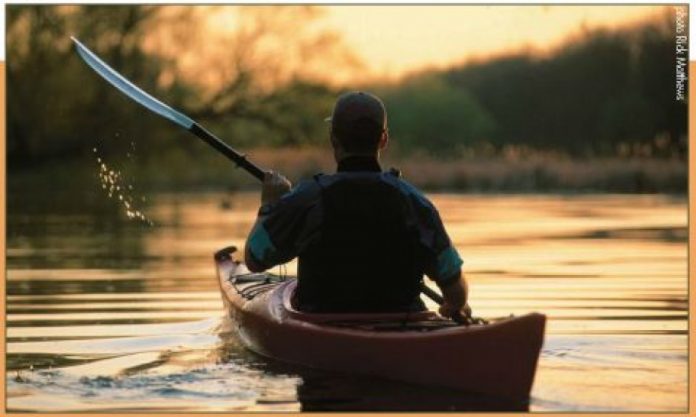
Photo: Rick Matthews
Trip Photography: Shutter Speed

Advanced technology has made cameras so simple to use that most people just shoot in full-auto or program mode, rarely taking advantage of other picture taking modes. Although it’s true that camera-controlled modes usually produce well-exposed images, switching to a mode that allows you to control shutter speed adds creative potential to your images and a sense of action to your kayaking trip shots…


ShutterSpeed.jpg


This technique feature originally appeared in Adventure Kayak, Fall 2002. To read the full article, download our free iPad/iPhone/iPod Touch App or Android App or continue reading here for free.

Daily Photo: Orca Encounter

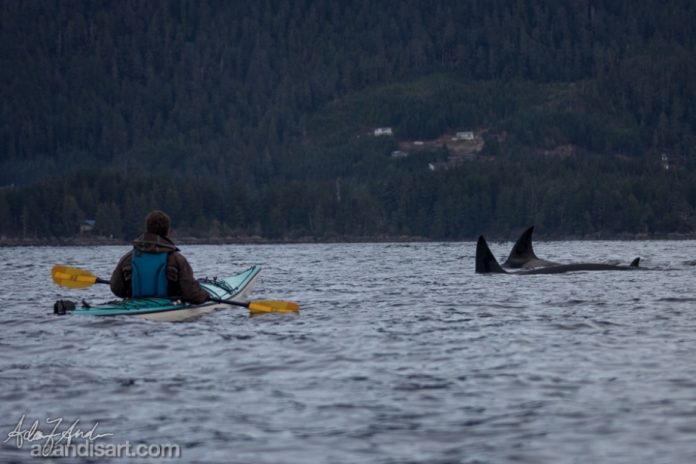
Photo: Adam Andis
Daily Photo: Orca Encounter

Adventure Kayak reader Adam Andis shared this photo from his home waters near Sitka, Alaska. “Paddling with orca in Sitka Sound, Southeast Alaska,” says Andis, a professional photographer and communications director for the Sitka Conservation Society. View more photos from this trip at www.azandisart.com/2013/11/25/sitka-sound/.

Want to see your photo here? Send to [email protected] with subject line Daily Photo.


Watch for a feature story on how Andis and others are paddling for science in Sitka in the Spring 2014 edition of Adventure Kayak.


Daily Photo: Evening Color

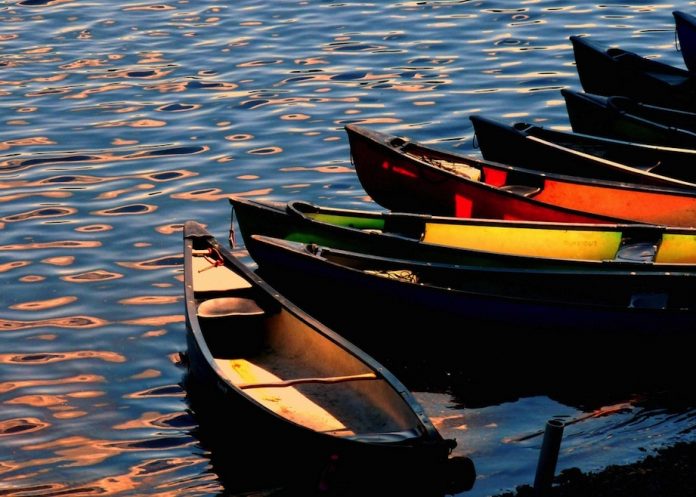
Photo: Flickr user Leshaines123
colorful canoes

“Taken after a cycle ride around this beautiful Lake near to Welshpool in mid Wales,” says the photographer. “I was shooting straight into the sun and so couldnt actually see the picture in the viewfinder, and had to rely on the auto settings of the camera to work it out! I did see the shot though and loved the way the reflection on the water came out”


Want to see your photo here? Send it to [email protected] with the subject line, “Daily Photo.”


This photo was taken by Flickr user Leshaines123 and licensed under the Creative Commons. 

Gear: GSI Tableware

Photo: Courtesy GSI Outdoors
camp kitchen

This lightweight tableware is made of durable polypropylene. Included in each set is a 12-ounce cup, six-and-a-half-inch bowl, 12-inch plate and full-sized utensils. All are perfectly sized to take care of your backcountry gourmet needs. 

$12.95 per set | www.gsioutdoors.com

Daily Photo: Pit River

Photo courtesy Ian Janoska
Whitewater kayaking

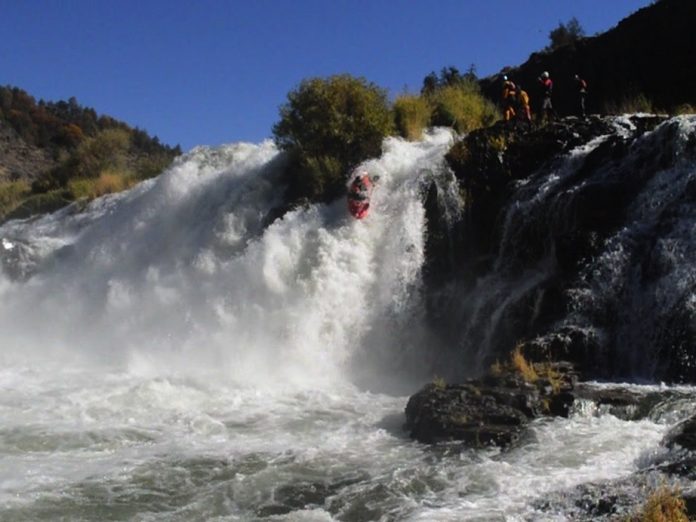
Ian Janoska sent in this shot from the Pit River in California. Here, he’s dropping Pit Falls in his Fluid Kayak.

Want to see your photo here? Submit your whitewater images to Rapid’s Daily Photo! [email protected]