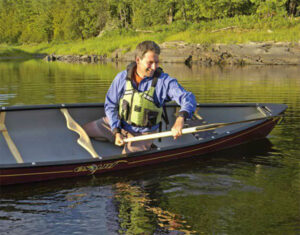
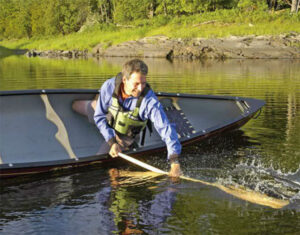
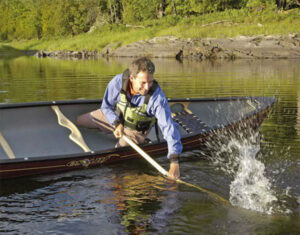
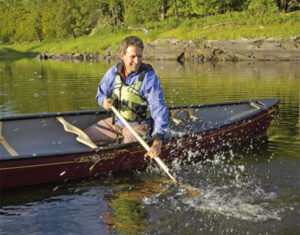
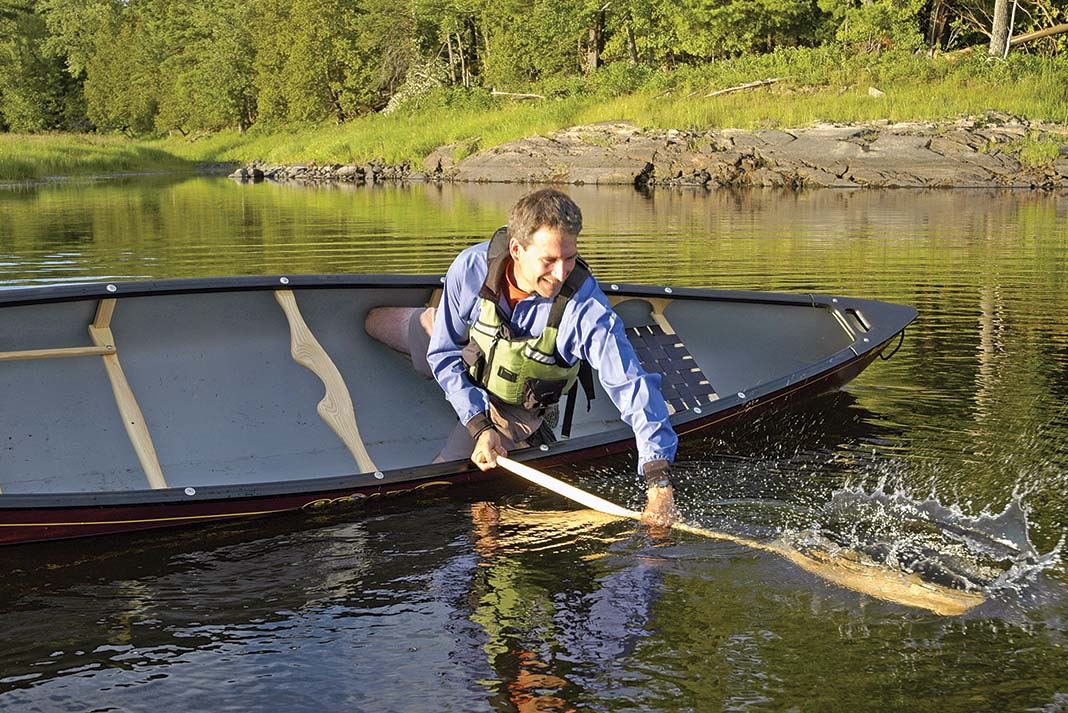
The low brace is incredibly effective at preventing you from capsizing to your onside in a canoe. It allows you to reposition your body so that you can regain a stable posture with your head over your tailbone, which itself is centred above the keel line of the canoe.
In the video above, Stef McArdle from the Madawaska Kanu Centre shares expert advice to help you master the low brace technique. Or, for written instructions, read on to learn the low brace in four easy steps.
Learn how to do a low brace in a canoe
The low brace can arrest your fall and provide the necessary time to level the canoe with your knees. Getting your head low is the secret to regaining your balance every time.
1 Extend your paddle
Extend your paddle out at a 90-degree angle from your canoe, with your top (grip) hand in front of your stomach.
2 Smack the water
Smack the water with the backside of the blade. Your knuckles should be pointing down toward the water.
3 Level the canoe
Drop your head toward your paddle shaft while you use your knees to level the canoe.
4 Return upright
Once your knees have levelled the canoe, swing your head forward over the canoe and assume a stable paddling posture.
This article was adapted from Canoeing, the Essential Skills and Safety, written by Andrew Westwood and published by The Heliconia Press.
This article originally appeared in Paddling Magazine Issue 65. Subscribe to Paddling Magazine’s print and digital editions here, or download the Paddling Magazine app and browse the digital archives here.
Do the low brace in your canoe and never dump to your onside again. | Feature photo: Andrew Westwood


