These detailed instructions accompany the Campcraft article in Spring 2015 issue of Canoeroots Magazine. The instructions are provided by Russ Parker, instructor for the canoe paddle carving course at the Canadian Canoe Museum. Visit their webiste to register for an onsite workshop.
1) Determine the appropriate shaft length.
2) Decide on the blade profile you want.
3) Choose an appropriate 1 1/4″ x 6″ board
4) Pencil in a centre line on both faces.
5) Mark out the appropriate shaft length and 1 1/8″ width and grip shape on one side.
6) Draw the blade profile on the same side.
7) Cut the blade profile on the bandsaw. For those not familiar with bandsaw use, ask for assistance.
8) Mark a centre line on the blade edge.
9) Pencil in lines 1/16″ each side of this line. Mark lines angling out to the blade face at the shaft end, leaving ¼” thickness at the blade tip.
10) Bevel the blade faces from the shaft to the tip, following these angled lines.
11)Useing the spokeshave, bevel the blade edges at approx. 45 degrees to the 1/16″ lines in the paddle edges.
12)Re-establish the centre line on the blade faces. See Note*
13)Spokeshave the four quadrants of the blade faces from the centre lines to the 1/16″ lines on the edges.
*Note: Alternately, you can spokeshave the 2 faces flat until you achieve the target blade thicknesses in step 14 and then proceed with step 12 and establish the blade centre line
14)You are working to achieve a thickness of 3/8″ ,one third of the blade length up from the tip, and 5/8″, two thirds of the blade length up from the tip.
15)Try and leave a spine following the centre line in the upper 1/3 of the blade faces.
16) You are looking to create a low oval shape in the blade from mid blade to tip.
17) When the blade is the desired profile and thickness you can round the edges. The sharper the edges the easier the blade enters the water. They are more easily damaged however.
18)Pencil in the taper for the grip, on the shaft sides and cut out the excess on the band saw or with spokeshave an or rasp.
19) Spokeshave/rasp the grip to your desired size and shape.
20)Pencil in lines on all four sides of the shaft, between the centre lines and the shaft edges
21) Spokeshave the shaft to remove the 4 edges to these lines, giving an octagonal shape.
22) Now remove the eight edges and shape the shaft to a soft oval shape approx. 1 1/8″ thick and 1-1 1/16″ wide, or to fit your hand comfortably.
23) Once you are certain you are finished shaping the paddle with edged tools, you can sand the paddle. Sanding will leave grit in the wood that will dull edged tools if you sand before you are finished using sharp edged tools.
24) Using a piece of 80grit sanding cloth from a belt sander, shoe shine the shaft to remove tool marks and give an even shape.
25) Sand the entire paddle with 80grit sandpaper to remove all tool marks.
26) Sand again with 120-150grit paper to remove the 80 grit marks then 220grit sandpaper to remove the 120-150 grit marks.
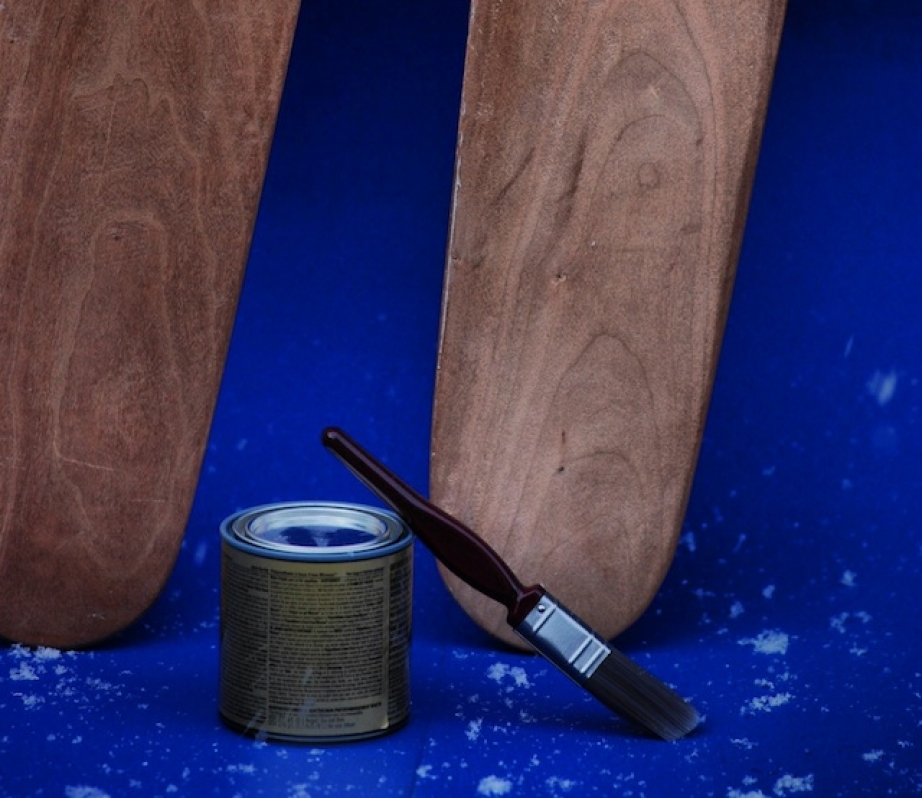
27) You can stain the paddles if you choose, following directions on the can. White woods such as ash will look better with a light stain. Woods such as cherry don’t need stain.
28) The paddle can be finished with an exterior grade polyurethane/spar varnish or a marine oil finish. Follow directions on the can of whatever finish you choose. I recommend at least 4 coats of an exterior spar varnish/polyurethane. Oil finishes are not as effective at preventing moisture movement in and out of wood as polyurethane/spar varnish.
29) Go paddling and enjoy your creation.
This digital extra accompanies an article that first appeared in the Spring 2015 issue of Canoeroots and Family Camping magazine.


