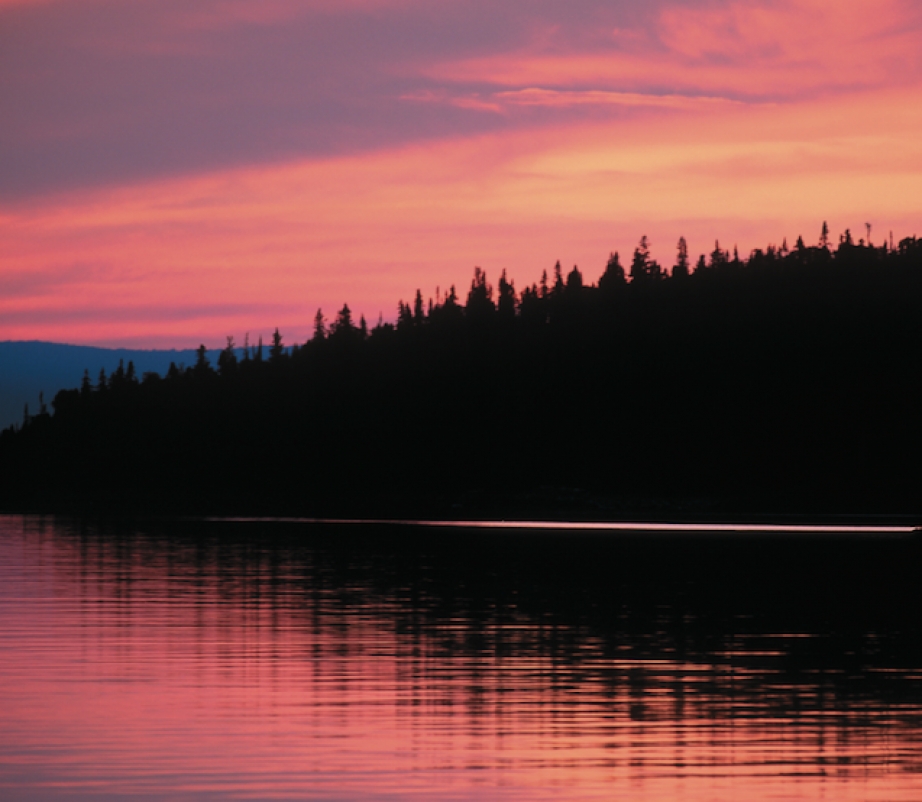
Two of the most rewarding but challenging shots to control are sunsets and backlit subjects. True, anybody can point a camera and capture an orange sky, but understanding how to use the existing light and control your exposure will make the difference between just another sunset and a stunning photograph. Although sunsets and backlit photos look dramatically different, the exposure techniques are quite similar. By taking control of the camera’s exposure meter, you can make some choices, like whether to have rich dark shadows, or shadows that are more open, showing some detail.
The Golden Hour: Controlling Your Sunsets
Before sunset you have this huge burning highlight in the scene—the sun—that you have to eliminate from the exposure equation. Eliminating the sun from the exposure negates its overwhelming effect on the meter and gives a true reading of the surrounding sky and clouds.
Set your camera meter on manual so you are able to fully control the exposure. Point your camera at a portion of the sky to the right or left of the sun. Do not include any part of the sun in the frame. Using that exposure setting, re-compose your shot, including the sun. By exposing for the sky and allowing the sun to “blow out” you will gain rich blacks in your shadows and greater detail in your clouds.
After sunset, don’t put the camera away. There are still some great shots to be made. Now that there is less light, put the camera on a tripod. Point your camera at the spot where the sun just went down, eliminating the dark areas so that they don’t have too strong an influence on the exposure. Take the exposure reading, again using manual metering mode. Once again, you are choosing the part of the sky that you want exposed correctly. Re-compose your shot and keep shooting.
Try bracketing your exposures around the basic meter setting. Bracketing your exposures (adding or subtracting one or two stops of exposure) gives you a margin of error, helps you learn more about your camera’s metering, and provides a choice of images.
There is no “perfect” exposure for sunsets and sunrises. It is a matter of personal taste. As a rule of thumb, if you underexpose from the target areas we’ve discussed (let in less light than your meter reading) the clouds and foreground will be darker and more dramatic and the highlights will hold more detail and richer colours. Conversely, if you overexpose, the sky and clouds will look lighter, brighter and less foreboding. You will also have more detail in the foreground shadow areas.
Shooting the Dark Side: Backlighting
The late afternoon, when you are planning your sunset shots, is also a great time to experiment with dramatic backlighting. At this time of day, the light streaming in at a very low angle creates great rim lighting on everything in its path. Rim lighting occurs when that very strong light seems to almost shine through and around the delicate edges of subjects, illuminating areas like cobwebs, hair and pine needles and creating a halo effect.
As with sunsets, it is easiest to break exposure techniques for backlighting into two categories: Backlit scenes where you limit light, producing black shadows and no detail, and backlit scenes where you allow enough light to include some detail in the shadows.
In the first situation—black shadows with no details—set your camera on manual exposure. Point your camera at the sky or a light area behind the subject, exposing for the light areas in the image. Now using that exposure, re-compose and take your shots. The edges of your subject will now be rimmed with beautiful golden light and your shadows will be a rich black.
When you want to include some detail in the shadows, use the same exposure technique except this time open up your exposure by one to two stops. You can either decrease shutter speed or enlarge the aperture. By opening up the exposure you will show more detail in the shadow areas, such as faces, but still retain some of that great rim light effect.
The secret to sunset and backlighting exposures is deciding what areas of the image you want exposed properly and then making the camera meter work for you to obtain that exposure. Once you have mastered these simple exposure techniques you will find yourself creating not just another sunset snapshot but rich and colour-filled images of the golden hour, just the way you remembered it.
Featured Photo: Rick Matthews


