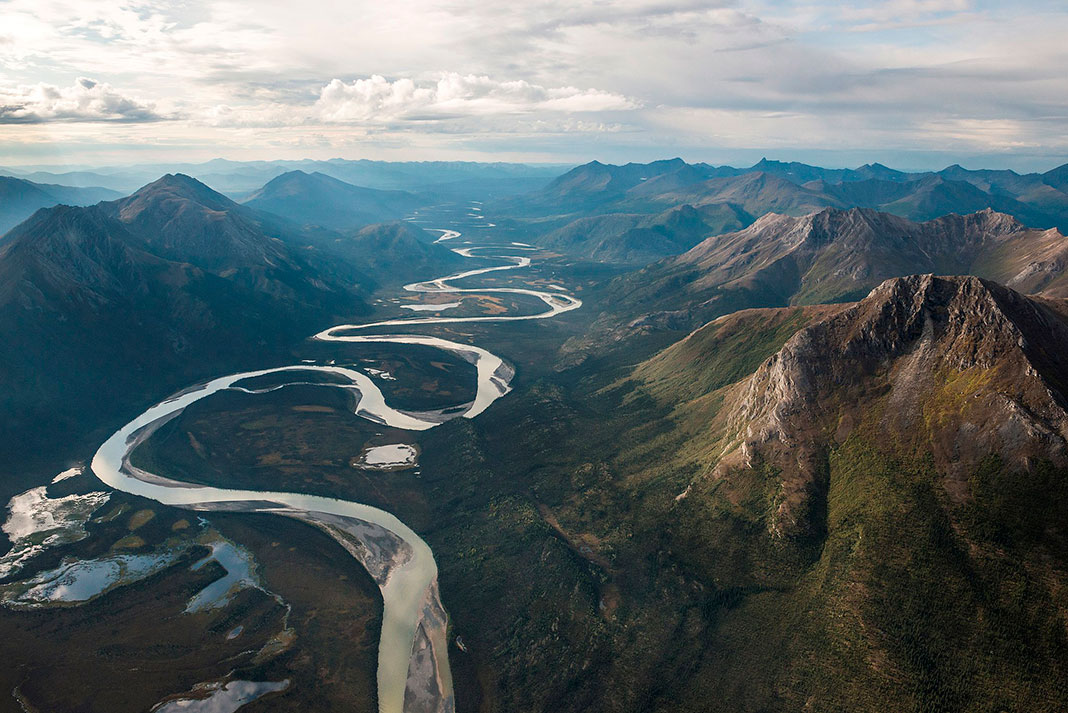
Northern rivers offer adventurous paddlers an experience unlike anything they can find further south—truly epic trips through dramatic, untamed landscapes. But northern paddling involves a higher level of difficulty than other trips. A decade of Quetico Park canoeing won’t prepare you for the Far North, so don’t get in over your head! From essential skills to trip planning tips, this expert advice from experienced wilderness paddlers will help you prepare when the wild north awaits.
3 tidbits of northern paddling wisdom
1 Start south
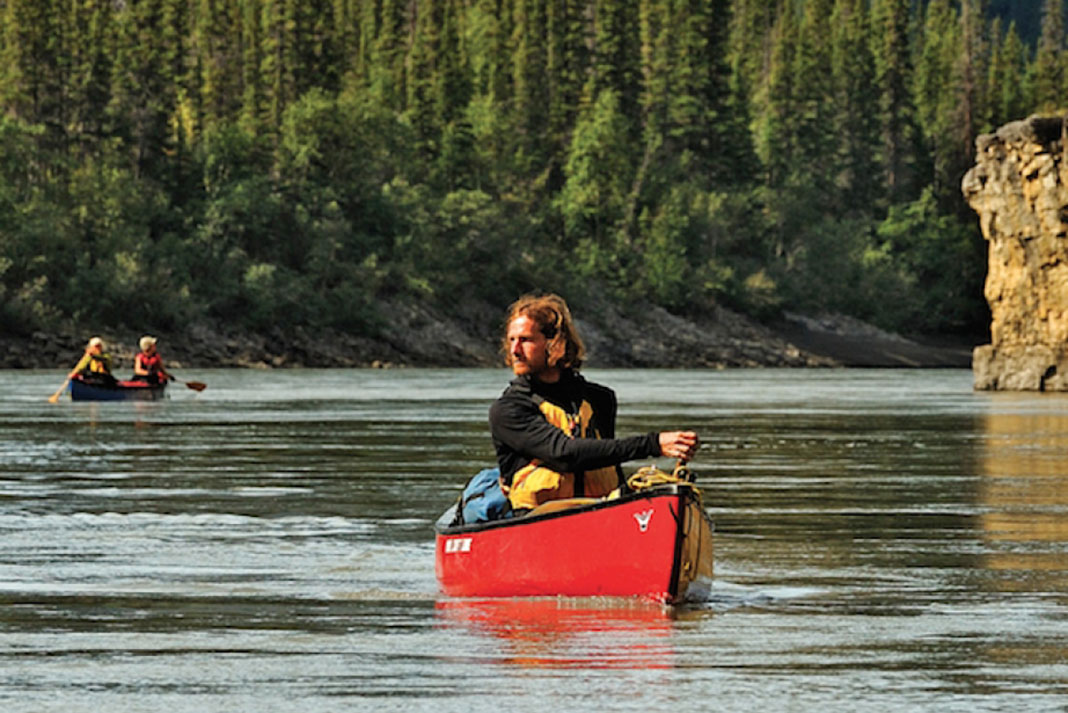
Canoeing an Arctic river is like canoeing a southern river, with these exceptions: the water is bitterly cold, a capsize can be fatal; distances are deceptive, an open water crossing that appears to be a quarter-mile may be 20; continuous rapids, wider and more powerful rivers; there is no turning back once the floatplane drops you off. Build experience slowly on challenging southern rivers, tripping when the water is cold and the weather is bad. Read every canoeing book and publication you can find. It takes time to develop respect for a powerful northern river—don’t rush it.
Most important, make your first trip with an experienced guide. If you have strong basic canoeing skills, can turn the other cheek to bad weather and persistent bugs, and have a high tolerance for portaging long distances and paddling many hours without sleep—you’ll learn a lot and come back smiling.
— CJ
2 How much time?
Twenty to 50 miles a day is reasonable on placid water where there are few portages. But it’s a recipe for disaster in the unknown. Figure an average of 15 miles per day and allow one day in five for bad weather and the unexpected. If you anticipate many rapids and portages, reduce the mileage even more.
It’s wise to make a daily travel plan with your projected miles per day based on the obstacles along your route. On trip, keep track of your actual miles so you know if you’re ahead of or behind schedule.
If a storm plays havoc with your schedule, your best plan is to camp and wait for favorable weather, then make up lost time when the weather improves. The sun sets late in the Far North so you can paddle well into the night.
— CJ
3 How much will it cost?
About 80 percent of your cost is transportation. For this reason, a longer trip may actually be less expensive than a shorter one.
For example, say you plan to canoe the Hood River in Nunavut. You’ll drive to Yellowknife where you’ll charter a Twin Otter. You can begin at the headwaters of the Hood near Takijuk Lake, or at Point Lake about 200 miles to the south. If you begin at Point Lake, you’ll eliminate about 400 miles of flying—at roughly $12 per mile, that’s a savings of $4,800! But you will need more time to canoe the river.
You can also save big by using folding canoes (like the Pakboats PakCanoe 170) that fit inside your chartered airplane. On an Alaskan trip, our crew of six eliminated one flight and saved $2,100 this way.
Other costs include auto fuel, food and maps. For a 400-mile trip, you may need a dozen 1:50,000 scale maps at $12 apiece. Bush roads are tough on cars; plan to replace a tire or windshield. Equipment also takes a beating.
Is it worth the high price to canoe a remote Arctic river? The first time you see a herd of muskoxen or mingle among a thousand caribou, you’ll know you’ve spent your money well.
— CJ
4 pro tips for your northern paddling trip
1 Beat the bugs
If you think the bugs are bad in southern paddling parks, don’t go to the Barren Lands—at least not without a good dose of know-how, self-composure and bug dope.
Two of the best non-toxic repellents are Repel oil of lemon eucalyptus and Biteblocker Organic Xtreme. I don’t use DEET—it melts plastic, so why would you put it on your skin?
Both garlic and vitamin C have excellent properties as antihistamines, relieving the effects of bug bites but doing little to prevent the actual bombardment. In fact, garlic, like bananas, contains potassium—and that’s a bug attractant.
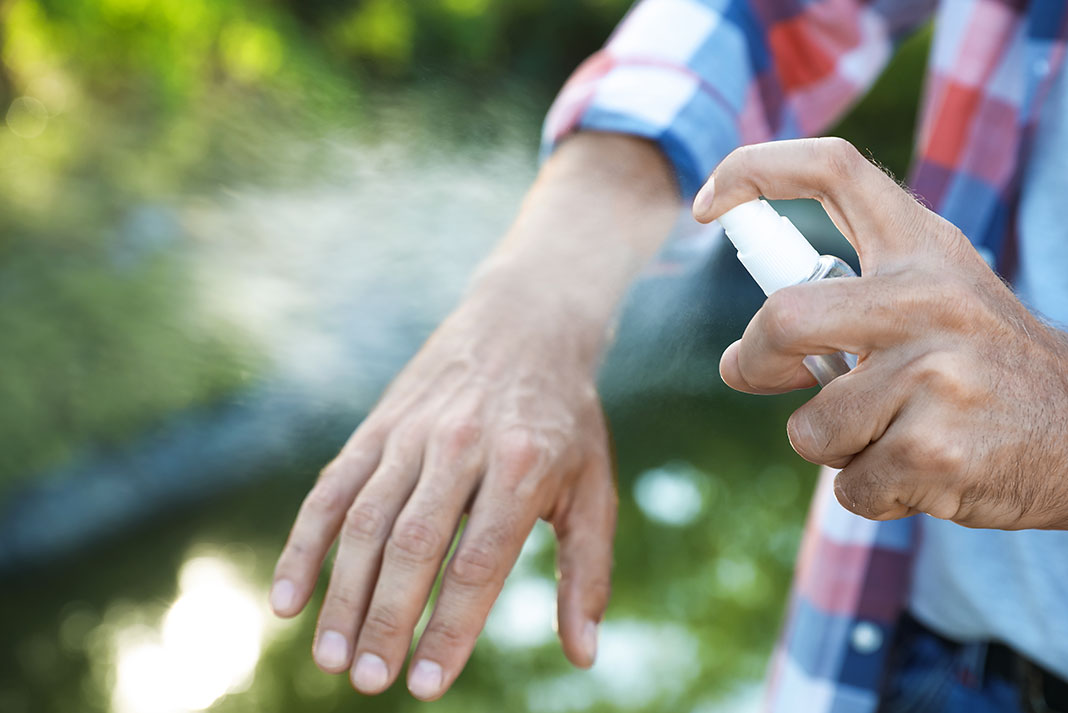
Research your choice of landscape. Forested areas generally have avoidable seasons for blackflies, mosquitoes, ticks, deerflies and horseflies. Above the treeline, the paddling window enjoys little respite from the onslaught of blackflies.
Wear loose, light-colored clothing and a bug jacket. A bug tent will preserve your sanity in camp. Commercial bug awnings can be slung from trees; in the Arctic you’ll also need poles, extra guy-lines and hefty pegs.
Biting insects are attracted to carbon dioxide and chemicals found in perspiration. If you sweat easily and work hard, the bugs will be worse. So, if none of this works…try carrying a live chicken under your arm while humming middle “C”.
— HW
2 Pick a good crew
Putting together a tight, well-rounded and workable group is a lot of work and you’ll do well to remember these commandments.
Compatibility: A good crew is invested in the safety and happiness of all its members—there’s no room for selfishness, insensitivity or arrogance. Friends often get along better than random family members—old scars and residual animosities may blossom again under strain.
Experience: This can be tricky, each person needs to make an honest assessment of his or her abilities. If you’re doing whitewater or big, cold lakes then you better have at least one experienced paddler in each canoe and spend the first day training the others.
Judgment: Maturity and level-headedness are more critical than technical proficiency. A crew member who knows when to portage is far better than one who is eager to tackle every rapid.
Rationale: Why do you want to go? Is this a journey or a competition? Find out what everyone hopes to get out of the trip, make sure these goals are harmonious, and develop a trip philosophy agreeable to all.
Size: On remote northern rivers, a group of six is safest—this provides ample room if you lose a canoe in a rapid. Otherwise, a group of four offers the optimum blend of safety, harmony, easy food prep and campsite selection, and availability of group members. Larger than six, and you’ll almost certainly have compatibility issues.
— HW
3 Packing heat
There’s really no reason to carry a gun on any canoe trip, even those in Alaska and the Northwest Territories. The exception might be if you’ll canoe where grizzly and polar bear encounters are common. Most recommended is a 12-gauge pump shotgun, with high-performance slugs. The compact Marlin Guide rifles in .450 Marlin and .45-70 caliber are also popular. A waterproof gun case is essential, tie the case into your canoe so it won’t be lost if you capsize. Check state, provincial and park regulations before you pack heat—some areas prohibit firearms.
— CJ
4 Getting to the river
By car: Drive the “Dumpster” highway or Wollaston Lake tote road and you’ll see why the most important person on a canoe trip is an auto mechanic! You need high clearance, two full-size spare tires and a bug screen. Trailers should have minimum 15-inch wheels and spares.
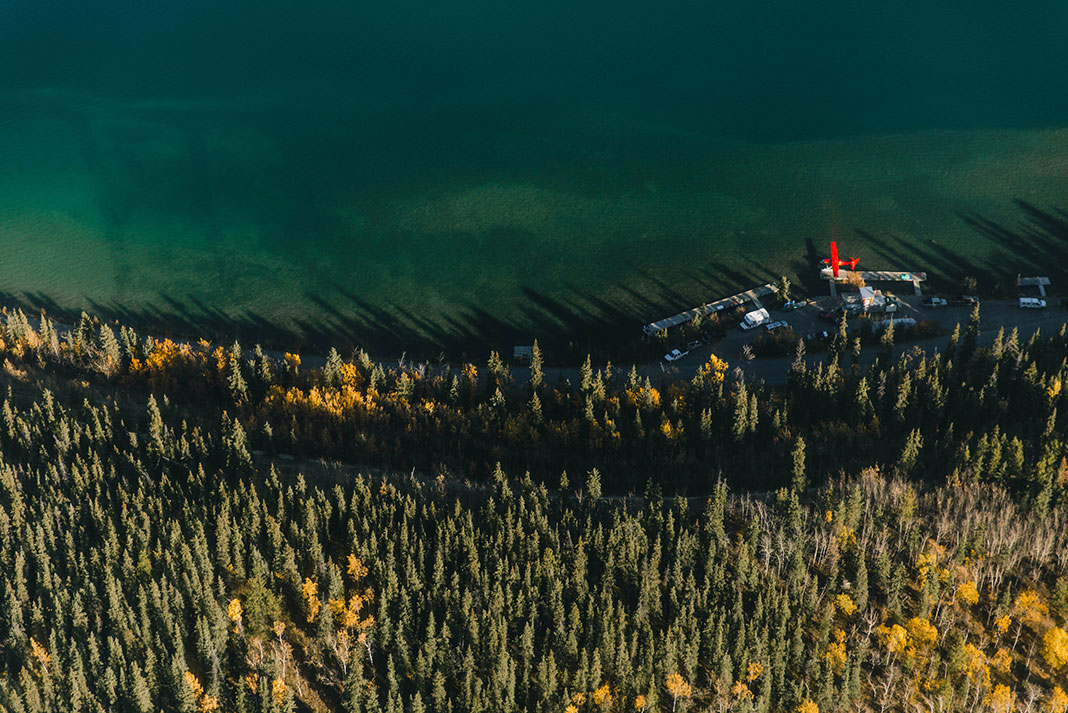
By floatplane: Until recently, if you had a party of six, a Twin Otter was the cheapest way to fly because everything fit inside the airplane. For safety reasons, some companies will no longer fly passengers and canoes together. Smaller planes—Single Otters, Caravans and Beavers—will carry just one canoe on the floats.
Tip: Communicate with airplanes up to about 15 miles away using a handheld VHF aircraft radio (a marine radio won’t work). Get your pilot’s radio frequency when you book your flight. The emergency channel is 121.5 MHz.
By train: Bush trains will often—but not always—stop at a requested mile marker to take on and let off passengers. Call the nearest stationmaster for details, and book tickets in advance. Unless you are on the roster, even remote bush trains may steam right past your frantic waves.
Tip: Canoes accompanied by their owners are usually considered excess baggage and travel for about the same fare as a passenger.
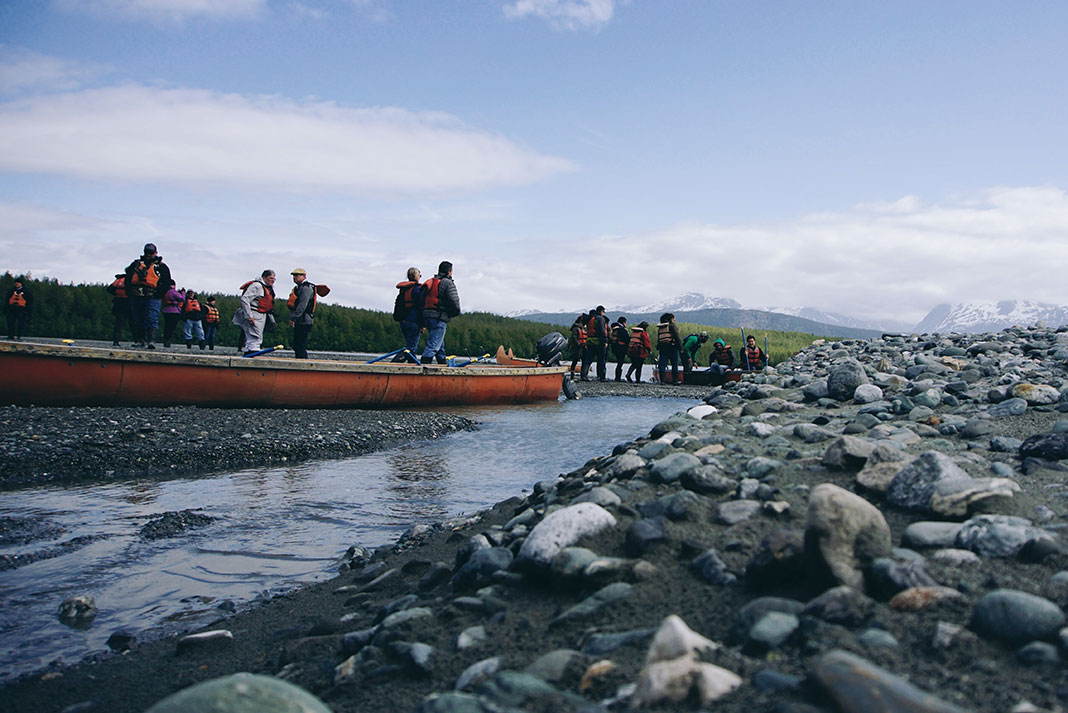
By boat: If you end your trip on Hudson Bay, the safest plan is to charter a boat to Arviat or Churchill. Bring a CB radio so you can talk to your boat captain and get his channel information before you leave home.
— CJ
4 essential skills for northern paddling
1 Portage
First you need to find the portage. On a river, if your map doesn’t show which side the portage is on, select the shore with lower elevation or less vegetation. The path of least resistance is most often the correct one. For the same reason, portages are usually located on the inside of river bends.
On a wilderness river where the trail is unsure, carry light gear over the portage, then return for the canoes and heavy packs—or better yet, scout the trail before you portage anything.
Portages on remote rivers within the treeline are seldom marked or maintained. First walk the portage with a map, compass, GPS, folding saw and roll of yellow surveyor’s tape. Flag confusing turns and saw limbs that can hang up a canoe. Last person over the trail collects the yellow ribbon.
In the treeless tundra, carry canoes and packs to a distant spot and stack in a pile. Place paddles upright in the pile to act as flags. Continue portaging from pile to pile until everything is across. Choose brightly colored packs and canoes—drab colors blend into the tundra.
Don’t carry a second pack on your chest—falls follow when you can’t see your feet. Instead, equip your packs with tumplines so you can carry everything on your back.
Pack in odd units—three or five packs per canoe, not two or four. This will equalize the number of trips you and your partner make over the portage.
Every team takes responsibility for the gear in their canoe and inventories it at the end of the portage. To avoid confusion, don’t shift items from boat to boat or portage another canoe’s gear unless you tell the occupants.
— CJ
2 Read a map
Topographical maps are your lifelines on a wilderness canoe trip. A GPS is not a substitute for paper maps! Experienced trippers rely on 1:250,000 scale maps; aging eyes prefer more detailed 1:50,000 maps.
Before you go, mark the miles on your maps. I mark every four miles on 1:250,000 maps and each mile on 1:50,000 maps. This works out to a mark roughly every inch. Since the average speed of a loaded tripping canoe is four miles—or one inch—per hour, this makes it easy to keep track of your progress in the field. If you keep an eye on your watch, you’ll seldom be far off schedule.
Next, determine the drop of the river. Label the elevations where each contour line crosses the river and indicate whether the elevation is in meters or feet. Make a table like the one in the example. Note how many feet per mile the river drops between contour intervals. Generally, a drop of less than 10 feet per mile is easy paddling, more than 15 and things can get hairy.
River size matters—a small, shallow river with a drop of 40 feet per mile and constant gradient may be runnable while a big river with the same drop is not. And, of course, it depends on how the drop is distributed—as an even descent or by a series of falls.
Map rules:
- The closer together the contour lines, the greater the drop. Tightly spaced contour lines that cross the river indicate a falls; parallel to the river represent a canyon.
- The closed “V” end of a contour line always points upstream.
- The contour interval (CI) is given in the map margin. The larger the CI, the less clear the characteristics of the river.
— CJ
3 Back ferry
On broad, continuous northern rivers, the backferry is an essential tool. It allows you to pick you way through large waves without taking on water. If you master this technique, you won’t need a spray deck, even in solid class III rapids. Retrieving a swamped canoe with a spray deck is much more difficult and this outfit can be a real pain if there are many portages, not to mention the extra 10 pounds in material.
Back ferries can also buy you time in a rapid to boat scout and assess your next move. You can save a lot of scouting time on sections where you feel comfortable using this technique. Remember, it’s easiest to back ferry from a stronger current towards a weaker one; for example, from the outside of a river bend to the slower flow on the inside of the curve.
As for a front ferry, the downstream partner—in this case, the bow paddler—sets the angle. This can be achieved using a reverse J stroke or reverse sweep stroke. The stern paddler simply provides power, back paddling against the current.
If your ferry angle becomes too open, the best way to recover it is for the bow paddler to use either a cross draw or back draw. Most people need more practice with these strokes— excellent descriptions are found in Paul Mason and Mark Scriver’s Thrill of the Paddle (p.58–59, Key Porter Books). Even though these strokes don’t generate reverse momentum, you will recover the angle much faster. And, if you end up losing it, you still have the option to switch to a front ferry.
— EL
4 Lining a rapid
When running a long, powerful rapid is too risky and portaging would be strenuous and time consuming, lining is often the best option.
The cardinal rule of lining is to keep the upstream end of the canoe closer to shore than the downstream end. Otherwise, the current will catch the upstream end and swing the canoe broadside out into the main channel. The trickiest part comes when you have to cross reactionaries, or diagonal breaking waves. For a few seconds, the upstream end needs to be further from shore in order to swing the canoe perpendicularly through the wave. If it isn’t perpendicular, the canoe will flip and get sucked into the main current.
Lining requires skill, agility and coordination. Good communication is imperative if you’re lining with two people. If the shore allows you to walk down with the canoe, you may prefer to handle both ropes alone. The length of your ropes is very important. Twenty feet of rope on the downstream end and 30 feet upstream works well for most terrain. Make loops alternately on each side of your hand with the extra rope, so you can let go just what you need and still keep a good hold on the rest. Longer ropes, like your throw bag, are difficult to handle and, if you drop them, can more easily become entangled.
After you’re done, be sure to take 30 seconds to safely stow the lining ropes so you won’t get caught up in them if you dump.
— EL
Where to go paddling in the north
Seasoned northern paddlers share their favorite routes and dream destinations:
Hood, Mountain and Moisie rivers.
Dream trip: entire Back River.
— Gail Shields
Finlay, Churchill, Turnagain/Kechika, Gataga/Kechika,
Porcupine/Fond du Lac, Seal and Tatshenshini/Alsek rivers.Wish list: Grand Canyon of the Liard, Coppermine,
Horton, Bonnett Plume and Kazan rivers.— Laurel Archer
Mountain, Nahanni, Hood, Firth, Tatshenshini and Natla-Keele rivers.
Wish list: Bonnet Plume, Back and Thomsen rivers.
— Mark Scriver
Thelon, Coppermine, Wolverine River and Nejanilini Lake, Bloodvein, Seal, Hayes, Lady Evelyn and Dumoine rivers. Pigeon, Sasasiginnigak and Leyond rivers (all Manitoba).
Wish list: Kazan River and Hanbury River from Great Slave Lake.
— Hap Wilson
Wish list: Mountain, Nahanni, Thelon and Back rivers.
— Charlotte Jacklein
Hood River—if you can afford to do just one Arctic river, this is it. Thlewiaza/Thanne, North Knife, Snake, Peel, MacFarland, Kopka, Burnside and South Seal rivers. Caribou River—worst bugs on the planet! Latiseino and Kautikeino rivers, Norway and Finland.
Next trip: Berens River.
— Cliff Jacobson
Puvirnituq River, Nunavik—five stars.
Wish list: Koroc, Eau Claire, Nastapoca, Bonnet Plume and Tatshenshini rivers.
— Eric Leclair
There’s something special about going from headwaters
to ocean, like the Hood and Coppermine rivers.Dream trip: a Barren Land trip with no blackflies, a flatwater trip with only tailwinds and any trip with the fish biting and blueberries and strawberries ripe at the same time.
— Wally Schaber
This article was first published in the Early Summer 2012 issue of Canoeroots Magazine. Subscribe to Paddling Magazine’s print and digital editions, or browse the archives.
So you want to try a northern paddling trip? | Feature photo: Peter Mather

