
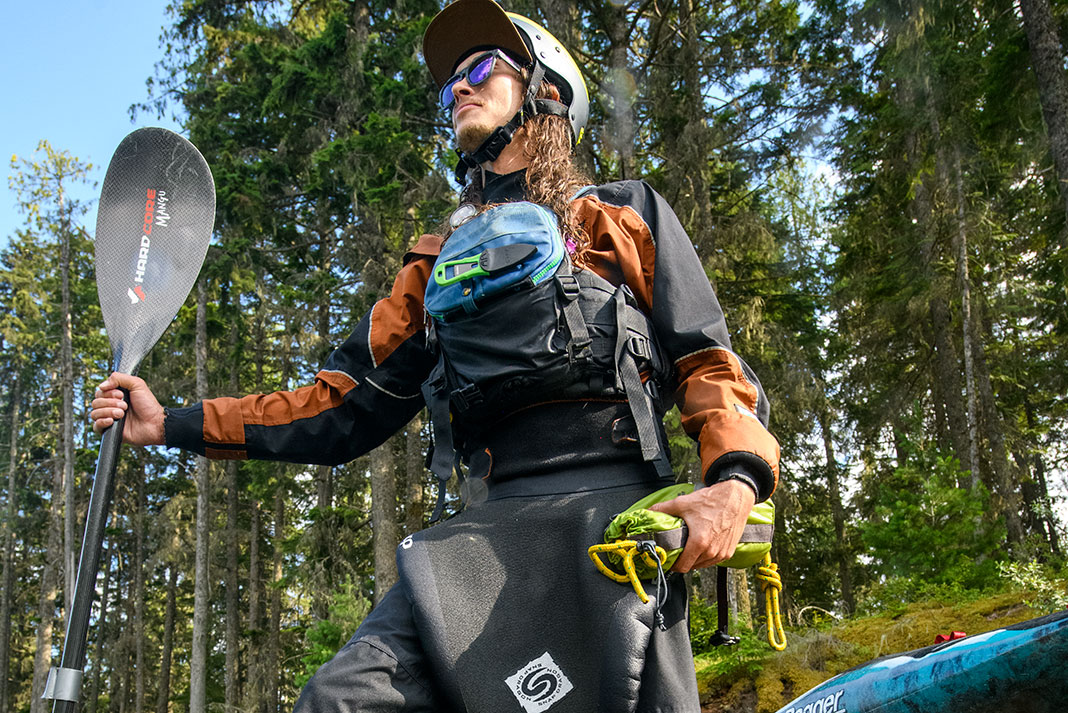
As a whitewater rescue instructor, I have seen both the power and the dangers of attaching to a rope with a quick-release harness. When used effectively, it can be an essential part of a whitewater rescue toolkit. Without proper training, practice, setup and application, it can turn into an entrapment hazard.
One danger I see every season is paddlers using the quick-release harness improperly. If you have a rescue PFD with a quick-release harness, it’s essential to learn how to use it and practice releasing it multiple times on land each season to develop muscle memory. Practice releasing in the water, in a controlled environment, with others there to back you up. Practice with your eyes closed, with both hands, and with and without tension on the line. A whitewater rescue course is a great starting point for this work.
How to thread a quick-release rescue belt
Harness setup
To set up your harness, start with the manufacturer’s instructions for your specific PFD. I recommend using only a PFD with a sewn-in quick-release harness. Make sure all components are in good condition. A properly fitted PFD should have the release mechanism at chest height, within reach of either hand.
Tighten your PFD straps before setting up the harness so that if you need to release, the PFD will still be secure.
Threading a quick-release harness is simple, but many paddlers get it wrong.
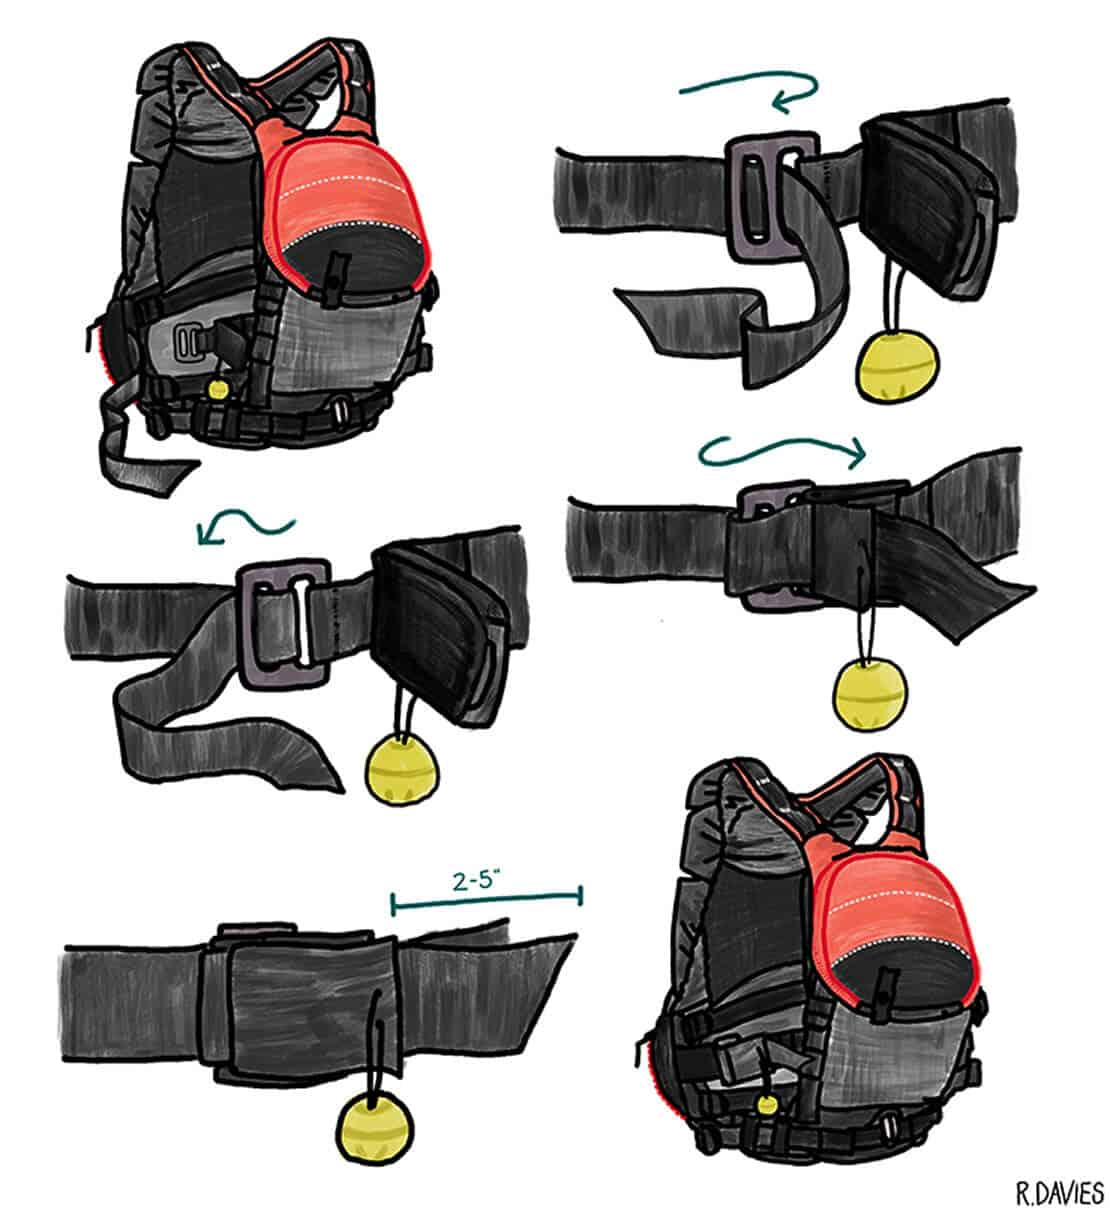
1
First, feed the webbing through all intended loops on the PFD.
2
Weave the webbing through the metal triglide. First, through the hole closer to the chest, then back through the hole farther from the chest. The triglide helps insulate the plastic buckle from sudden forces, helping avoid accidental release under tension. The triglide also keeps the webbing flat as it releases.
3
Next, feed the webbing through the plastic buckle and close it firmly. Make sure the harness and toggle cord aren’t folded into the mechanism.
4
Keep the webbing tail short, between two and five inches. A short tail allows the paddler to pull the webbing free with their release motion, preventing the webbing from twisting and getting caught in the buckle.
Some PFDs now have an extra buckle to adjust webbing length to maintain a two-inch tail. If your PFD does not allow for this, you may need to cut the webbing shorter and burn the end. Take care to leave a clean-cut end without a bump. Make sure to leave enough tail to accommodate different layers.
Releasing the harness
Practice a two-phase release motion: pull the release toggle, then push your hand forward. As long as the tail is short, this should pull the webbing out of the buckle, allowing release even without tension on the harness.
Finally, make sure you use this tool in the right context and with the right team. Using a quick-release harness requires not only proper use of the harness but also training in all aspects of river rescue, especially water reading and rope management.
Rescue belt demonstration
Watch a demonstration and discover the best practices to minimize entrapment risk with your quick-release harness setup.
Jamie Orfald-Clarke is a whitewater rescue instructor with Boreal River Rescue. Danny Peled is the founder of Boreal River Rescue.
 This article was published in Issue 75 of Paddling Magazine.
 Feature illustration: Rachel Davies


