
The popularity of action cameras is steadily increasing, as are the number of action videos on the web. However, a very important part of the video-making process is being neglected by both manufacturers and consumers alike.
Over the last couple of years I’ve gained experience in audio recording while making my sea kayak films, but the methods presented in this article are applicable in any situation where you want crisp monologue despite the hostile environment. “Plug and play” waterproof audio solutions don’t exist, but in this article I’ll show you three different setups I’ve come up with.
The three waterproof audio recorder setups all require you record the audio separately and sync it with the lesser-quality audio recorded on your action cam.
The setups are:
1. Recorder in a condom
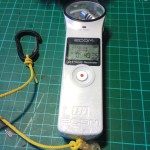
A rather cheap and versatile option is to seal a normal audio recorder in a condom. I use the popular Zoom H1 Stereo Recorder, but this trick applies to any audio recorder that’ll fit in a condom.
The thin yet tough membrane of the condom allows most of the audio waves through, and the device can still be operated as usual. Although this article mainly focuses on monologue, this recorder also works really well for recording ambient sounds.
How to use
- Clean the condom of any lubricants with a paper towel
- Roll the condom on and tie a knot
- Apply the windscreen and you are ready to clap (to make syncing audio easier later)
- When outdoors, always use a fur/windscreen to avoid wind noise. In my experience the Redhead windscreen is the best option for the Zoom H1 recorder.
- Keep the windscreen dry and bring a spare
- Tie a lanyard to the recorder
Pros
- Economical
- 10 hours of recording time on a AA battery
- Small
- Versatile
- Surprisingly durable
- Fast setup
Cons
- Plastic cabinet picks up noise
- Can’t monitor audio with headphones when condom is on
- Condom blocks the highest frequencies
- Condom can rip open
- More prone to pick up wind noise
[ Paddling Buyer’s Guide: View all electronics for paddling ]
2. Waterproof lavalier microphone
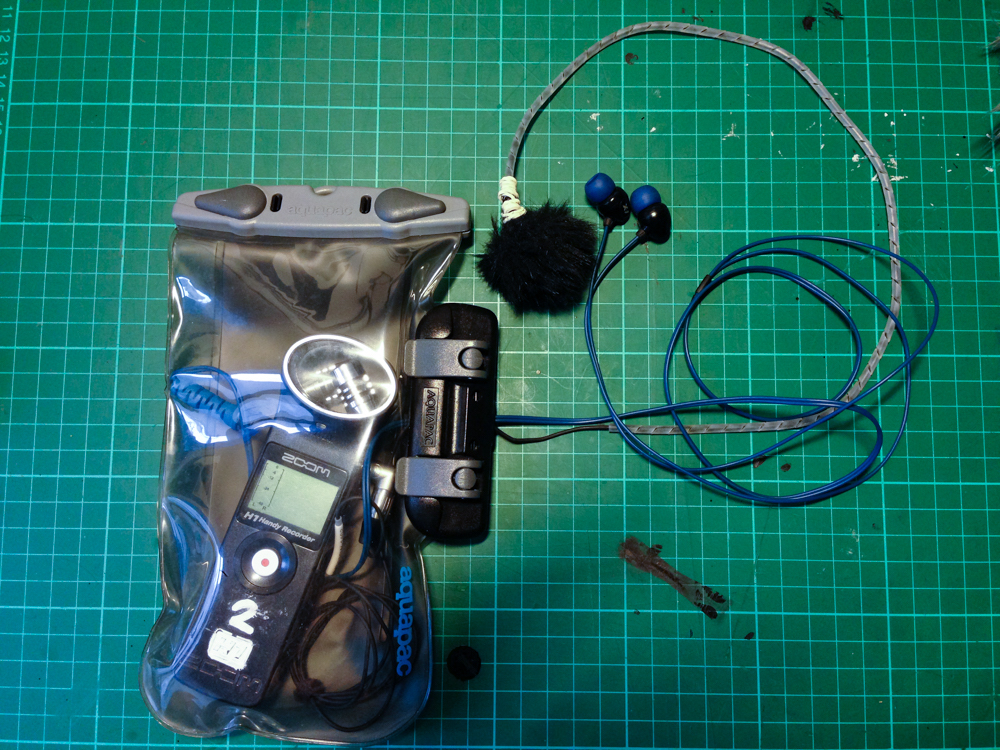
This setup gives you a lot better audio quality but will cost you almost the same as your action cam. It’s a combination of the VT500 Water from Voice Technologies—a waterproof lavalier (lapel) mic that can withstand temporary submersion— and the Zoom H1 recorder—kept dry in a drybag from Aquapac, which can also take a short plunge.
How to use
- The Aquapac has a special watertight opening that allows cables to run through, for use with waterproof earphones to monitor the audio
- The input level in the Zoom H1 should be set at 30 to 40
- The microphone can be positioned with a clip about 20 to 30 cm beneath the talent’s mouth. In some cases I have used PVC tape to secure the mic to the PFD.
- In my experience, it’s best to keep everything ready in a watertight box and as soon as you’ve finished recording, return everything to the box. This way you’ll keep the fur dry and the cables protected from any mishap.
- Always use a fur/windscreen on the mic and bear in mind that the audio recording will be useless if the fur gets wet—so always bring some spares. I use the ones from Rycote when working with lavalier mics and then tie an elastic band around the bottom of the fur to avoid losing it should I go overboard!
Pros
- Good audio quality
- Waterproof
- Durable microphone picks up less wind noise
Cons
- More costly
- Takes time to set up
3. Smartphone with lavalier microphone

This setup is not entirely waterproof, but will give you good audio results at a fairly cheap price. The combination is similar to the example above, but your smartphone is used as the recorder and kept safe in a smaller Aquapac. The microphone is a Røde Smart Lav+.
This lavalier is designed for smartphones and gives you really decent sound at a very reasonable price. Also, the fur that fits this lavalier is a lot more affordable. Røde gives you three windscreens for the same price as one from Rycote. The fur protects not only the audio from any wind noise, but also the mic from the first splashes of water.
How to use
- Download the Røde Rec APP and set sample rate to 48,000 hertz. When back home, export the recordings as a .wav file. Alternatively, use the standard memo app on your smartphone.
- Invest in a package of Røde Mnifur Lav
- Set phone on flight mode
- Position the microphone 20 to 30 cm beneath the talent’s mouth
- If you want to monitor your audio while recording then you can invest in a Røde SC6 adapter that allows you to plug in headphones while recording
- Warning: If using this setup in the water, I would strongly advise you bring an extra means of communication in case your smartphone runs out of battery or is dropped accidentally
Pros
- Reasonably priced
- Good entry-level mic
- Picks up little wind noise
- Monitor audio
- Cheap accessories
Cons:
- Not a waterproof mic
- Drains smartphone battery
- Touchscreen can be difficult to operate if wet
It is a hassle to record audio out in the field, and you constantly make mistakes, but you also learn something new every time. The real pay-off comes when you present your rugged adventure video without the audience ever noticing the audio.
Thor F. Jensen is an award-winning filmmaker, illustrator and adventurer based in Denmark.


This article is totally inappropriate