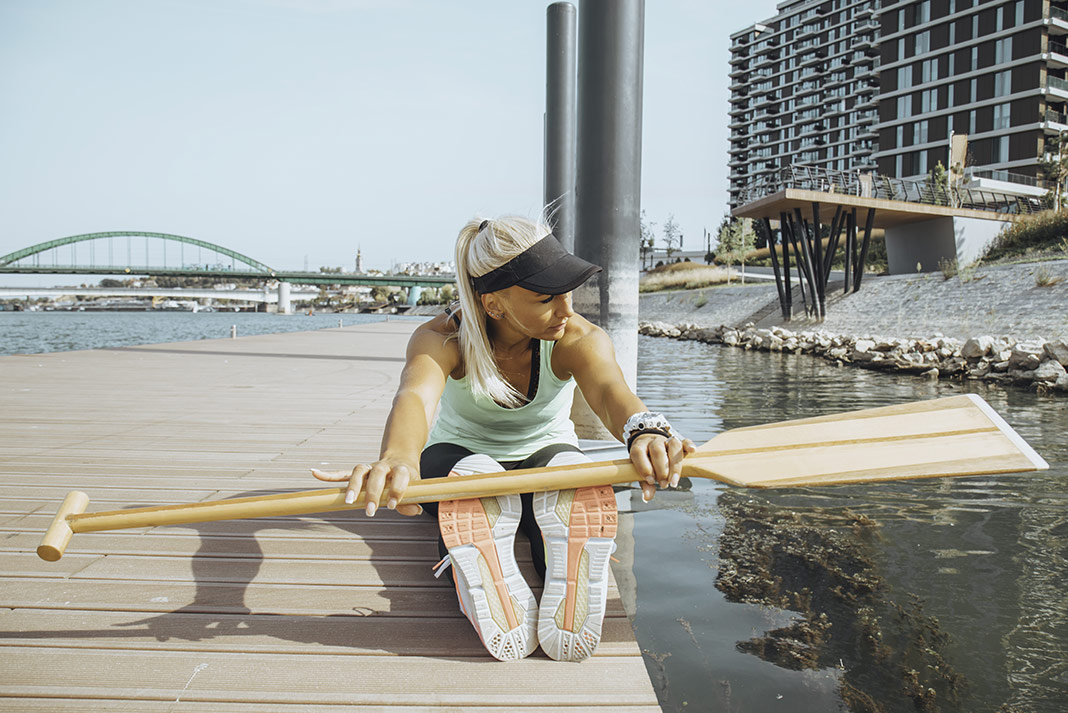
We all know the take-out is a great place to socialize, but instead of standing around while you gab, do your boating a big favor and stretch. “After your paddle is the most effective time to get some deep stretches in,” says Heather Herbeck, a pro-kayaker and personal trainer. “Your body is warmed up and ready for you to challenge your flexibility with a few stretches.”
While overall physical fitness improves your boating, stretching can be just as beneficial. “Stretching improves performance. When your joints are flexible, it requires less energy to move from point A to point B,” explains Herbeck. “Quick movements, with limited energy expenditure, are important when paddling whitewater.”
Next time you go paddling, try out Herbeck’s top five stretches and feel the difference for yourself. “If you don’t stretch after paddling, you are a candidate for low back pain, bad posture, muscle weaknesses, injury and lack of range of motion,” says Herbeck. Not ideal if you plan to continue your paddling career.
Hold each stretch for at least 30 seconds and repeat on each side at least twice. For tighter areas, such as the shoulders, chest and hips, Herbeck suggests holding the stretch for one to two minutes.
[This article is part of The Ultimate Fitness Guide For Paddlers. Find all the resources you need to stay healthy and fit for paddling.]
Top 5 post-paddling stretches
Outer back stretch

“Paddlers use the muscles in their back for strong paddle strokes, which causes the muscles to become very tight,” says Herbeck.“Tight lats can sometimes inhibit the success of rolling your kayak, so keeping this area flexible is very important.”
To stretch your lats, reach one arm straight overhead. Using your free hand, grab the elbow of the extend arm and pull lightly until you feel a stretch. Lean your torso in the direction you’re pulling to intensify the stretch.
Hamstring stretch
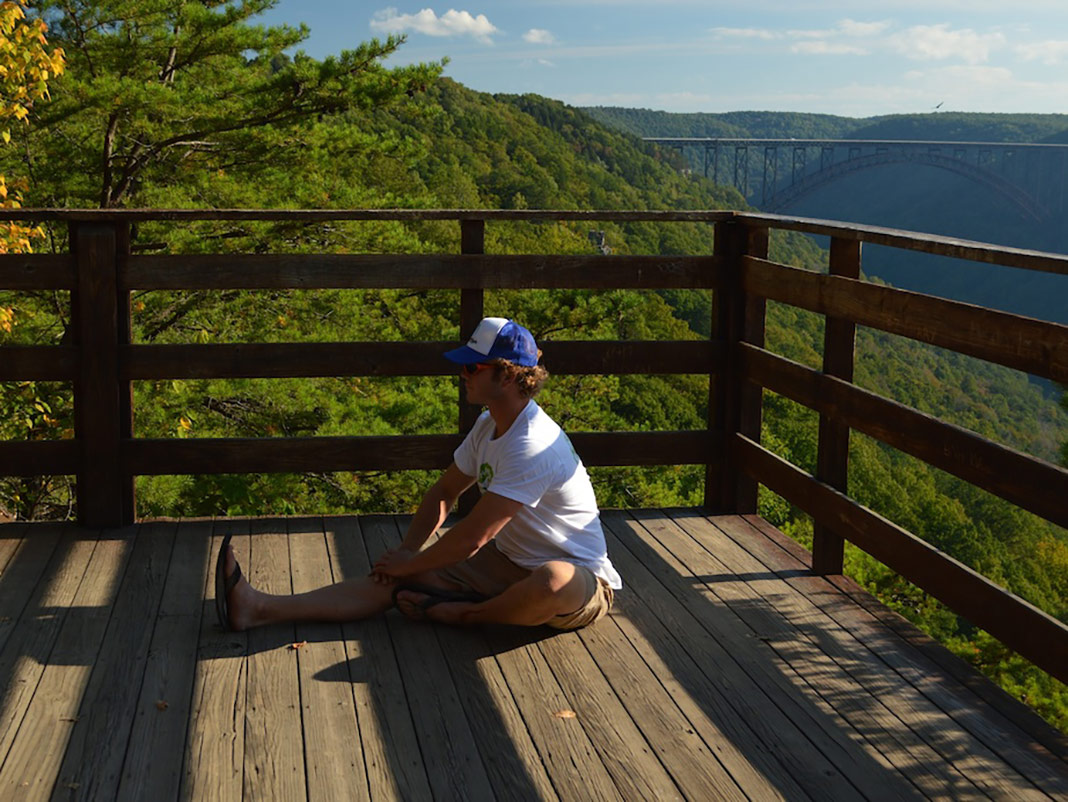
“Kayaking is sitting,” says Herbeck. “Too much sitting causes our hip flexors to become weak and tight, leading to limited movement because it shuts off your hamstring and butt muscles, which leads to overcompensation of the lower back.”
To stretch your hamstrings, sit on the floor and extend one leg straight in front of you and tuck the other close to your body while keeping your back flat. Lean forward from the hips, not by rounding the back.
Outer thigh stretch
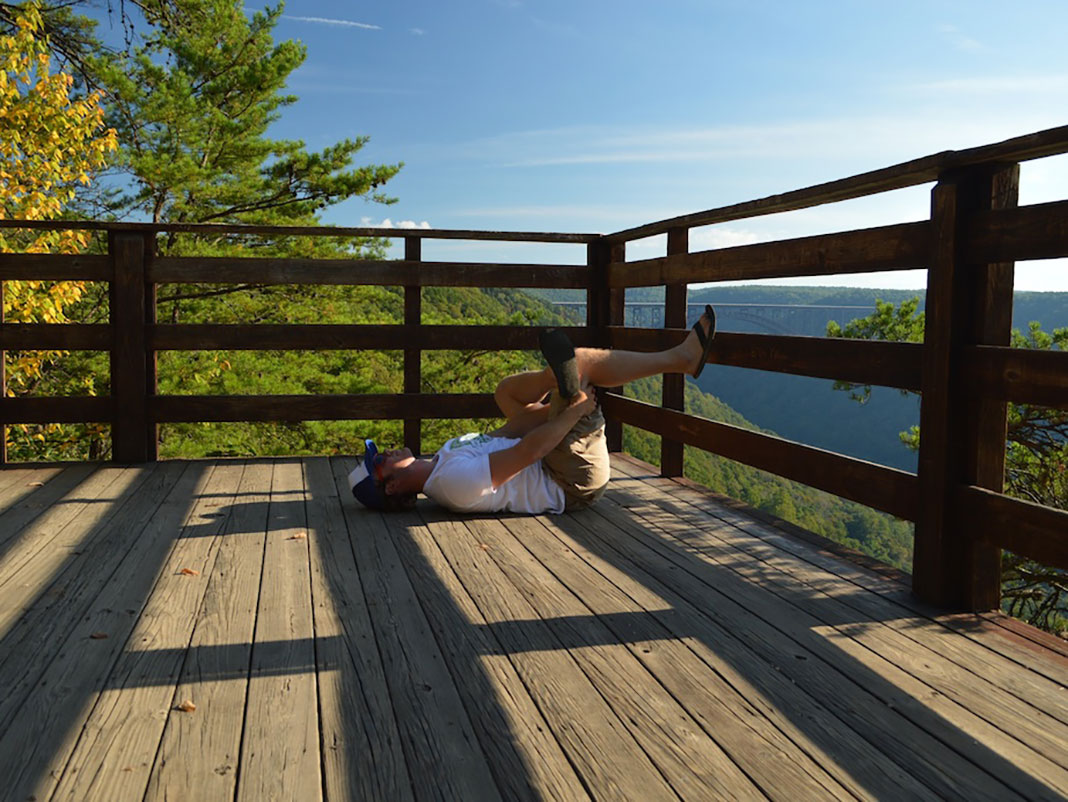
Lie down perpendicular to a wall or solid object. Rest one foot against the wall, bending your knee at 90 degrees. Rest the opposite ankle against the bent knee. Breathe through the stretch to feel the release, and keep your upper body relaxed.
Hip flexor opener
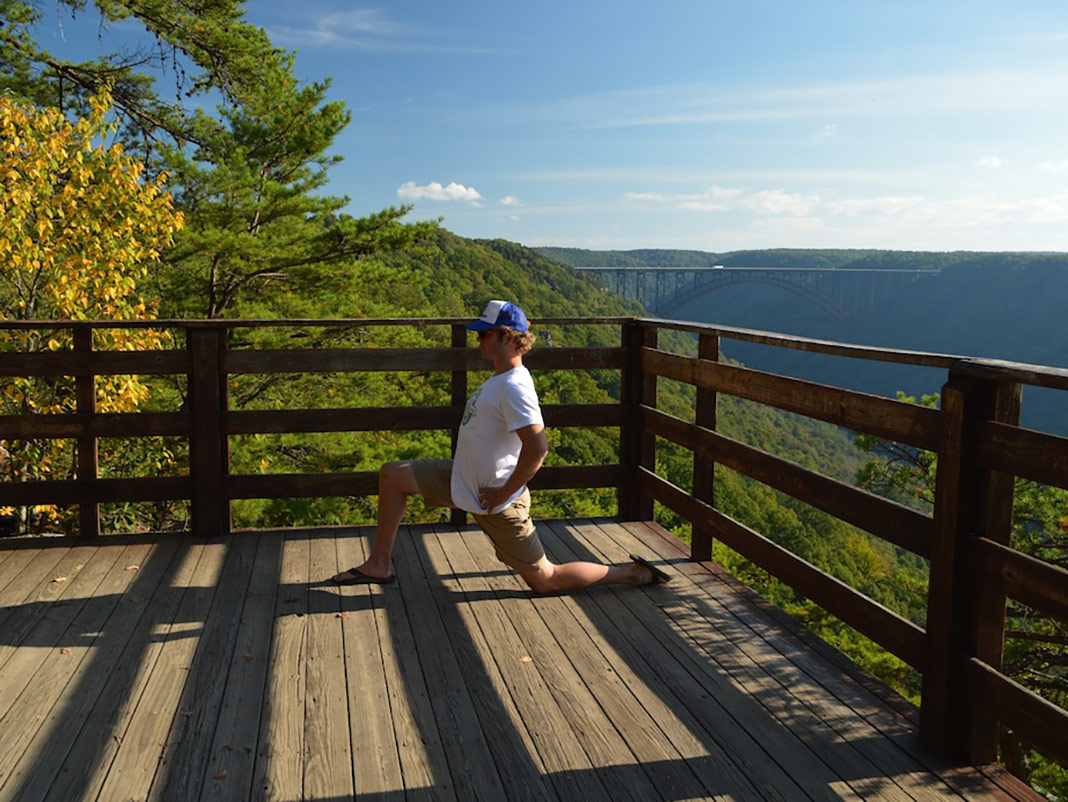
Kneel beside a wall, in case you need it for balance, and put one leg out in front as if you were doing a lunge, resting the other knee on the ground. Keep your front knee over or a little behind your ankle. Tilt your pelvis forward for a more intense stretch in the front of the hip.
Chest opener
Lie on an exercise ball facing upwards and place your arms out to your sides to form a T. Roll forward and backwards on the ball to massage your back.
Cool-down: foam rolling for paddlers
Foam rolling smoothens and lengthens muscles, and breaks up adhesions and scar tissue. It also helps your muscles relax. The result for kayakers is better blood circulation, which speeds workout recovery and boosts performance. Think of it as ironing out the wrinkles in your torn up musculature.
Foam rolling is recommended after a workout or paddle session and before stretching. It can be just as, if not more important than stretching, so if you’re short on time, just take five to 10 minutes to roll out
Here is a good routine for paddlers to follow:
Calf
Roll side to side three to five times on your lower calf, then move the roller up higher on the calf and repeat.
Hamstring
Roll side to side and lengthwise until you feel some release.
Glutes
Sit on the foam roller and roll both side to side and up and down until you feel some release.
Back
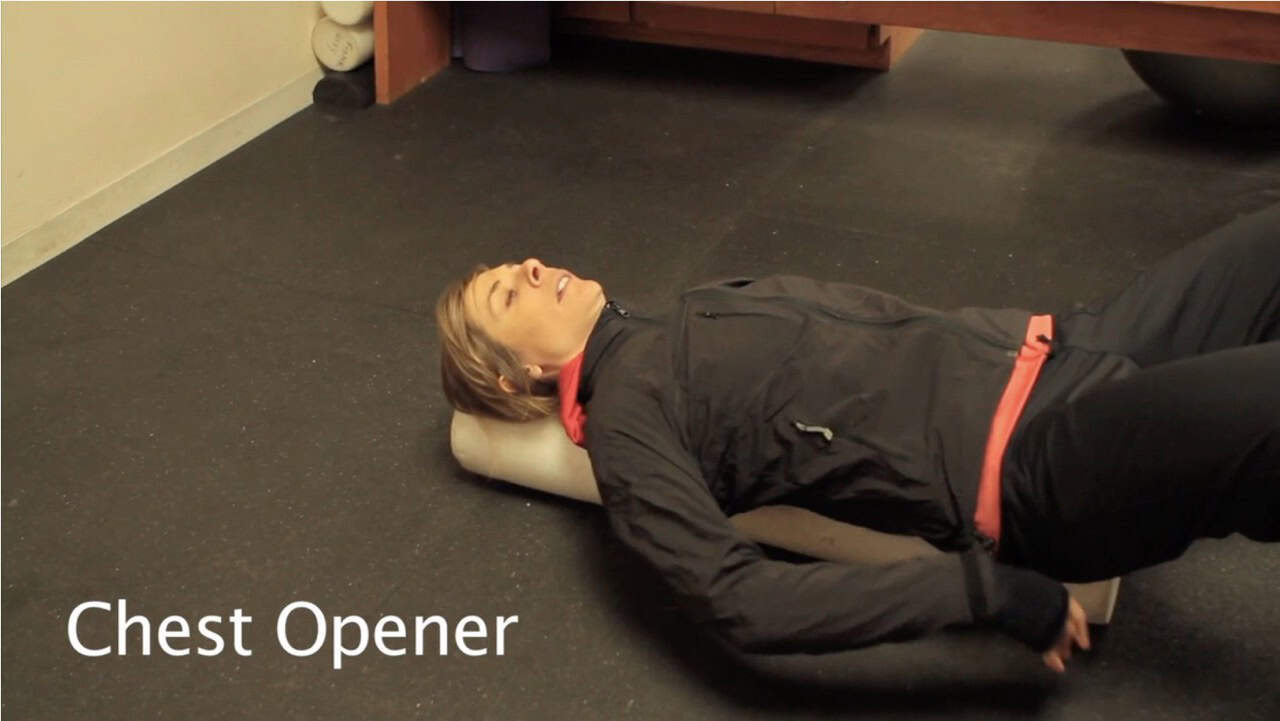
Chest Opener
Positioning: Place a foam roller horizontally on a mat. Sit with your tailbone near the roller, then slowly lean back, so the roller is aligned with your spine from your sacrum (tailbone) to your head, using a pillow or block for head support if needed.
Arm Placement (Start): Bring your feet flat on the floor with knees bent, then extend your arms out to the sides in a “T” shape, palms up, letting your shoulders relax down.
Gentle Opening: Slowly bend your elbows and bring your hands towards your shoulders (a “W” shape), then extend them back out, creating a gentle “angel wing” motion to open the chest.
Deepen the Stretch (Optional): If comfortable, slowly move your arms overhead (like making a snow angel), stopping where you feel a stretch, then return to the starting position.
Hold & Breathe: Hold the open position for 30 seconds or breathe deeply for several minutes, allowing your body to relax into the stretch.
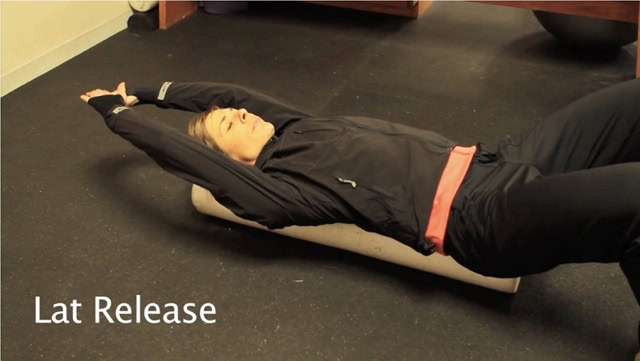
Lat Release
Position: Lie on your side with the roller or ball under your armpit/side.
Find Tender Spots: Slowly move your body to roll over the lat muscle, looking for tight or tender “trigger points”.
Incorporate Movement: Once a tender spot is found, move your arm in controlled motions (e.g., punching forward/backward, overhead sweeps, or rotating the arm) while maintaining pressure.
Breathe & Hold: Use deep breaths, holding pressure on tight spots for about 30-60 seconds, or until the tension lessens.
Repeat: Move to other spots and repeat on the other side.
IT band (outside of leg)
Turn on your side and roll out your leg lengthwise and side to side, three to five times on each leg. (This one will hurt.)
Quads
Flip over and roll out your quads lengthwise and side to side three to five times.
As you do this total body routine, avoid rolling over joints.
If you ever run into an area that feels like there is a lump, instead of rolling over it multiple times, statically press into it for 15 to 30 seconds.
Foam rollers cost between $20-40 and can be found at any store that sells fitness-related equipment. They come in different levels of firmness; an extra firm roller will dig into the fascia more and also cause more pain. A softer roller will be less painful to use.
Part of this article was first published in the November 2013 issue of Paddling Magazine. Subscribe to Paddling Magazine’s print and digital editions here, or browse the digital archives here.
Heather Herbeck has a B.Sc. in Exercise Science and is a pro-kayaker, Certified Personal Trainer and Level 1 Crossfit Trainer with over 15 years experience.


