It’s been more than 30 years since I learned how to kayak. The first boat I sat in was an Aquaterra Spectrum, on loan from friends at the local outdoor store. I remember watching them catch and ride small waves in their sleek fiberglass kayaks as I struggled to keep pace, yet I knew I was hooked. It wasn’t long before I had my own kayak and was working on developing the skills that would take me near and far. I traveled to the U.K. to paddle tide races in the Irish Sea and even spent a month living out of a kayak in the Aleutian Islands. It’s now been three decades of such adventures.
I still remember though what it was like starting out. Slowly learning how to keep the kayak tracking straight. Learning how to handle rougher and rougher conditions. In many ways, kayaking is easy. But it can also be challenging. The good news is that we all start somewhere and, no matter what your skill level is, there is fun and adventure to be had.
The following is a starting point for the basic skills that will help you enjoy your time on the water.
Essential Kayak Gear
There are a few pieces of gear you need to go kayaking:
- Beginner-friendly kayak
- Paddle
- A Coast Guard approved lifejacket
- Whistle or other sound-producing device
- Cellphone (stored in a waterproof phone case)
- Bilge pump or bailing device if in a closed deck boat
- Proper paddling attire for weather and water conditions
How to sit in a kayak
Before you get started paddling, you’ll need to get comfortable sitting in your kayak.
Adjust the foot braces in your kayak so you can sit upright without leaning back. There are several ways foot rests adjust. Some have a trigger behind the foot brace pedal that you squeeze to move the pedal. Others have a long stick that is either lifted or twisted to free the pedal so it can be moved. And the most basic are molded-in incremental plastic steps.
You’ll want your foot braces set to have your knees comfortably bent. And your foot should be in a neutral position. Imagine your foot and ankle forming the letter “L” when you press on the foot brace. If you have to point your toes, the pedals are too far away.
You also want to adjust your backrest so that it provides support and helps you sit upright.
If your kayak has thigh braces, your thighs should be able to gently contact these when your feet are on the foot rests. If your kayak has a large, open cockpit, you can rest the outside of your thighs against the inside edge of the cockpit opening while being able to sit upright.
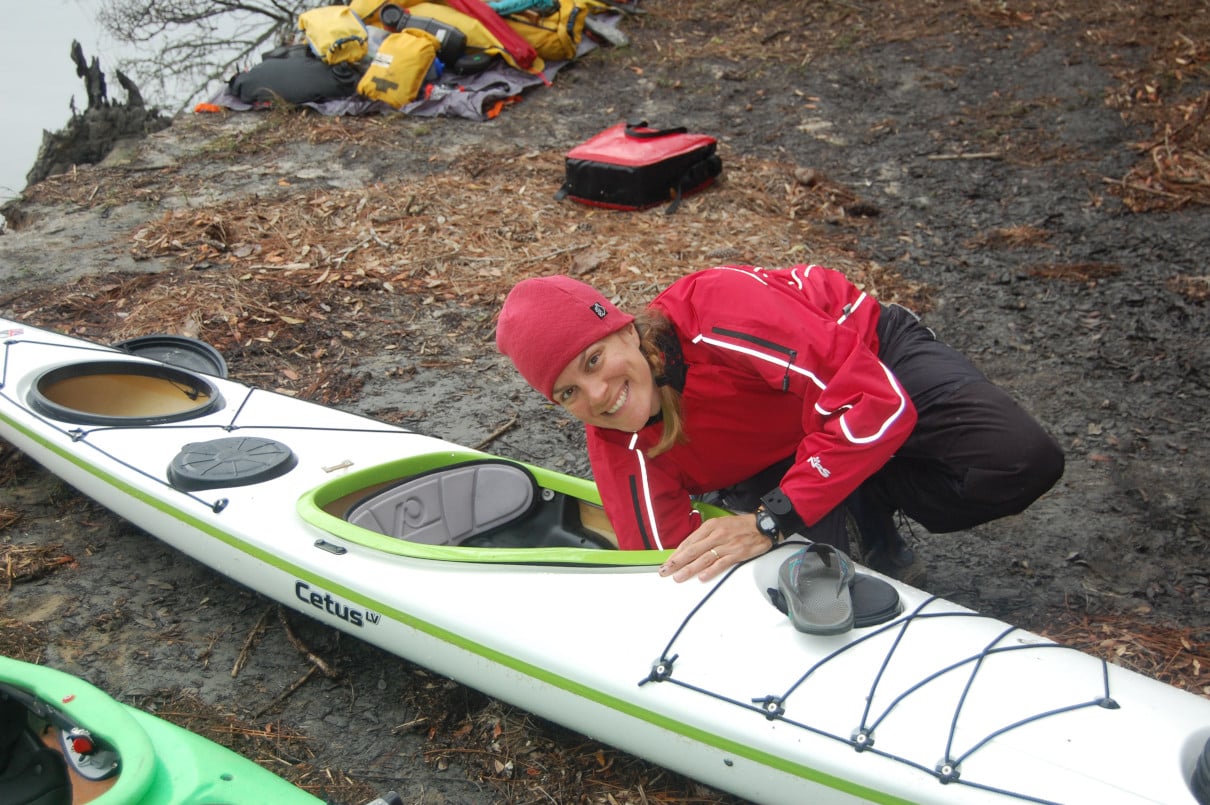
How to launch a kayak
There are three basic ways to get into a kayak: straddling, with support and sidesaddle. It’s usually best to get your kayak completely floating before you enter it using one of the techniques mentioned below.
Sidesaddle Method
The sidesaddle method is an one of the easiest ways to launch a sit-on-top kayak:
- Walk the kayak out into knee-deep water.
- Position yourself near the seat and sit down on the kayak, leaving your legs in the water.
- Once you are seated on the kayak you can swing your legs onto the boat and get situated.
This technique doesn’t work well with decked kayaks because the kayak will tip too much and may start to fill with water.
Straddling Method
To use the straddling method:
- Stand with your feet on either side of the cockpit and your body above the seat.
- Lower yourself into a squat position and hold onto the cockpit coaming of the kayak for support and balance.
- Next, lower yourself into the seat and allow your legs to hang over the sides of the kayak.
- Once you are seated, pull your legs into the boat one at a time.
Straddling seems a bit awkward but has the advantage of putting your weight onto the seat of the kayak as quickly as possible. This helps balance, especially in a narrower kayak. Straddling isn’t the ideal approach for those with strength or balance issues. For these paddlers, some support might be helpful.
Support Method
The support method for launching your kayak can come from lots of places. It can be someone holding the boat as you settle into the seat, or it could be holding onto a solid object as you lower yourself into the cockpit. Some paddlers like to use their paddle as a brace by holding one end behind the cockpit and resting the other end on the shore or bottom. This is tough on your paddle but can be effective. Don’t try this with an expensive kayak paddle, you might break it!
While using support, many people prefer to sit first on the back deck of their kayak just behind the cockpit before swinging their feet into the boat. This motion is less strenuous than lowering yourself into the cockpit from a standing position. Avoid stepping into the boat with your feet first if you can. Better first to sit and then to move your feet into the kayak.
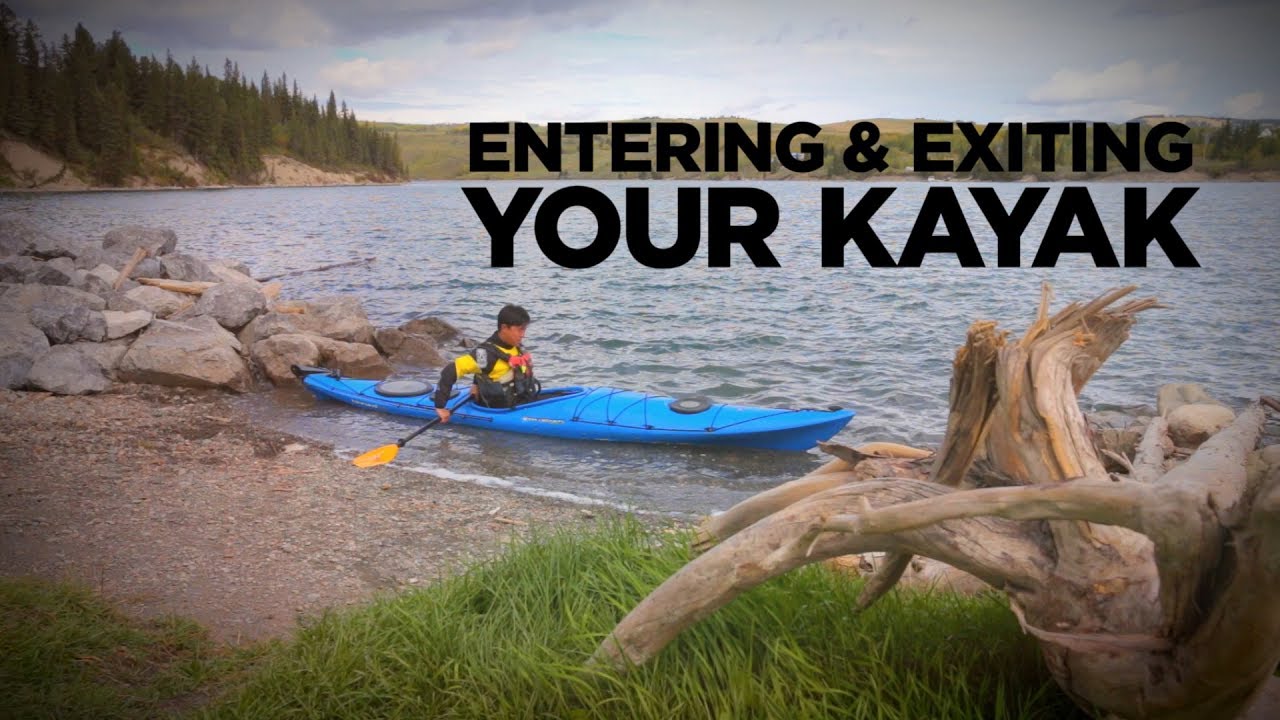
How to get out of a kayak
Getting out of a kayak is simpler than it may seem: just reverse the process you used to launch. If you used the straddle technique, swing your legs over the side and push yourself into a standing position using your arms and legs. If you used your paddle for support, position your kayak where you can deploy your paddle “kickstand” and stabilize yourself before lifting yourself off the seat and onto the back deck. To exit from a dock you’ll have to return to the position of support you used to get into the kayak before pushing yourself up and onto the dock with your legs. It goes without saying that this is one of the trickiest and most strenuous ways to get out of a kayak.
If you flip your kayak, it is very easy to get out. Put your hands near your hips at the cockpit coaming. Tuck forward and push with your hands. Your life jacket will float you towards the surface and you’ll be out of the kayak in an instant.
Basic Kayaking Strokes
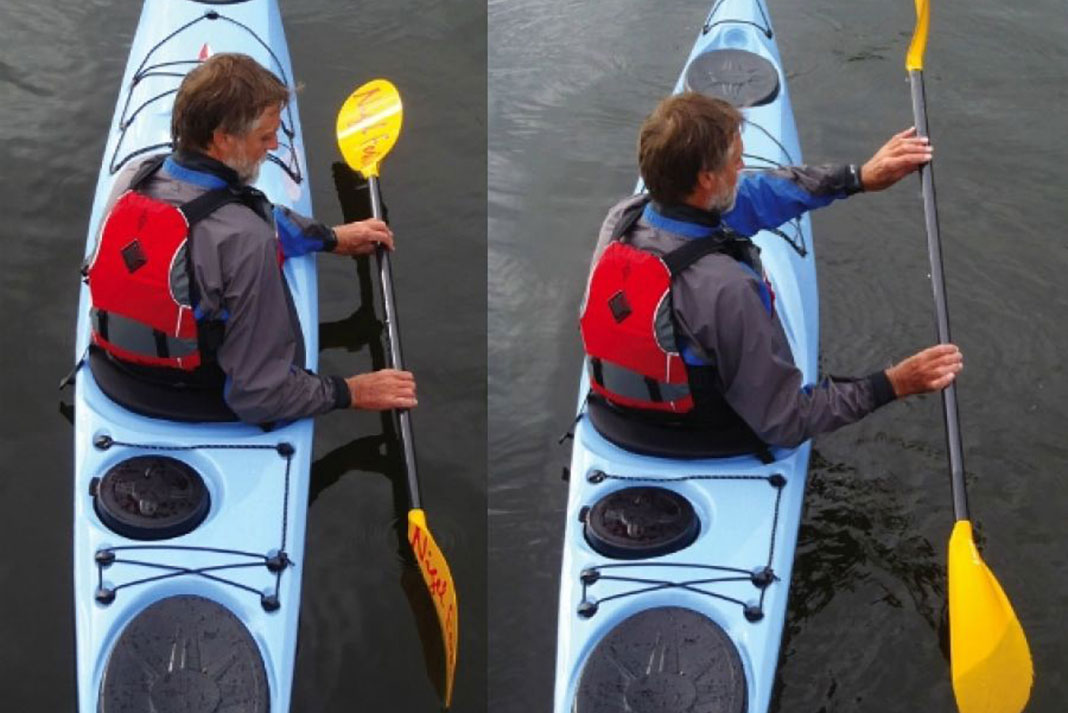
How to hold a kayak paddle
Well, we’re on the water. Before you can start paddling though you’ll need to get a grip on your paddle.
- If you’re just getting started, try or adjust to an unfeathered, also called a 0-degree offset, paddle which will have both blades set at the same angle to the shaft.
- If your paddle blades have a curved spoon shape, the concave side that would “scoop the soup” faces toward the paddler (this is called the power face). If one edge of the paddle blade is longer than the other, the long edge goes on top.
- Hold your paddle with your knuckles lined up with the top edge of the paddle.
- Your hands should spaced on the paddle shaft a little bit wider than shoulder width so if you were to hold the paddle up on your head, your elbows would be bent at a right angle.
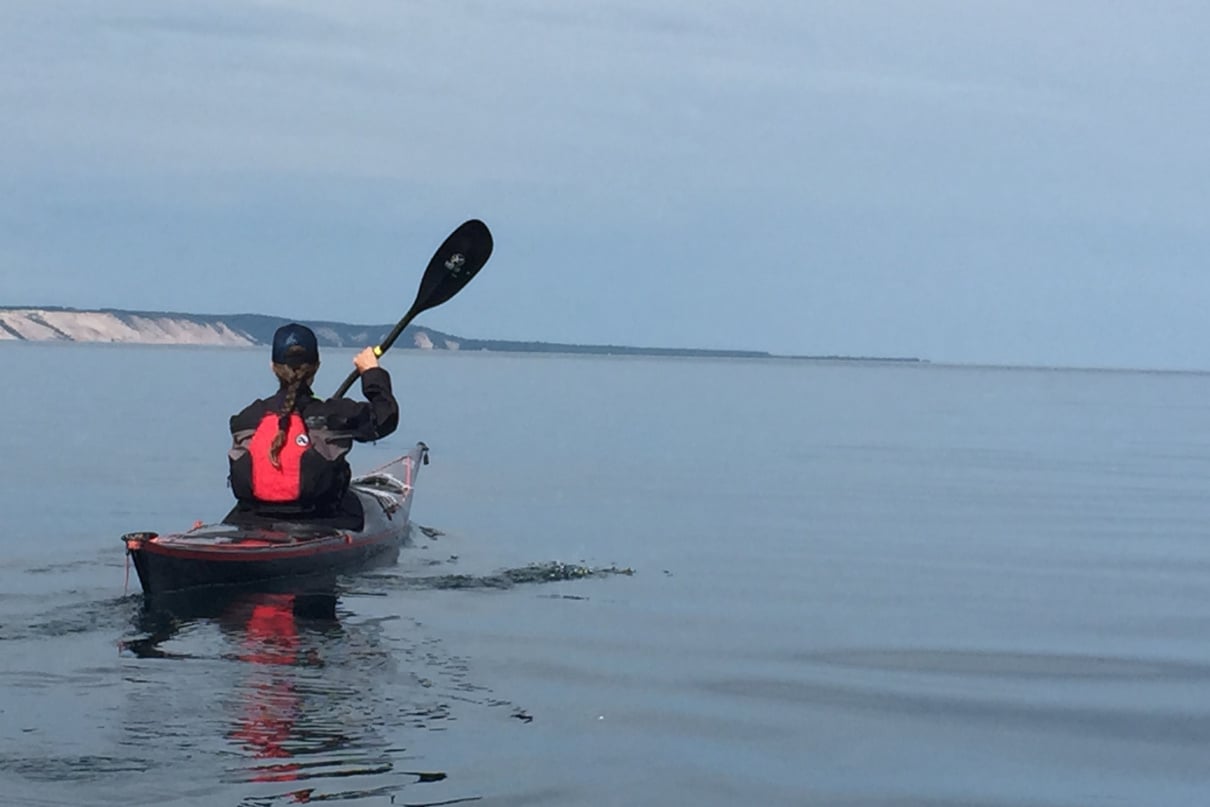
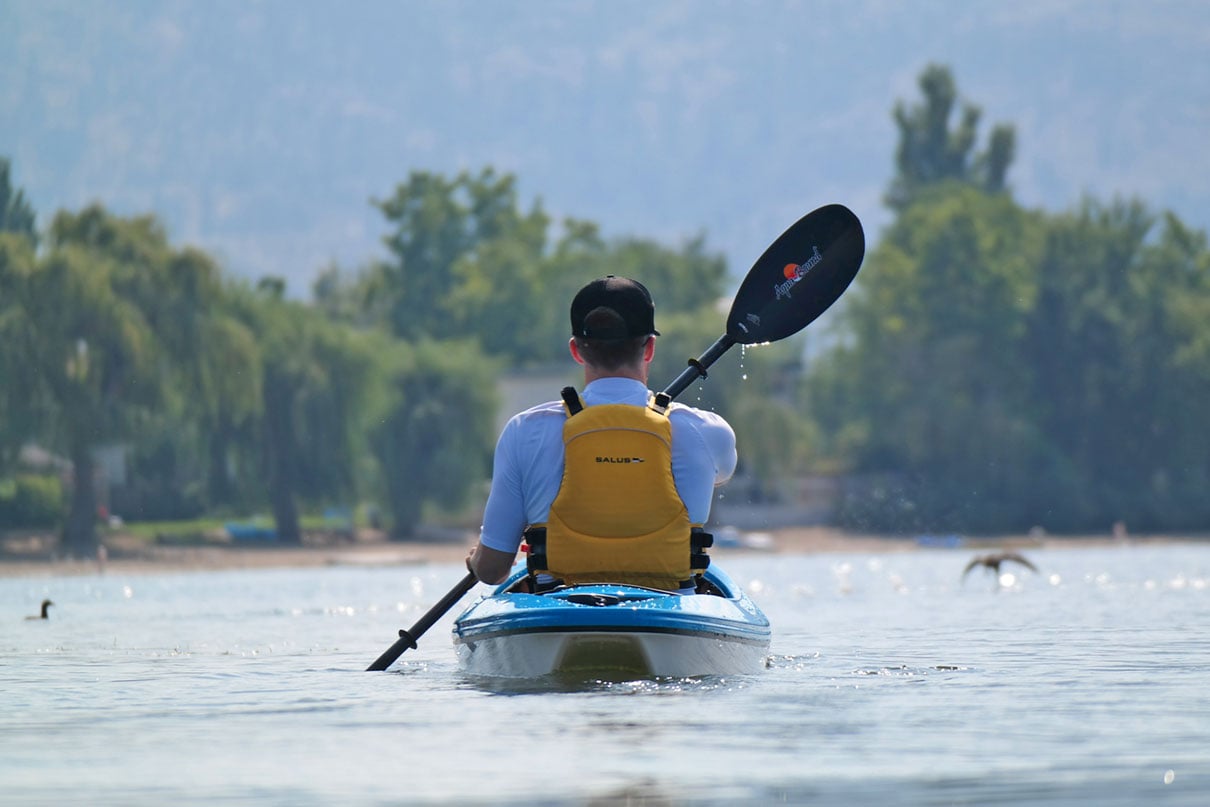
How to paddle a kayak forward
The forward stroke is how to propel your kayak forward. This will be the stroke you use most of the time and practicing a good forward stroke will lead to a more enjoyable day of kayaking.
- On one side of your kayak, reach forward toward your toes and submerge the blade fully in the water.
- Now, using a rotating motion with your torso, pull your kayak past the paddle. Push with your top hand at the same time.
- When the blade reaches your hip, slice the blade out of the water.
You should now be in a position to repeat on the other side. - Alternate forward strokes on the right and left side to move your kayak forward through the water. It’s okay if you need to say take two strokes on the same side once in awhile.
Forward stroke tips: Think “feet to seat.” Your blade goes in at your feet and comes out at your seat. Punch forward with your top hand as you pull on the paddle. Don’t lean forward. If you need a little more reach, twist at the waist. Pull straight alongside your kayak to go straight. Try pushing with your foot for more power. Push on the paddle side.
How to paddle a kayak backward
We paddle a kayak backward using a reverse stroke. The back side of the paddle is used for this stroke. You do not want to spin the blades around.
- Twist at the waist so you can look back over your shoulder behind the boat.
- Put the back side of the blade flat on the water.
- Push down first and then toward the bow of the boat.
- The blade of the paddle will come out of the water near your feet.
Reverse stroke tips: Make sure to look over your shoulder so you see where you are going. Pull a little with the top hand as you are pushing with the bottom hand. Alternate quick reverse strokes on either side of the kayak to stop moving forward.
How to steer a kayak
Kayakers use sweep strokes to steer their kayaks. Use a forward sweep when paddling forward and a reverse sweep when going backward. You can alternate a forward sweep on one side with a reverse sweep on the other to turn around in a circle while standing still.

The forward sweep stroke
A forward sweep stroke is one of the best methods to turn your kayak when you are moving forward. A forward sweep is a lot like the regular forward paddling stroke, just more exaggerated.
- Put the paddle in the water close to the bow of the boat so the power face is pointed away from the hull.
- Pull the blade through the water in a wide arc.
- Follow the blade with your eyes and take it all the way to the stern of the boat.
- When the blade nears the stern, lower your top hand to pull the blade free of the water.
Forward Sweep Tips: The paddle shaft is held low during the whole stroke. If you are moving forward, the last part of this stroke turns the kayak the most. If you are standing still, the middle part of this stroke has a big turning effect.
The reverse sweep stroke
A reverse sweep is the opposite of the forward sweep and turns your kayak by stopping the boat’s momentum on one side.
- Twist at the waist so you can put the paddle in the water near the stern.
- Using the back face of the paddle for the stroke, sweep the blade in a wide arc away from the boat using a pushing motion.
- Follow the blade with your eyes until it is close to the bow of the boat.
- Slice the blade out of the water before it touches the hull.
Reverse sweep tips: The paddle shaft is held low during the stroke. If you are moving forward, a reverse sweep with turn the boat sharply, but will slow your boat dramatically.
How to kayak in a straight line
Now that you know a few kayak strokes you’re probably trying to figure out how to go straight. Different types of kayak hull designs play a role in how easily they track straight. Especially shorter kayaks will start to veer if you stop paddling or your are paddling better on one side or the other. Regardless, by practicing good forward strokes that travel directly alongside the kayak and exit at your hip, and by using a couple of tips here, you’ll be able to cover ground without spinning in circles.
One trick to going straight is to pick a spot on the horizon that lines up with your direction of travel. Aim and maintain the bow of the kayak to that point.
It’s also better to make small corrections than large ones. If your bow starts to veer you can bring it back on course with just one sweep stroke if you notice it early. If it starts to veer off to the right, use a forward sweep on the right to bring it back on target.
How to move your kayak sideways
Sometimes you need to move your kayak sideways. Maybe you need to move closer to your friend’s kayak, or to a dock. Whatever the reason, to move sideways you’ll use a draw stroke as follows.
- Twist at the waist so that you’re facing the direction you want the kayak to go.
- Reach out with your bottom hand and put the paddle in the water roughly perpendicular to the cockpit.
- Pull the kayak toward the paddle.
- When the blade nears the hull, drop your top hand toward the bow of the boat to slice the paddle out of the water.
- Repeat as necessary.
Draw Stroke Tips: Be careful as you practice the draw. If you keep pulling on the paddle you might pull your boat right over the top of it and flip. Make sure you slice the paddle out of the water when it gets close to the kayak.
Advanced kayaking strokes
There are all kinds of advanced strokes you can dive into as you improve your paddling skills. There are different techniques for draw strokes, dynamic turning strokes, braces and support strokes to help keep you upright in rough water and, of course, the kayak roll. You don’t need these advanced strokes to have fun on quiet water, but they become essential as you venture out into the rough stuff.

How to paddle a tandem kayak
Paddling a tandem kayak is a lot like paddling a solo kayak. The biggest difference is that it works best for the bow paddler to focus on forward strokes and the stern paddler to take care of steering. Since the stern paddler is closer to the rear of the boat than he or she would be in a solo kayak, the sweep strokes change a little bit. Skip the part of the sweep near the bow and start or end the stroke at the centre of the kayak, near the stern paddler’s feet.
One more trick has to do with forward paddling. In a smaller tandem kayak, the seats may be close enough together that the paddles will bang into one another if they’re not in sync. Try putting the paddles in the water at the same time on the same side. To do this, it’s easiest if the stern paddler follows the bow paddler’s pace.
How to get back on a capsized kayak

What do you do if your kayak flips over? It depends on what kind of kayak it is and how much you’ve practiced your self-rescue skills.
Most recreational kayaks don’t have enough buoyancy to float high in the water if swamped. In the event of a flip, the kayaker should swim their kayak to shore and empty it while standing in shallow water or on land.
Sit-on-top kayaks can be flipped back upright in deep water without swamping. Then the paddler can simply climb back onto the boat on his stomach. Climbing back on your kayak is something many beginner kayakers want to learn to do and can be accomplished in a few steps.
- If the kayak is upside down, you can reach across and pull it back over, or push the closest side straight up into the air to flip it upright.
- Now, at the side of the kayak, reach across and pull your chest and hips onto the boat. Keep your paddle between or hold it in your far-reaching hand to not lose it. Stay as low as you pull yourself across.
- Once you have your chest and hips in the kayak, swing your legs around to the foot braces and sit upright.
This simplicity of self-rescues makes sit-on-tops a good choice if you need a recreational kayak that can be paddled farther from shore.
Touring kayaks have bulkheads for more floatation. This means they can be re-entered in deep water and paddled to safety. There are several rescue techniques that will help a kayaker get back into her boat in the event of a flip. The rescues done with a partner are fastest and end up with the least amount of water left in the boat. Solo rescues are more time consuming and require the cockpit to be pumped out once the paddler is back in the kayak. In cold water this is a big disadvantage.
The most common group rescue is the T or X rescue, in which the swamped kayak is emptied over the deck of a companion’s boat. The most common solo rescue is the paddlefloat self-rescue. In this case a float is attached to one end of the paddle while the other end is secured to the deck of the kayak, creating an outrigger. With the kayak stabilized, it is possible for the paddler to re-enter the cockpit and pump out the water.
Rescues are serious safety skills and it makes sense to practice them until you can do them quickly and skillfully. If you’re new to kayaking, don’t venture far from shore until you’ve had a chance to develop these skills.
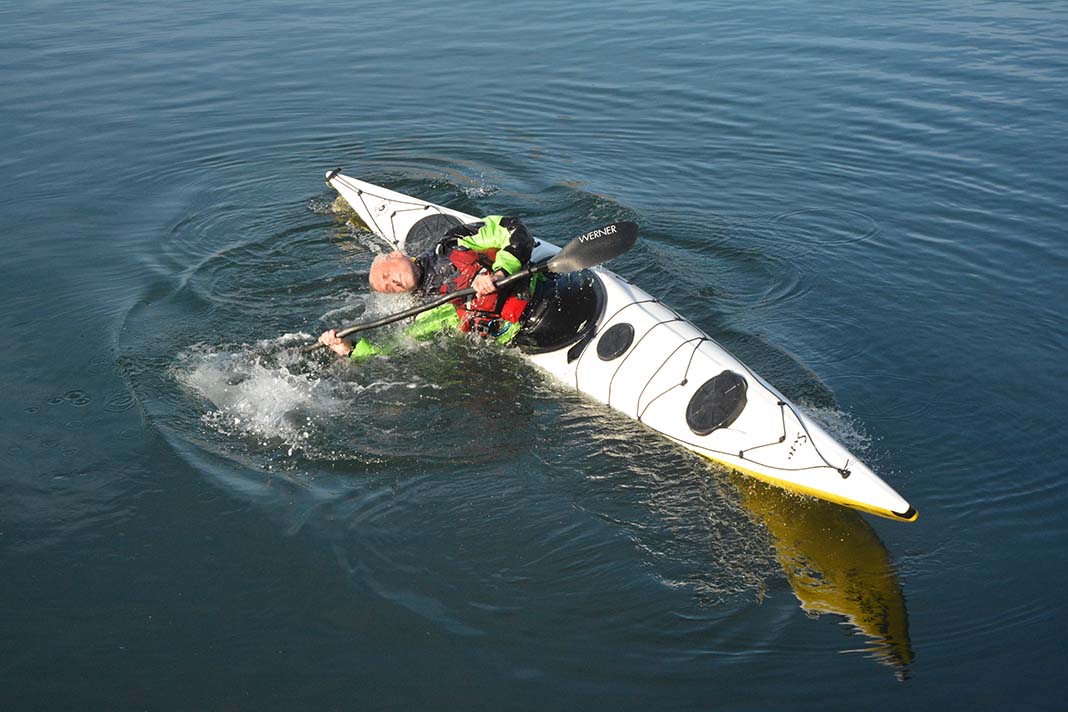
How to roll a kayak
The kayak roll is the ultimate self-rescue technique. If you have a closed deck touring or whitewater kayak and have a reliable roll, the chances that you’ll need to swim out of your kayak if you flip are much lower. Whitewater kayakers, surf kayakers or sea kayakers who paddle in challenging conditions will all benefit from learning to roll. What’s more is that once you know how to roll, you’ll find it easier to develop the advanced skills that help keep you upright.
On the face of it, the roll is a simple maneuver. In the upside down position, the paddle is swept outward away from the kayak. This lifts the paddler’s body toward the surface of the water. The paddler then uses knee pressure to flip the kayak upright and brings her body back into balance over the hull. Presto!
Easy as it sounds, the roll can be very challenging to learn. It is a complex skill that requires muscle memory to execute. There are many motions that need to be done in quick succession without thinking about them. This means most people have to methodically drill the different segments of the roll before they can begin to tie them together into a complete technique.
The complex nature of the roll makes it a skill that is best learned with an experienced friend or instructor in a controlled environment like a swimming pool. Watch specific tips and trick on how to roll a kayak for a detailed walkthrough of the skill.
How to read moving water when kayaking
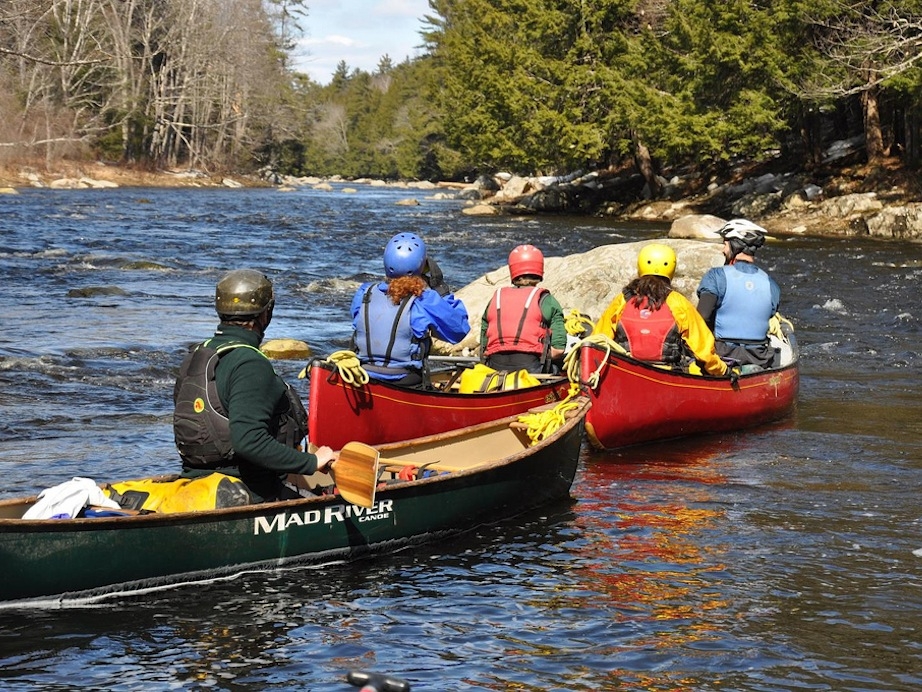
Reading water means looking at how the water is moving and making a guess about what’s under the surface. As water moves past rocks or other obstructions it makes an eddy of calm water behind the object. This can be a resting place for your kayak in swift moving water. In whitewater, waves, holes and other features are caused by water rushing over the top of rocks.
Reading moving water and whitewater takes practice. If you’re paddling rivers with whitewater, it makes sense to take a class or go out with an experience paddling partner who can teach you the ropes.
- In moving water, eddys of quieter water will form behind rocks and other obstructions.
- Look for V’s of water around submerged rocks. V’s that point upstream have a rock at their point. V’s that point downstream show a clear path.
- Keep away from features that let water through but would trap your kayak. Logs, downed trees, bridge pilings and anchored boats can all be very dangerous. Give them a wide berth.
- Stay away from dams of all kinds. They are extremely dangerous.
How to kayak a river
The easiest way to kayak a river is to go downstream. This means you’ll need to set a shuttle so there is a vehicle at the end of your river trip that you can use to get back to the put-in. If you don’t have a second car you may be able to run your shuttle with a bicycle, or, in many towns with rivers there are shuttle services.
Of course, on some rivers you can paddle upstream against the current. This is a great way to get a workout and eliminates the need for a shuttle.
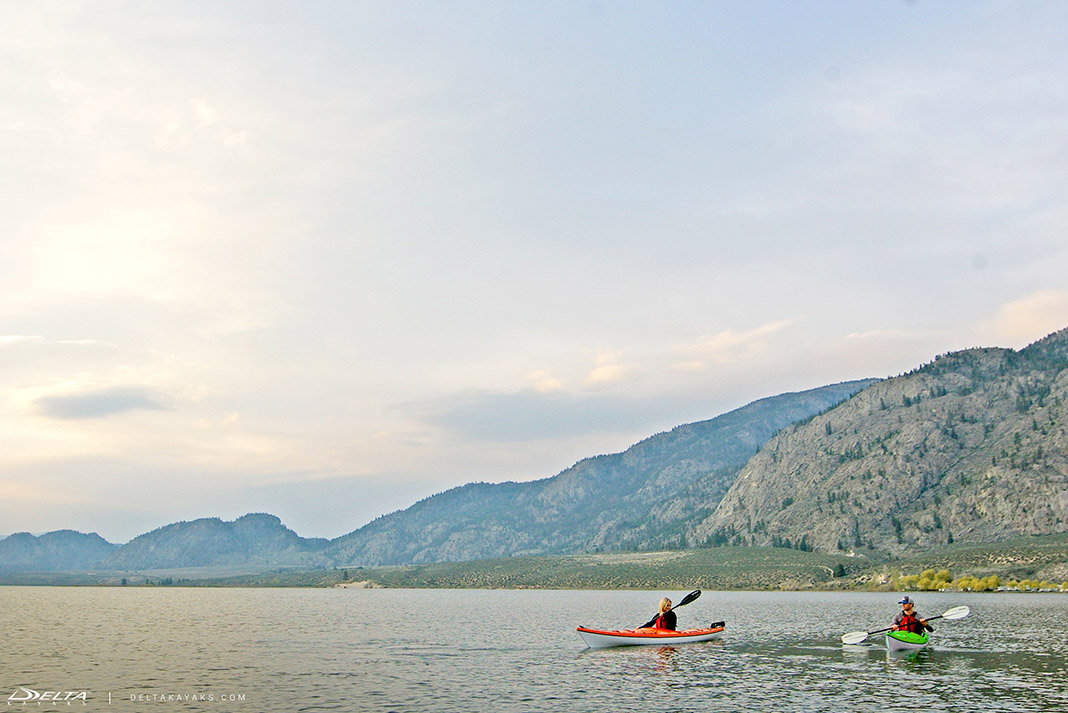
What else to consider for your first kayak trip
- Start with smaller, calmer bodies of water, like sheltered lakes and bays or slow-moving rivers.
- Wait for weather and water conditions that match your ability level. Check weather and marine forecasts or river levels to have an idea what you’ll encounter.
- Keep your first trips short and focus on having fun. People often underestimate how strenuous and committing kayaking can be.
- Paddle with a buddy.
- Share your plan with friends or family. Always let someone know where and when you are going kayaking.
- Learn further safety tips so you’ll be well-prepared and have safe and enjoyable days kayaking.
Feature Photo: Eddyline


How do I anchor my kayak to a flat dock to get out by myself? Getting in is easier because I can use my first foot in to hold boat up against dock. Getting out pushes boat away from dock. Is there something I could temporarily attach to dock like suction hook to tie boat to?
Great article for beginners – I’m going to have to share these tips whenever I start kayaking with groups again.
Interesting and useful but a bit more can be said about holding and pointing the paddle and stroke action in and out of the water.