Expedition paddling is about the journey. It is immersing yourself in an untouched, inaccessible wilderness to experience some incredibly beautiful places. Once you find yourself getting fired up over topo maps, wondering what excitement lurks in a particular drainage and needing to find out, the next step is outfitting yourself for the journey. Every kayak trip you’ll come up with a few new outfitting ideas and once you have your system dialed, there will be no stopping the inquisitive explorer within you.
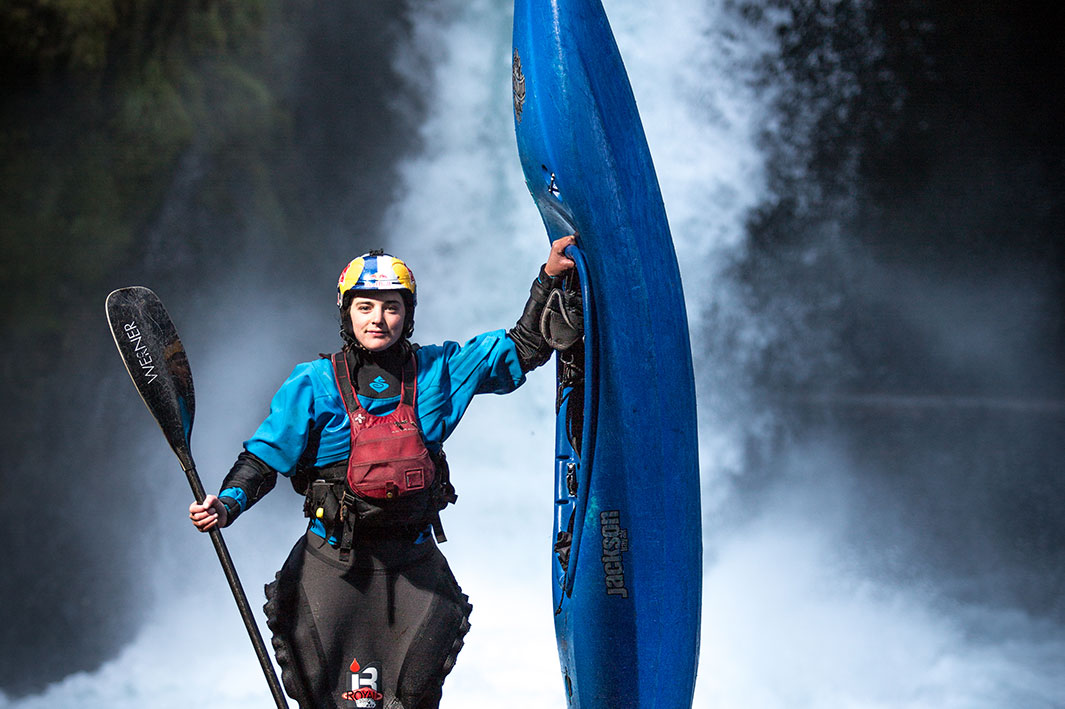
Big trip, small boat: Outfitting yourself for an expedition
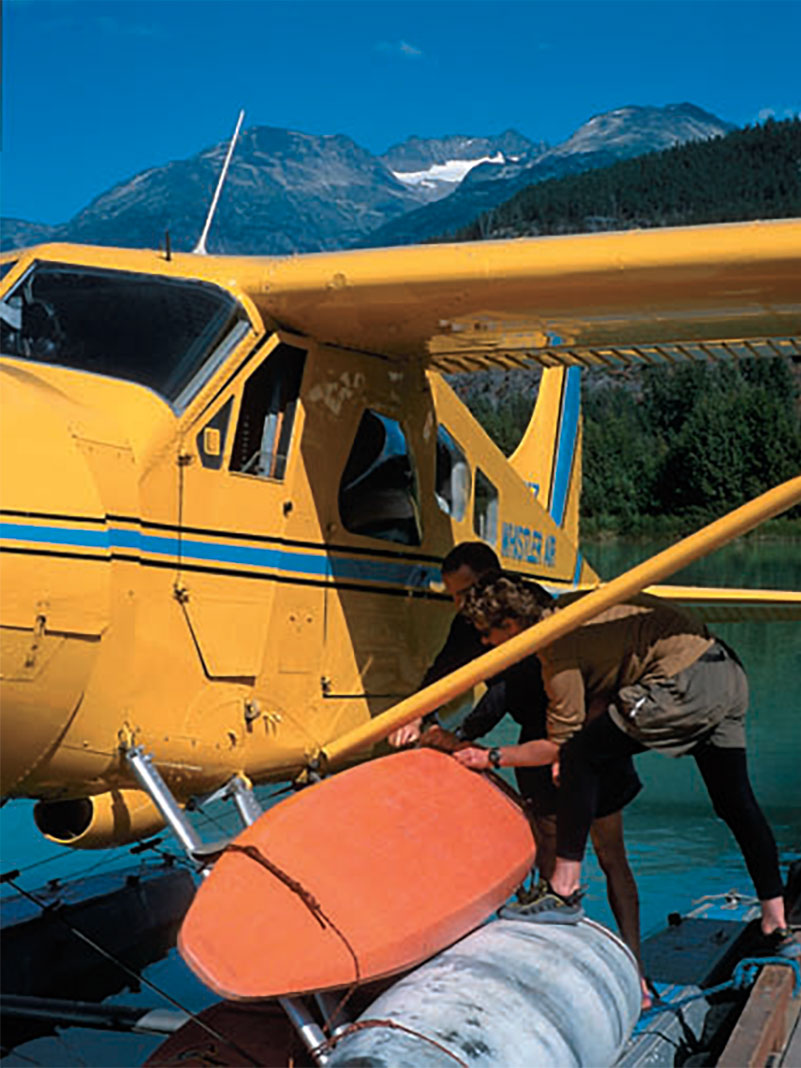
1 Estimating time
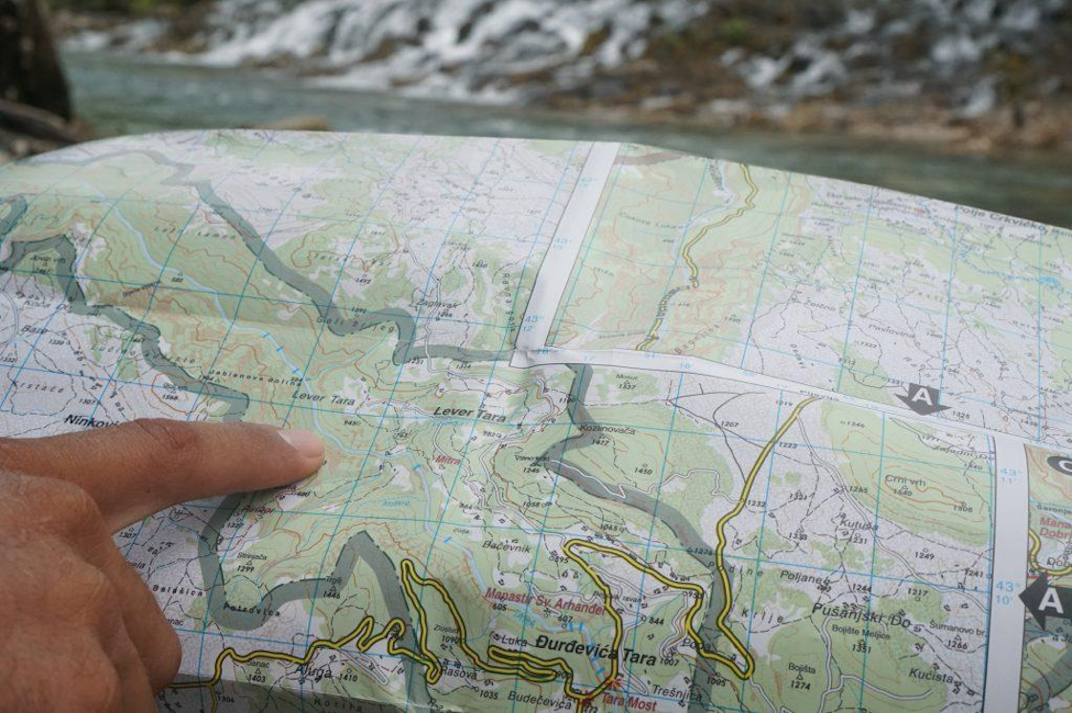
If the river has been paddled before, try to find magazine articles, guidebook descriptions, firsthand knowledge and photographs of the expedition you plan to tackle. If little or no information is available, a lot can be determined from topographic maps.
Calculate distances and gradients, breaking the run down by the kilometre or mile and contour interval to estimate the duration of the trip. As a rough guideline, estimate travel speeds at five kilometres per hour for gradients less than 100 feet per mile (fpm), two km/h for steeper sections of 100–150 fpm and for intervals over 150 fpm, anticipate portages and add time accordingly. Be conservative. Aim to paddle four to six hours per day. This will give you time to dry camping gear by the fire in the morning and to dry paddling gear in the afternoon. If the weather dictates, you can always pick up the pace.
Knowing how many days you’ll be on the river allows you to select your kayak, sleeping system, menu and cooking system and packing strategy.

2 Boat selection
Kayak selection will depend on the difficulty of the run, river character, gradient and volume, length of trip and climate. Most likely, you’ll be paddling a creek boat to ensure that there’s enough room for all of your gear. For less difficult rivers, larger volume expedition boats will allow you to travel with a few more camp comforts.
Regardless of your selection, your kayak will paddle differently when it’s loaded. The boat that you love for your roadside paddling adventures may sit too low in the water once you add 40 pounds of overnight gear. Your favorite creek boat’s usually forgiving stern may start to grab, or even squirt, on eddy lines. The added weight will make boofs more effort, quick direction changes more challenging and technical paddling a half-grade more difficult.
Your kayak’s lower position in the water will exaggerate its tracking tendencies. As a result, you may be happier in a kayak with more rocker than you might normally enjoy. I typically paddle a Perception Java, but for longer, more gear-intensive multi-day expeditions, I may pull out the larger-volume Phat. For my weight of 145 pounds, I find that the Phat actually paddles better when loaded, with the extra weight and hull displacement taming its spin-on-a-dime nature and improving its hole-punching abilities. Experiment for yourself!
A high back deck, with removable backband, is crucial for allowing easy access for packing gear into the stern of your kayak. Adequate space in front of your bulkhead is also important to ensure that your loaded kayak is balanced. If necessary, shift your seat forward to help adjust the trim of your kayak.
Kayaks such as the Prijon Embudo and Eskimo Salto that don’t require structural pillars are certainly easier to pack gear into. Extra room tends to get filled with more stuff, so be careful—especially if you anticipate any long, arduous portages. Think twice about removing pillars to make additional room for your gear. For one expedition, I removed the stern pillar from a Pyranha Micro 240 only to realize that it served a major role in stabilizing the seat laterally. Five or six big drops later, my seat had split in two.
Increase the available packing space by customizing your boat. Cut out access panels in your pillar and/or bulkhead to create storage compartments. Build a shelf under your front deck. Carve a hole in your hip pad for your Leatherman or toothbrush. Use a hole-saw to lighten the weight of your outfitting components, but again, consider structural integrity. Rig up a shoulder pad or backpack harness for long portages. Be creative.
[ Paddling Buyer’s Guide: View all creek boats ]
3 Sleeping gear
Volume is usually the critical factor when selecting sleeping gear. You’re not going to be able to bring a tent unless you are on a longer, easier trip in a big boat. You’ll have to settle for some low-volume combination of sleeping bag, mattress and tarp or bivouac sack.
The debate over down versus synthetic sleeping bags is quite simple. Down is better when cold temperatures are expected since you definitely won’t be able to fit a winter-weight synthetic bag in your kayak. But remember that a wet down bag spells trouble.
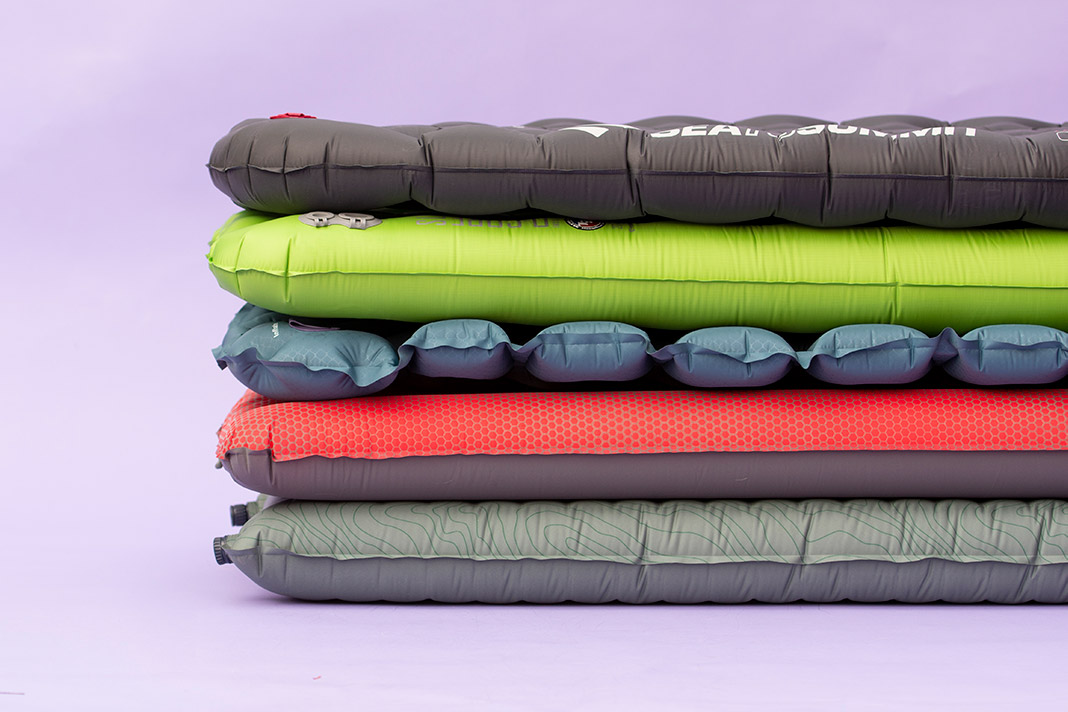
Research what type of campsites can be expected. Will you find open, sandy beaches or have to make do with a rocky ledge in a tight canyon? Hardcore expedition paddlers will use their paddling gear to sleep on. You’ll probably appreciate the extra comfort of an ultralight sleeping pad which rolls down to the size of a football and should be easy to fit in your boat. Although I’ve seen it done, a closed-cell blue foamy will take up too much space.
If mosquitoes or blackflies are anticipated, a bivy sack complete with mesh inner liner is your best bet. For rain protection, the bivy sack will also do the trick, but torrential downpours are definitely better spent under a lightweight tarp. The tarp is also indispensable for cooking or time spent hanging out in the rain. Quite likely, if it’s a solid rain, you’ll just want to keep on paddling. Better yet, check the extended weather forecast—if you can’t postpone your trip until better weather, you may want to bring a tarp and bivy sack.
4 Food and cooking equipment
Is a stove absolutely necessary, or can you get by cooking on an open fire with a single pot? For northern trips, firewood may not even be an option. If there is a source of wood, you’ll probably want a fire simply for warmth or drying gear. Bring waterproof matches or a lighter and some type of fire starter (tea light candles work well) to dry out kindling and get even the wettest of wood going.
Plan a typical backpacking-style menu of dehydrated meals, pasta or rice, instant oatmeal for breakfast and dried fruit. On shorter trips, limiting yourself to dehydrated food isn’t really necessary. If you’re Clay Wright, just buy six or seven Big Macs, squish them into a small Tupperware container and you’re ready to go.
Organize your food into meals and/or days for longer trips. Ensure easy access to snacks and your lunch—you don’t want to pull your boat apart every time you’re hungry. Where possible, prep your food at home. And don’t forget your water filter if water quality issues are a concern. A Nalgene bottle with filter attachment is a great combination.
5 Rescue gear
Whether paddling for the day or on a multi-day self-supported expedition, a throw bag, wrap kit, whistle, river knife and first aid kit are essential tools for every kayaker. As with all rescue pre-planning efforts, you need to prepare yourself and your team for the worst-case scenario. Brainstorm the “what ifs” that pertain to your trip and come up with a plan, as a group, to deal with each of these potential situations.
The big difference between multi-day expeditions and day-trip paddling is the increased consequence of any problem. Carrying a breakdown paddle, for example, is absolutely necessary if the alternative to being able to continue paddling is a 100-kilometre hike. Note that a four-piece breakdown may be required for today’s shorter kayaks.
[ Paddling Buyer’s Guide: View all safety & rescue gear ]
Consider some method for patching boats while on the river. As a minimum, wrap some duct tape around the shaft of your paddle. Willie Kern carried—and ended up using—roofing material to patch a cracked kayak on his 2001 Stikine Expedition. A Leatherman and basic tools may also be invaluable. Make sure you have a multi-head screwdriver and wrench to fit every nut and bolt on your boat. And don’t forget your headlamp.
Does the river require that you bring specialized climbing gear? A wrap kit of webbing slings, prussiks, carabiners and spectra throw-bag is an absolute minimum. Know how to build a harness out of webbing, rappel and belay and practice basic climbing skills.
Finally, consider the communication requirements of your team. Can a cell phone be of any use? If not, a satellite phone can be rented for the duration of your expedition and is worth every penny. Consider radio communications within your party and research all useful frequencies for contacting outside parties.
6 Clothing
Obviously your clothing requirements will depend on the local climate, extended forecast and typical water temperature. It’s easier to pack for a multi-day trip in California or Costa Rica than for northern or alpine rivers. In any event, consider both paddling and camp gear, trying to combine these if possible. In colder climates, a full Gore-Tex drysuit with camp clothes underneath greatly reduces the amount of clothing you need to bring. For camp, a hooded down jacket provides the most warmth for the least volume. But if you bring down, be anal about keeping it dry. And bring a toque, eh!
Don’t bother with rain gear—a tarp is much more versatile. Keep your river gear on if it’s raining. Wear sturdy river shoes that you are comfortable making basic rock-climbing moves in. If you lose your boat or gear, you may be hiking out a long way. As a treat, bring some comfortable camp shoes or sandals to give your feet a break.
7 Drybags
Make sure the drybags you intend to use fit in your boat and fit all of your gear before you head off to the river. Do a dry run of your packing strategy at home. Tapered drybags are great for taking full advantage of the potential packing space in your kayak. A cheap alternative to drybags are plastic Ziploc bags, but double them up and only include items that you can afford to get slightly wet.
For cameras or video gear, Pelican cases are great, but may be difficult to pack. You may be able to cut them into the foam of a rear pillar. Many paddlers keep cameras in cases or bags between their legs for quick, easy access. Make sure you can still get in and out of your boat.
8 Packing your boat
It’s always easier to pack the stern, so the challenge is to get enough weight forward to balance the trim of your kayak. To get gear forward of the bulkhead, it’s easier to pack in multiple small bags, rather than one larger drybag. I double-Ziploc food items and slide them past my bulkhead individually. To ensure that these smaller items can’t slide out, I glue a thin foam barricade to the bulkhead.
If you have long legs, you might have to remove all the foam from the bulkhead to create more packing space. In any event, work out some system to pack your heaviest items up front, within the pillar or bulkhead, or right behind your seat. Adjust your packing strategy as you go through food supplies to keep your boat balanced.
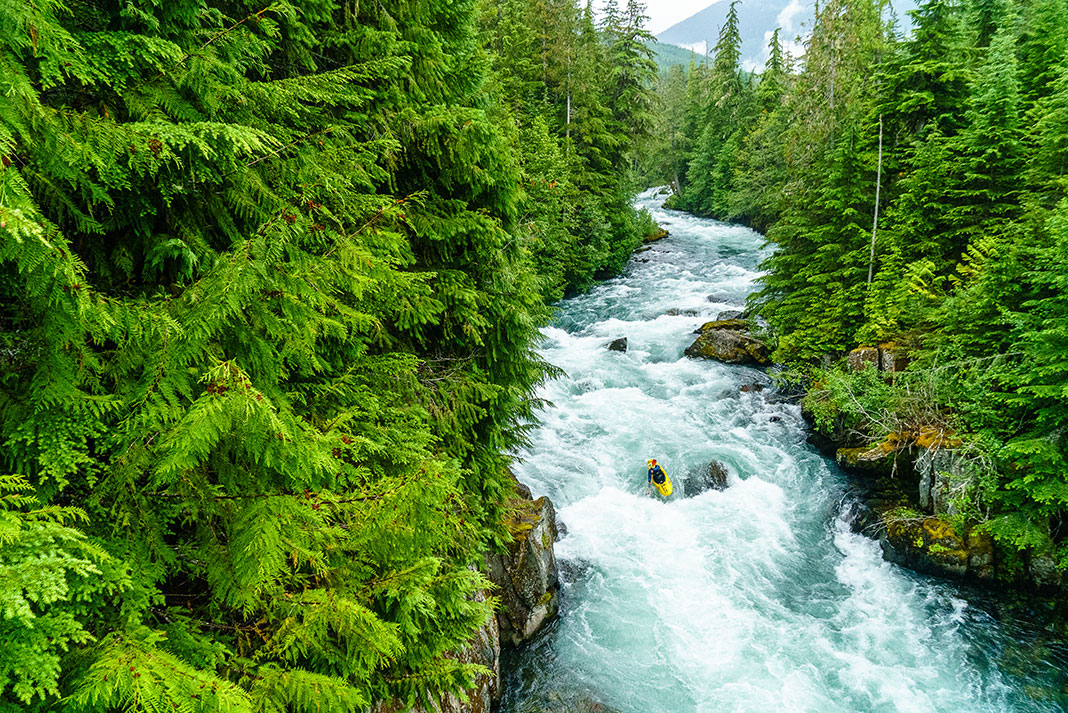
Expedition kayaking is all about exploring and finding magical places that would be impossible to access without paddling. It’s our big reward for a few hard knocks and a lot of persistence in becoming competent whitewater boaters. These special places are ours alone, reserved for paddlers only.
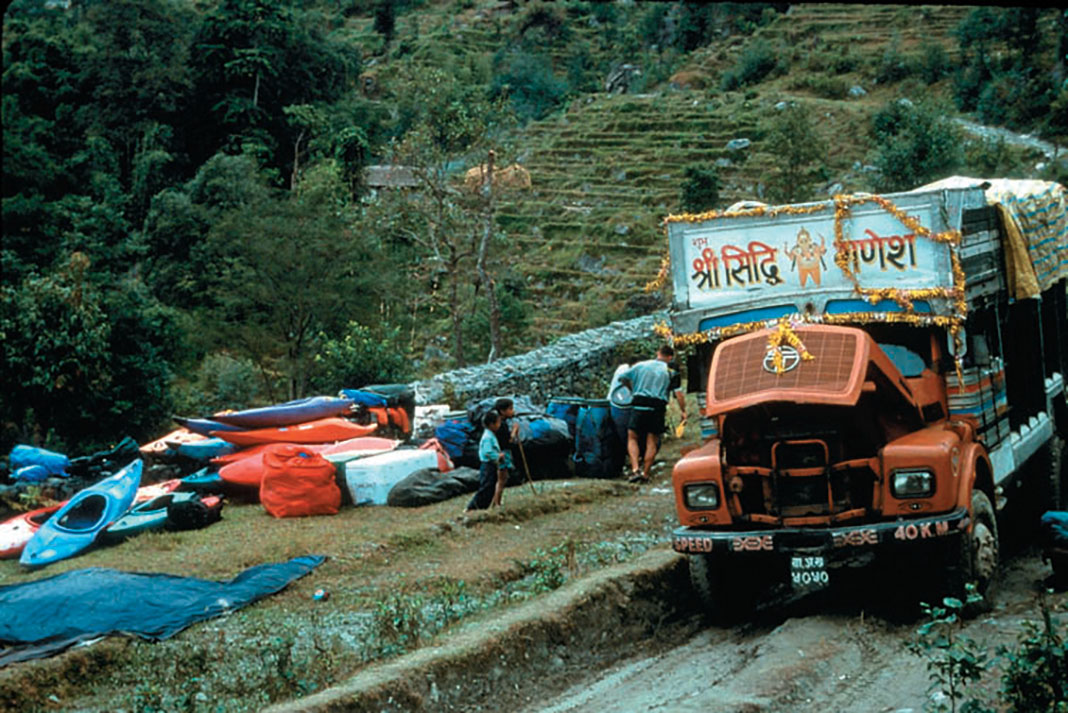
 This article was first published in the Spring 2003 issue of Rapid Magazine.
 Marsayandi River, Nepal: Five miles and uphill both ways. | Feature photo: Dunbar Hardy


