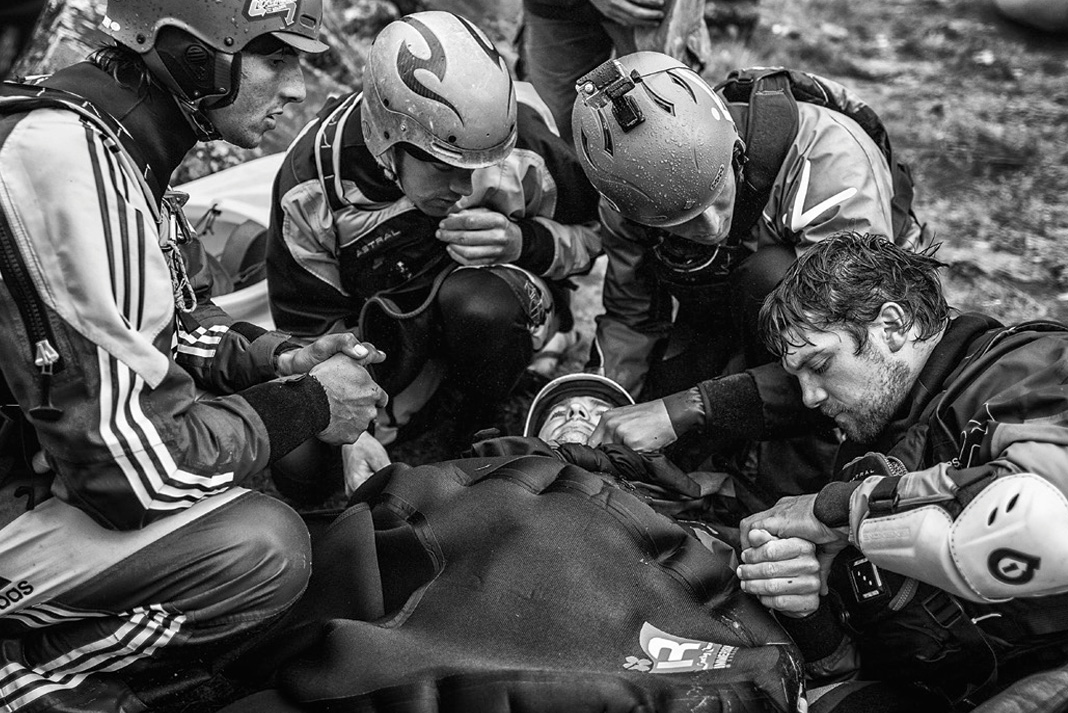
It is important to be rescue ready. Any river run or surf session may include time out of your boat scouting, setting safety or, inevitably, swimming. Rescue ready means having your personal rescue equipment available at all times.
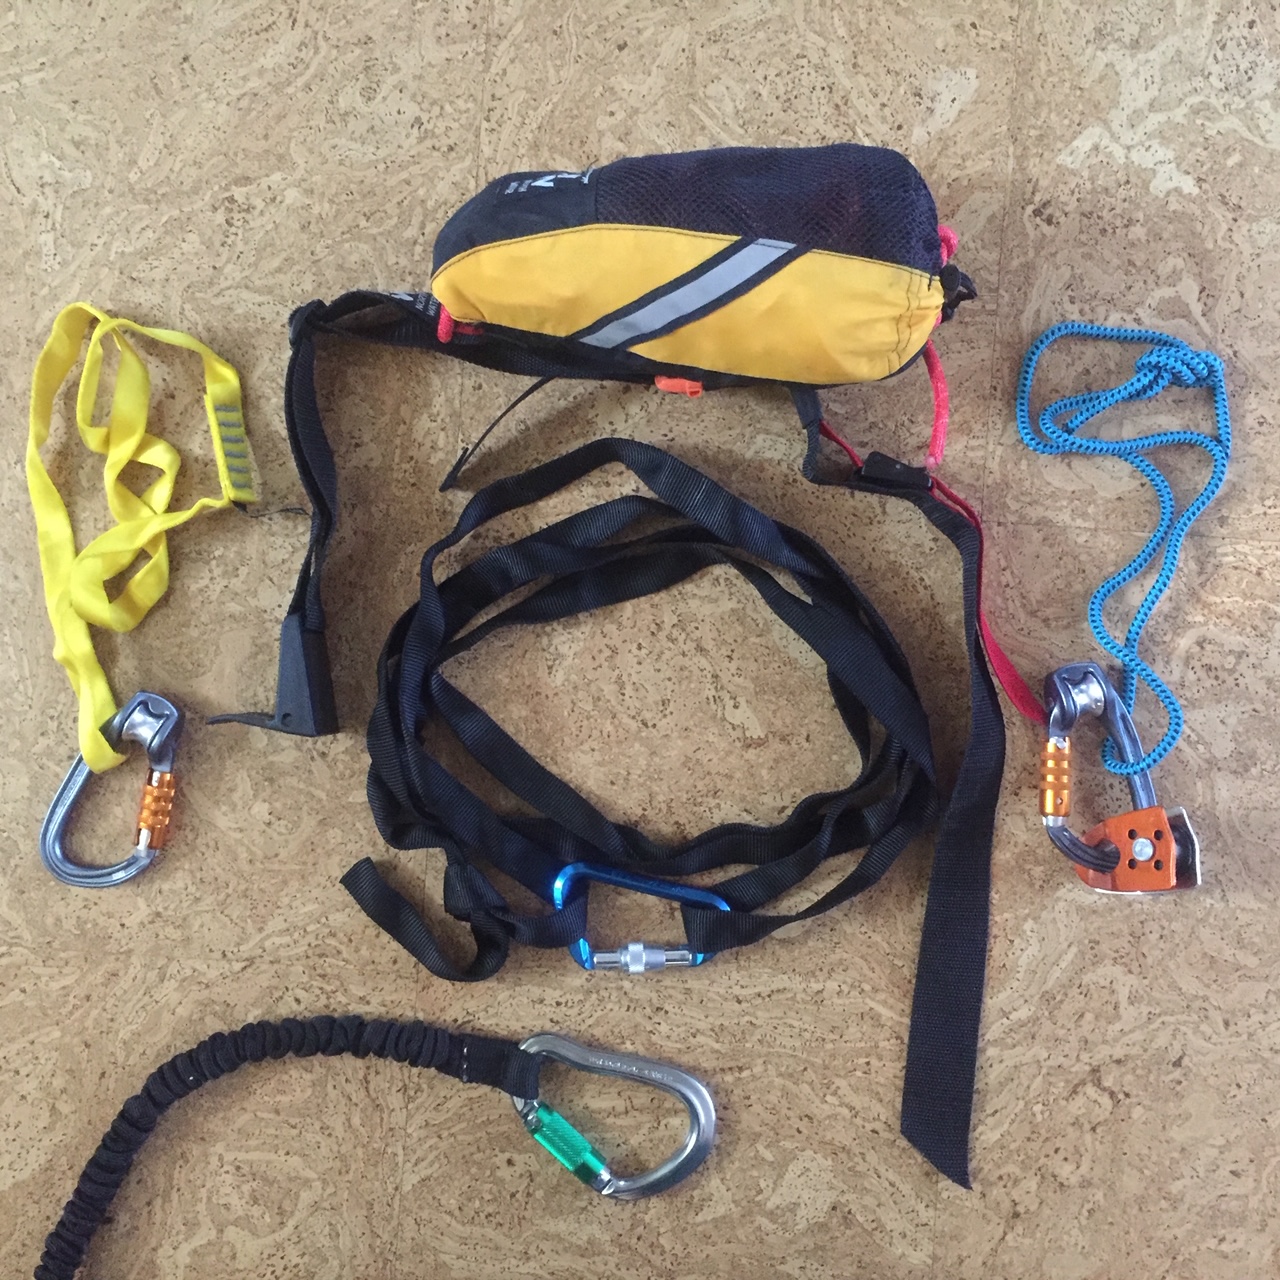
Heeding that premise, the goal of assembling my paddling rescue kit is to make it wearable. Equipment size and weight matters. My frame—a 29-inch waist and 130 pounds soaking wet—means I need a compact and light, yet fully functional, rescue set-up.
The ubiquitous rescue phrase used by paddlers and organizations is 4:3:2:1-1. The mnemonic, coined by Jim Coffey, is the minimum equipment for a safe and simple 3:1 mechanical advantage finishing with a change in direction. The ratio details four locking carabiners, three pulleys, two prusiks, one piece of webbing and one static throw rope.
River rescue essentials: Build your own super compact rescue kit
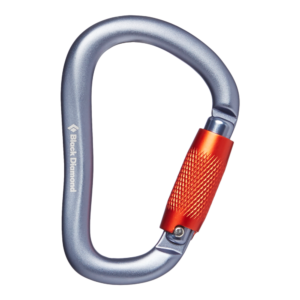
What you need to know about carabiners
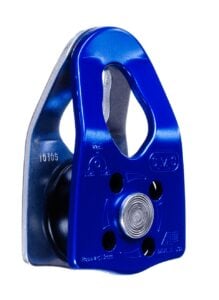
Carry four carabiners. Nearly all rescue lifejackets come with a quick-release (QR) pigtail harness. If the carabiner is not locking, swap it out for a locking carabiner. If you are already wearing a webbing loop, ensure it features a locking carabiner. I carry the remaining third and fourth locking carabiners in my lifejacket. The carabiners should be large enough to accommodate a multiple of hardware, for instance, an anchor and progress capture device/prusik loop. Furthermore, larger pear-shaped carabiners facilitate belay hitches or passing a knot through when joining two lines together.
My largest carabiner is on the end of my QR harness. When rescuing a paddle from a decked boat, I can clip around the paddle shaft. I carry two Rollclip Zs by Petzl because they serve dual purpose—locking carabiner and pulley. Find locking carabiners that work for you. Remember: Cold decreases your dexterity and sand or silt may hinder locking mechanisms. Auto-locking carabiners are safest.
Buy Black Diamond RockLock from:
BLACK DIAMOND AMAZON REI SCHEELS
Buy Petzl Rollclip Z from:
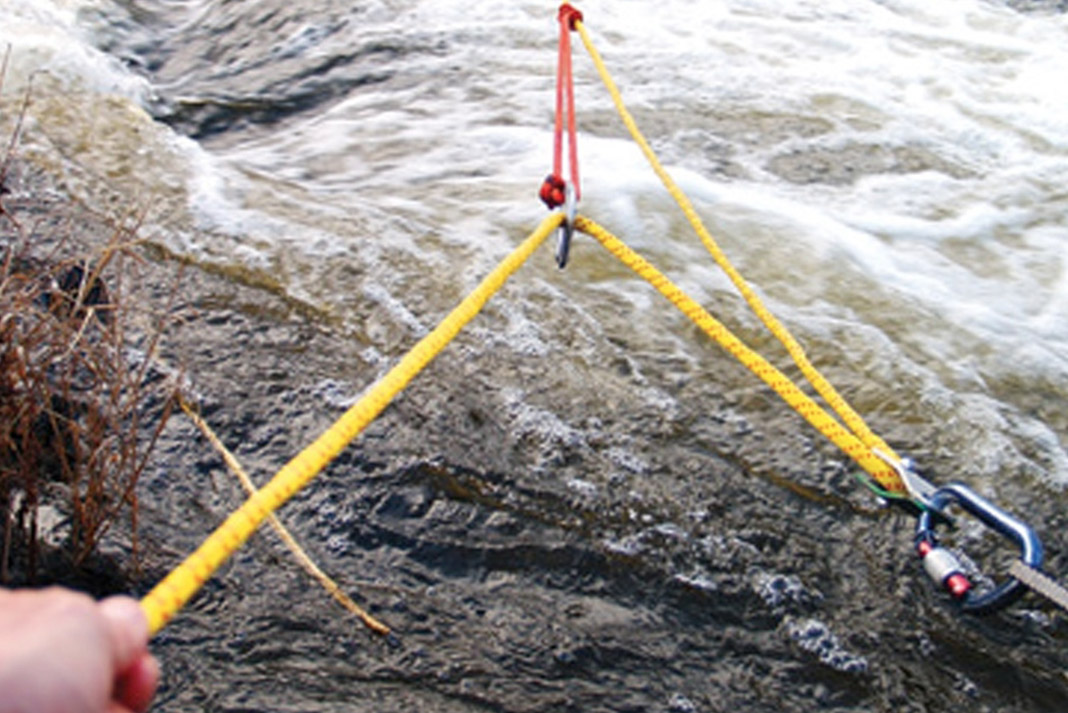
What you need to know about pulleys
Having three pulleys is standard and safe, while two pulleys is the minimalist approach. Two pulleys allow for a 3:1 mechanical advantage and the third pulley is for changing the direction, which is proactive for paddlers because it gets rescuers out of the impact zone.
In my lifejacket, I stow the two previously mentioned Rollclips locking carabiners that feature built-in pulleys. Rollclips are useful on the load and haul line and for the change in direction, as they are not prusik minding. They perform two-fold duty thus reducing bulk, weight and the number of devices. With two Rollclips serving as two carabiners and two pulleys, my third pulley is prusik minding to use with a progress capture device. The smallest such device easily sourced is the SMC Mini CRx Prusik Pulley. The three-pulley standard is achievable while minimizing weight and bulk.
Buy SMC Crevasse Pulley from:
What you need to know about prusiks
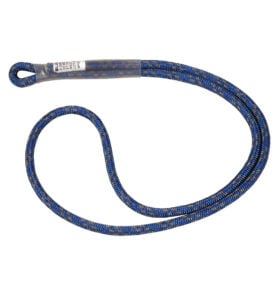
Two prusiks are easy to stuff into a life jacket pocket. The simple approach is carrying a couple of prusik cords. I decided on one prusik cord and one sewn sling. The sewn webbing sling has advantages over having a second prusik cord. A webbing friction knot grabs easier and more reliably to a range of rope diameters. The sling is not as affected by the difference in diameters of haul rope to prusik cord nor the construction of the ropes or cords. Benefits to prusik cords are that they have more testing and they slip at a known tensile strength. This acts as a fuse in the system for safety. I prefer brightly colored prusiks because they are harder to misplace.
Buy prusik cord from:
AMAZON BACKCOUNTRY REI WALMART
What you need to know about webbing
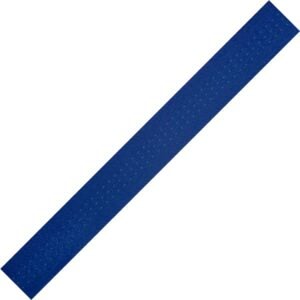
Wrapped around and around my waist is one piece of webbing. The tradition of wearing a webbing loop around your waist has generated recent discussion in many paddling and rescue circles. Anything you wear needs to be snug to avoid accidental snagging on objects, including all exposed carabiners attached to your body. Positioning your webbing loop with locking carabiner around your waist but tucked under your drysuit tunnel protects it from catching on objects, while keeping it accessible. Also, at my waist is a long high-tensile floating throw rope kept at the ready on a QR waist belt.
My 4:3:2:1-1 paddling rescue kit is not the most minimal. For example, I could have opted for a bare-bones throw bag. But it is fully functional while being small and light. By opting for wearing equipment on my waist and in my lifejacket, when I get out of a boat, I am always rescue ready without having to remember to grab gear. The products and dimensions mentioned are not as critical as having the equipment readily available and the training to use it.
Buy Bluewater one-inch tubular webbing from:
Brian Johnston a Paddle Canada volunteer and instructor, symposium presenter and paddler who prefers a single blade, wilderness and whitewater. He also orienteers, trail runs, adventure races, hikes and Nordic skis.
Feature photo: Jacob Colvin/Pexels


