Imagine this. There’s a roar approaching and a storm is near. Waves hammer the side of your boat—time to get to shore. Light a fire, eat some food, drink a tea, and stare at the towering waves. The squall lasts long enough that you’ve finished your book. Now what? To pass the time we suggest you partake in a time-honored skill and learn how to whittle a canoe.
[ Plan your next adventure with the Paddling Trip Guide ]
When canoe tripping, every extra luxury means added weight and space used. For Mike Ranta, Canada’s cross-continental voyageur, being pinned to a shore on some of the world’s biggest lakes means an opportunity to whittle away time by crafting his signature tiny canoes.
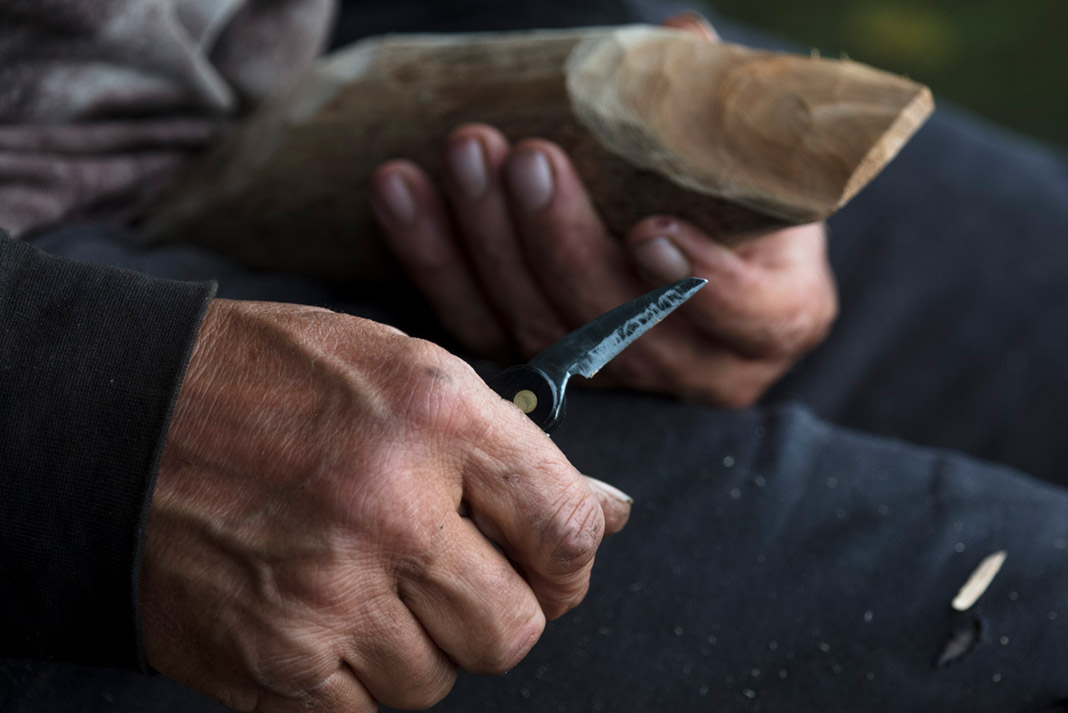
To whittle these tiny canoes, Ranta uses a Flexcut Carvin’ Jackknife. Any wood will do—from willow on the Saskatchewan River to a chunk of oak from Lake Winnipeg’s south basin. Here’s Ranta’s advice on how to make your own wood canoe in 60 minutes or less.
How to whittle a canoe in 6 steps
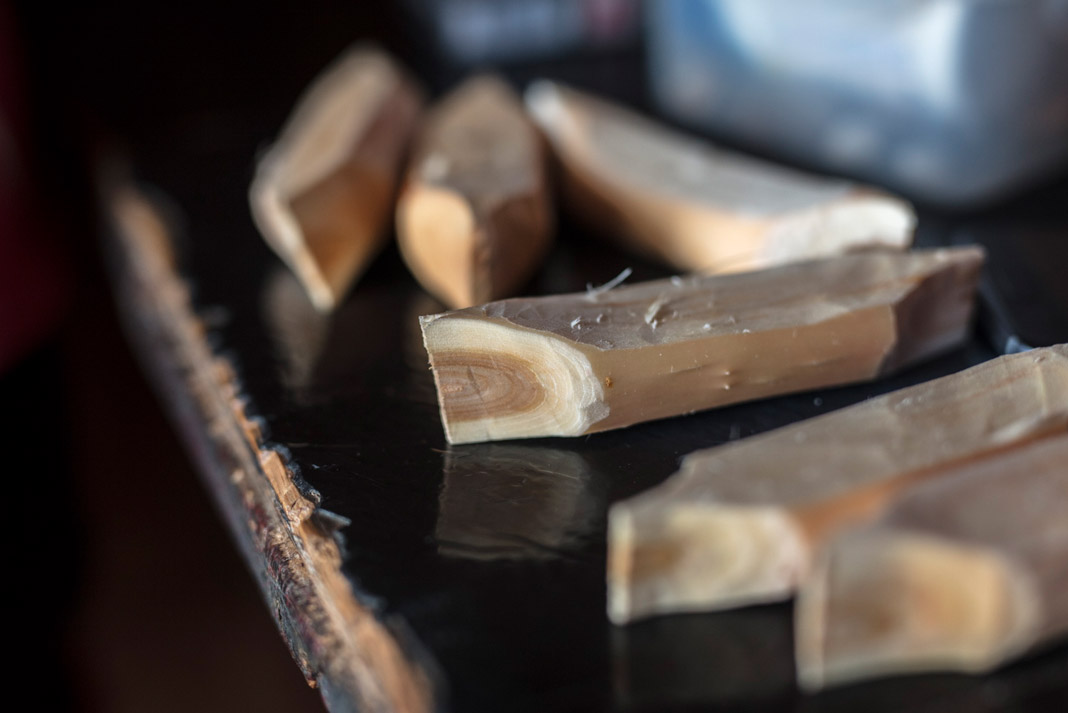
1. Select your stick
Using a hand saw, cut a portion of a small branch so it sits nicely in your palm. The bigger the piece, the more whittling necessary; start small and hone your skills.
2. Make your marks
With your knife blade, notch the wood where the bow and stern positions should be.
3. Shape the exterior
Ranta first flattens the bottom of the hull, then carves away at the bow and stern until he’s achieved as close as he can to a symmetrical line.
Using a flat blade, he carves what will become the inside of the boat, from bow to stern, revealing the first look of a pint-sized canoe.
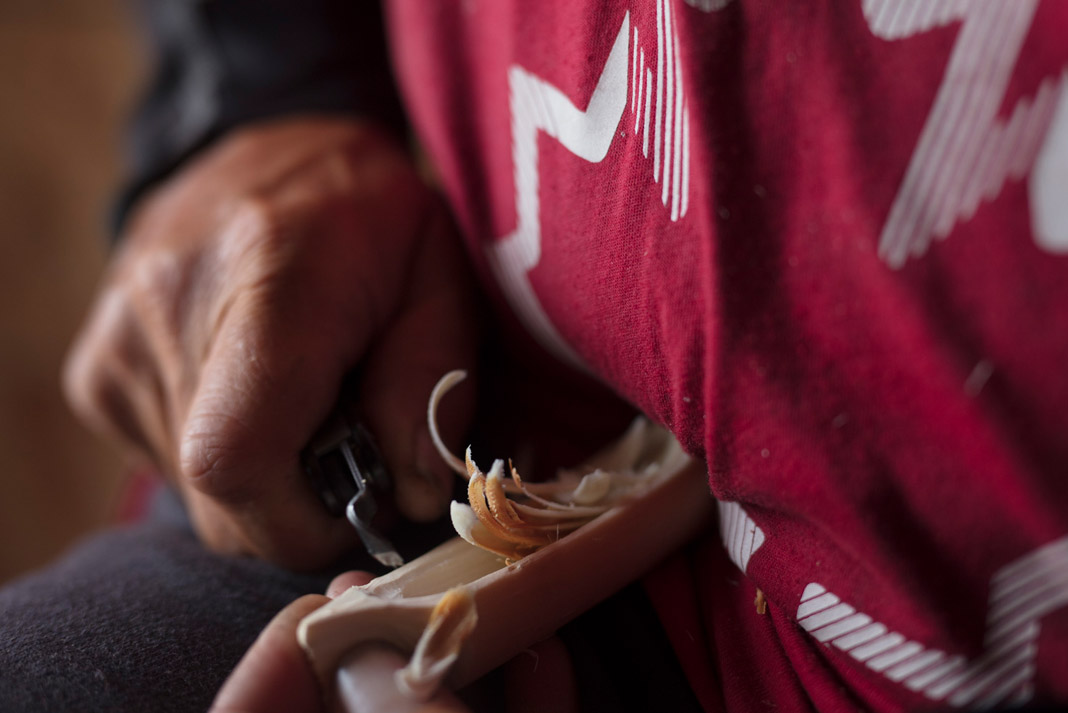
4. Hollow out the interior
Once the line seems just right, Ranta switches to his digging blade and begins shaping the inside of the canoe. The trick is to make the hull as thin as possible, but not puncture through the wood and ruin the little creation.
5. Look to the sky
A great way to check if your walls are getting too thin is to hold the canoe up to the sky and see if there are any spots where the sun bleeds through the wood. This means the walls are getting too thin.
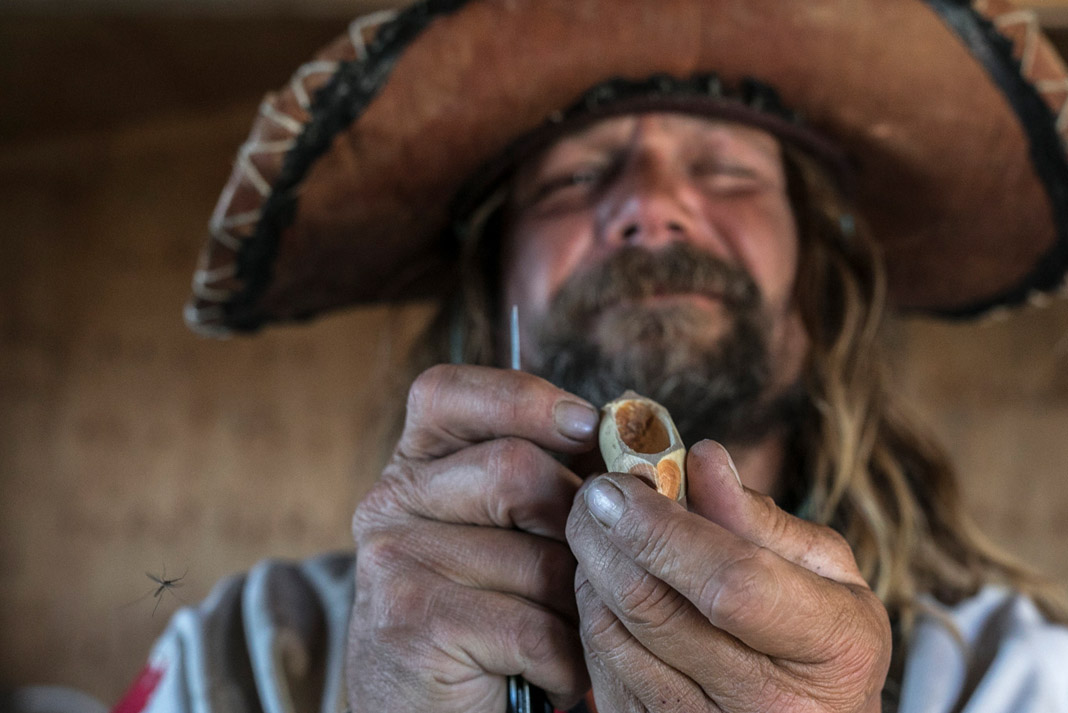
6. Finishing touches
When the canoe is dug out, make some final touches to fine-tune the design and fix any blemishes.
Whittling a canoe: Extra steps
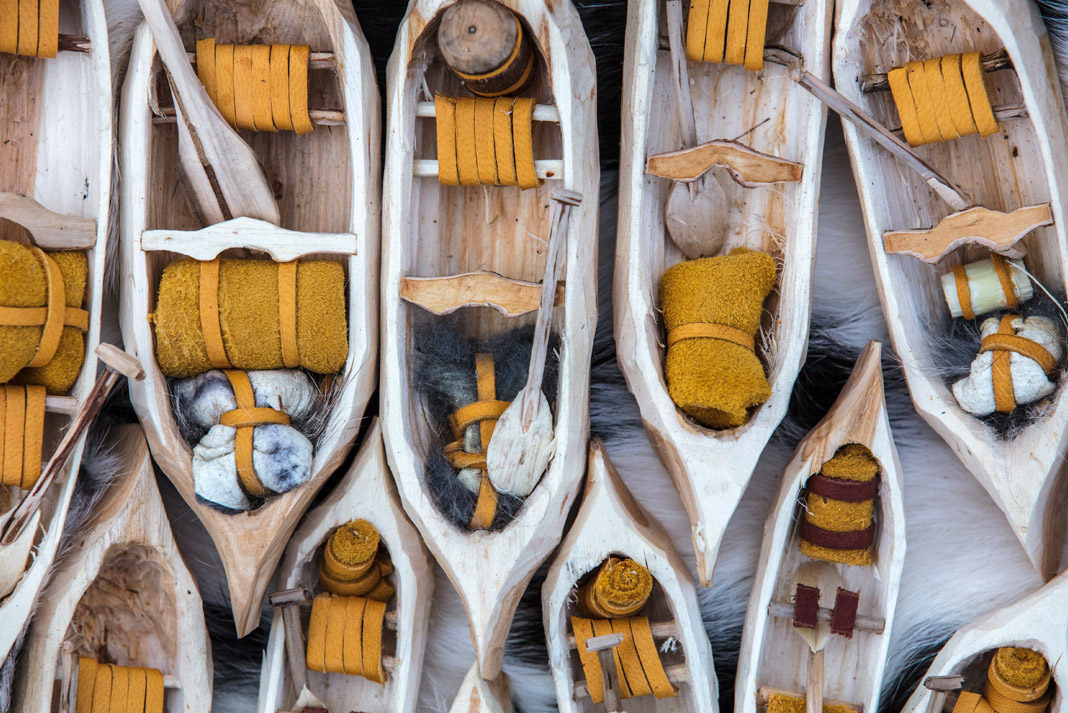
Ranta goes one step further and crafts miniature paddles, a thwart and seats, which he glues into position. When time permits, he adds little voyageur sacks, finished with tiny pieces of rabbit fur and lashed with hide.
When the waves have subsided, in your hand is a beautiful little piece of art for a mantle, or a tiny toy for a child dreaming of flowing rivers and sprawling lakes.
Safety first
Beware, whittling knives are exceptionally sharp, and a slip can lead to deep gashes. It’s imperative to be patient and have a first aid kit. Consider going one step further and purchasing a whittling glove. The last thing anyone wants is to be evacuated because of a carving accident.
This article was first published in Issue 55 of Paddling Magazine. Subscribe to Paddling Magazine’s print and digital editions, or browse the archives.


")


