Want to capture your best moments on the water, then come home and create a video that your friends, family and the entire world of social media will actually want to watch? Videographer Nick Troutman is here to help you learn how to edit paddlesports videos. Use this quick and dirty guide to get started.
How to edit paddlesports videos
Step 1: The Gear
A good kayak video is about showing heart and story. Unless you’re trying to get the attention of National Geographic, you don’t need top-of-the-line equipment to make a good video. Instead, use the best gear you have available.
There are four essentials to any kit. Your camera could be anything from a single GoPro to a production-quality RED camera—though if you’re using a RED camera, you’re definitely reading the wrong guide.
Today’s budget cameras produce image quality filmmakers would have killed for just a decade ago, so use what’s in your budget. You’ll also need a tripod. Cheap or expensive, this is an investment in capturing hands-free and shake-free angles.
I love drones. The new DJI Mavic Mini costs just $399, or you can drop thousands on high-end gear. Either way, a drone clip pulls together a story and a few big-picture perspectives guarantee a wow from the audience. Don’t forget a drybag or case, an essential for any paddlesports filming so you don’t lose your entire investment with a single splash.
Step 2: The Story
The key to an excellent kayak video and cohesive storyline is planning out your film before you start shooting. Create a shot list, so you know what you want to capture in advance and what you want to say.
This will help piece together the edit later. Skipping this step is the biggest mistake I sometimes still make—I think I can press record and put it all together in the editing room.
I always regret this decision. Not sure where to start? Go back to your favorite kayaking videos—what made them so good, and what shots and narration did they include?
Shoot for the platform you’re posting on—if creating a video for Instagram stories, you are better off filming vertically with short audio bits. If you’re shooting a 15-minute documentary for Vimeo, then you are probably filming a 16:9 ratio.
Step 3: The Shots
It doesn’t matter how great your camera is if all your footage is shaky or your GoPro has water drops all over the lens. To shoot the best footage you can, use a camera mount or a tripod to minimize shaky shots. I like to keep a microfiber cloth handy, but if all else fails, you can lick your lens to clean off your GoPro and keep it water-droplet free. Endless POV footage gets old, so change up your perspective. Poor sound quality is distracting, and the river’s edge can be noisy—move to a quiet location if you’re recording interviews or narrating.
Step 4: Editing Software
There are many editing platforms available. Some are quick and intuitive, and others more complex and capable. The right software depends on how deep you want to go down the editing rabbit hole.
Adobe Premiere ($240 yearly subscription) is my top pick, and it’s the benchmark pro video editor of creative pros. However, this versatile software has a learning curve, and the price is out of range for many paddlers, especially if you’re only making a video just for friends and family.
Final Cut Pro ($300) is a capable and more middle-of-the-river software for user-friendliness and price.
If you are looking for quick and easy, forget iMovie (free)—by far, the best is the GoPro app (free), which allows you to drop some clips into the software and it will pop out a rad edit for you. I use the GoPro app if I am trying to edit while waiting for a shuttle and want to get something online ASAP.
Step 5: Export & Upload
The final step is to export and upload. Many editing programs will allow the user to select the platform the video is destined for and augment the dimensions to suit. I run most of my exports through user-friendly Adobe Media Encoder, which compresses the edit into a smaller size without losing much quality.
This article was first published in Issue 60 of Paddling Magazine. Subscribe to Paddling Magazine’s print and digital editions, or browse the archives.
Professional kayaker Nick Troutman is stoked to check out your edits. Find him on Instagram at @nicktroutmankayak.
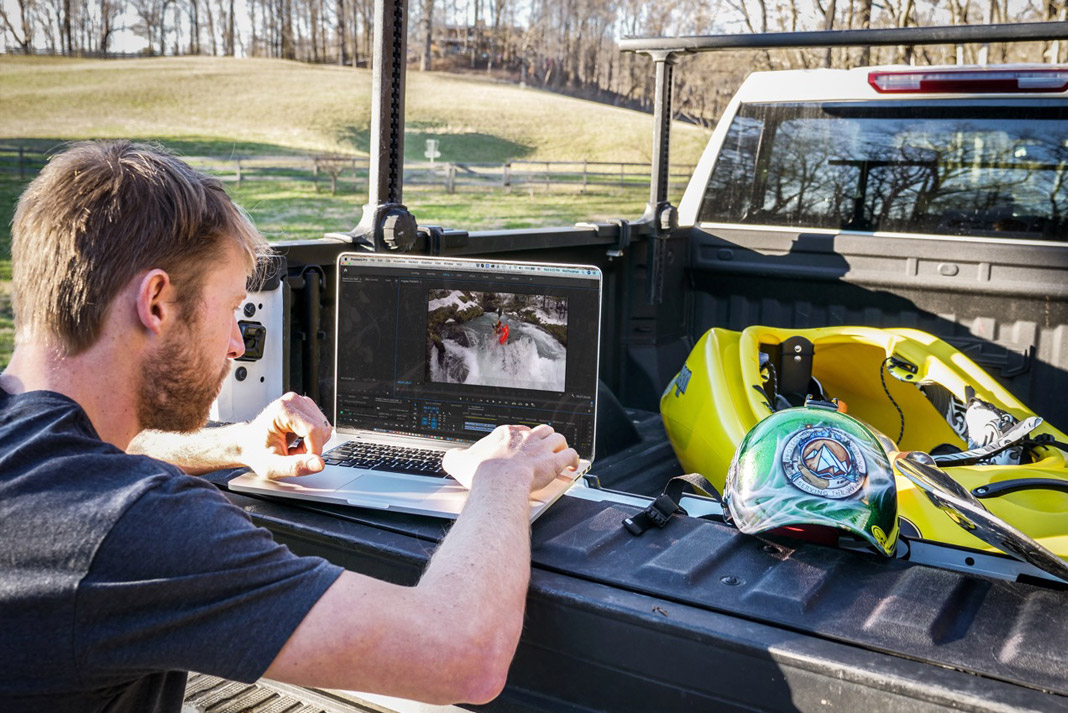
That’s a wrap. | Feature photo: Nick Troutman


