paddling Magazine staff spend a lot of time wearing and testing the best PFDs. Some of us are guilty of using the same manky PFDs on every single river outing for years on end. Some of us get sentimentally attached to our PFDs, holding onto them much longer than we should. We found ourselves debating when exactly we should be replacing them. Do PFDs have a best-before date? What are the red flags that warrant a replacement? We spoke with experts in the PFD industry to find the answers.
Loss of Buoyancy
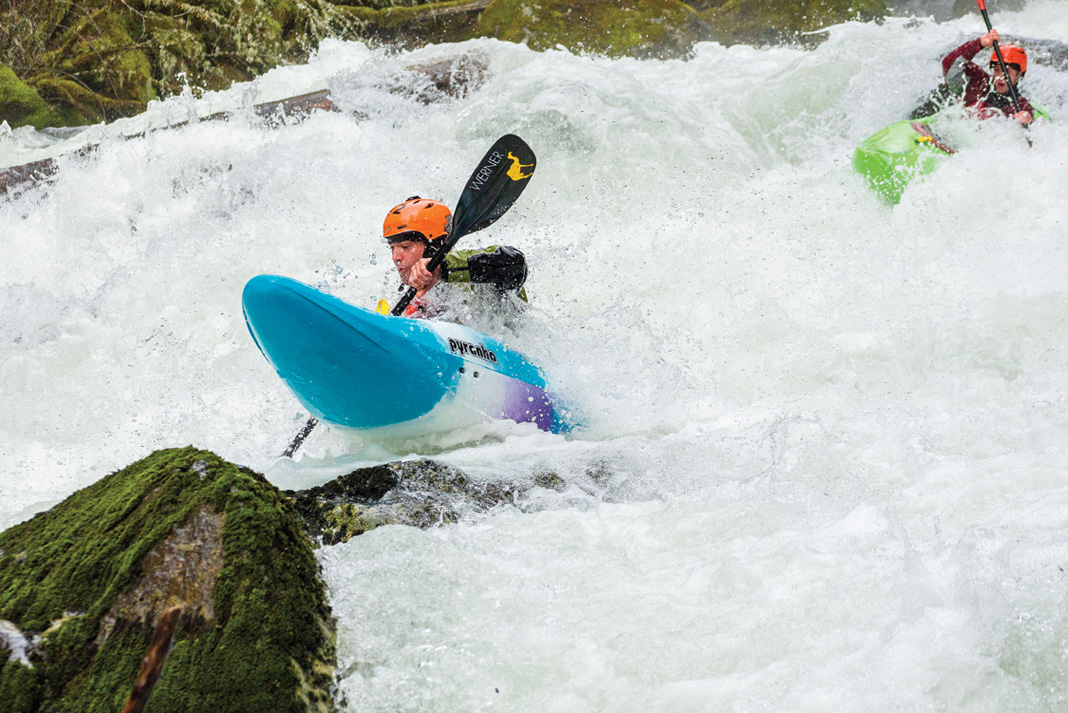
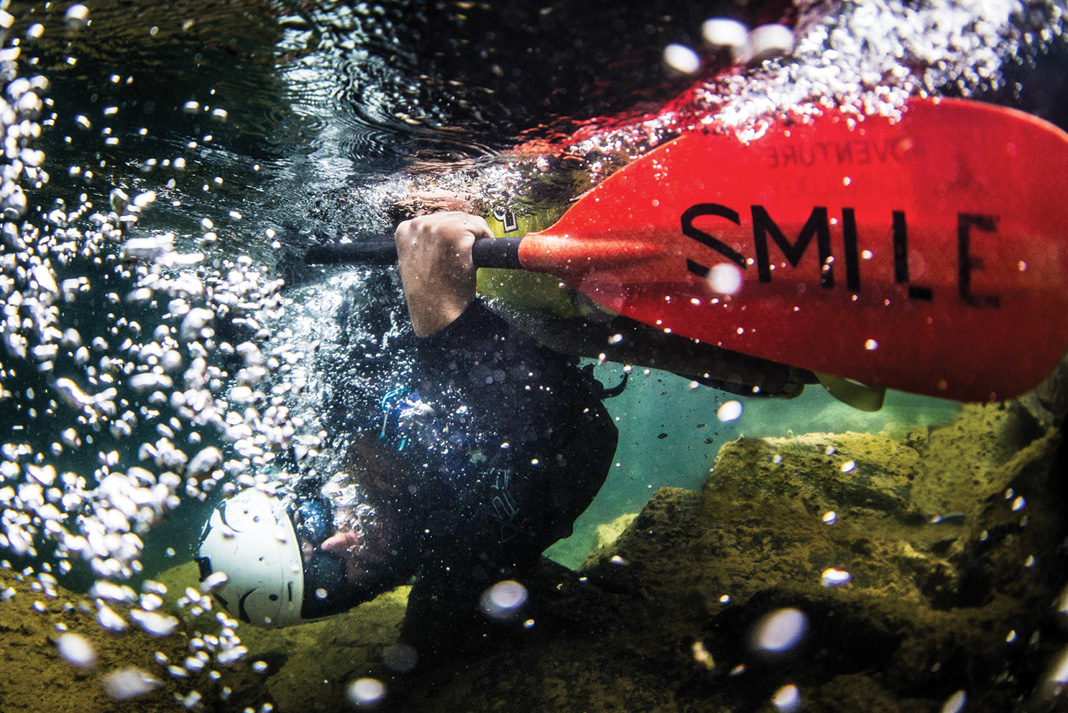
Loss of buoyancy is the major concern for well-loved PFDs. Though the average person needs just seven to 12 pounds of buoyancy to stay afloat, most whitewater and sea kayaking vests offer a range from 15.5 to 22 pounds. At the beginning of each season get in the water while wearing your PFD to assess buoyancy. Tilt your head back while floating and pay attention to whether your chin stays above the water. If your mouth is underwater, your buoyancy is insufficient. Pretty simple.
A key factor to watch out for on your PFD is the degradation of the foam. Kevin Mulligan from Astral Designs explains that foam is firm and stiff in a new PFD. Over time the foam breaks down, becoming softer and more pliable. You can feel the foam with your fingers and check for folds, lumpiness and malleability.
Kokatat’s product manager Matt Porter says that he often hears people who are trying on new PFDs mention that their current one is way more comfortable, as if they are barely wearing anything. He says that can be a sign the foam has shrunk and is potentially lacking adequate buoyancy.
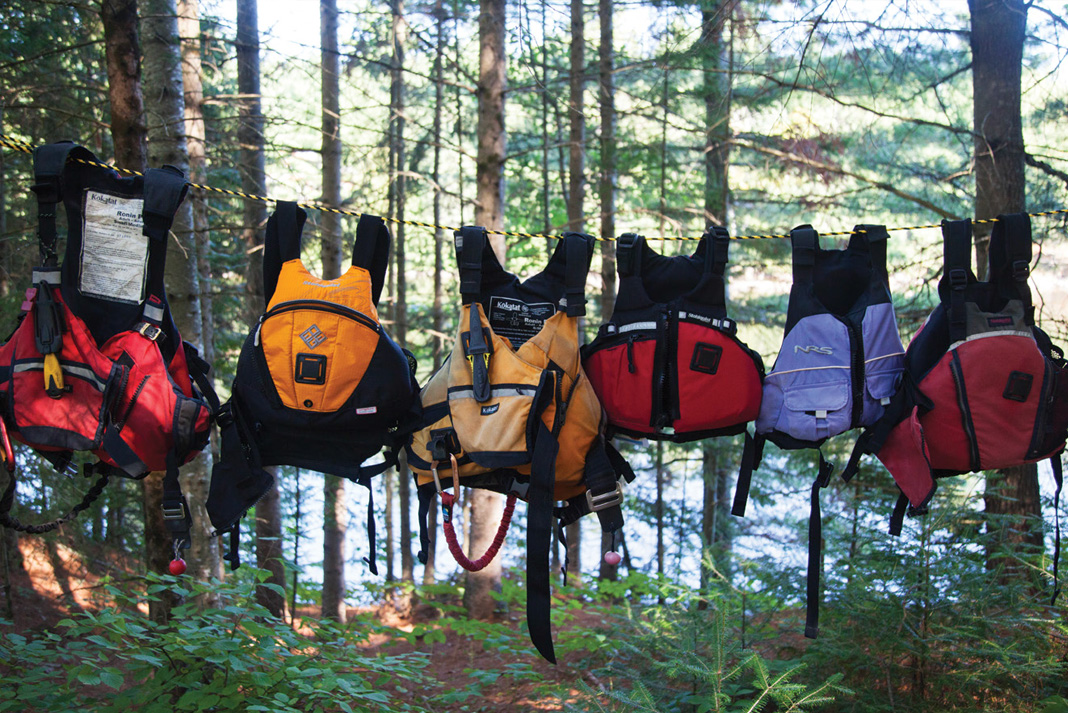
pass, questionable. | PHOTO: HANNAH GRIFFIN
Exposure to the Elements
Lili Colby, co-owner from MTI Adventurewear, explains that sun exposure can severely shorten the life of your PFD. UV exposure decreases structural strength and breaks down the fibers in the fabric. If your PFD shell fabric is significantly lighter in color than when you purchased it, it may not be as strong as it once was. Peak inside a pocket to compare against exposed, faded areas.
If you have been using your PFD in saltwater or sweating excessively without rinsing it after, corrosion of zippers and other metals will also likely occur. Porter adds that using PFDs as a changing mat or kneeling pad can ramp up abrasion and wear out the fabric more quickly. Overall, this is a bad idea.
Jim Stohlquist, founder of Stohlquist WaterWare, advises paddlers to replace their PFD if there is bagginess inside the foam envelope where the foam used to be, and if there are any rips, tears or holes that expose the underlying foam. Malfunctioning adjustment buckles and torn or frayed webbing attachment points are another obvious sign it’s time to look for a new vest.
The bottom line is that there isn’t a set expiry date for PFDs. Mulligan says the rule of thumb used at Astral is that a PFD should be replaced every five years or after 300 days of use.That guiding principle is “not set in stone,” he explains, and varies based on the user and care. A raft guide who spends all day, every day from May to September on the river will have significantly more wear and tear on her PFD than a weekend warrior over a comparative period of time.


 Watch
Watch 


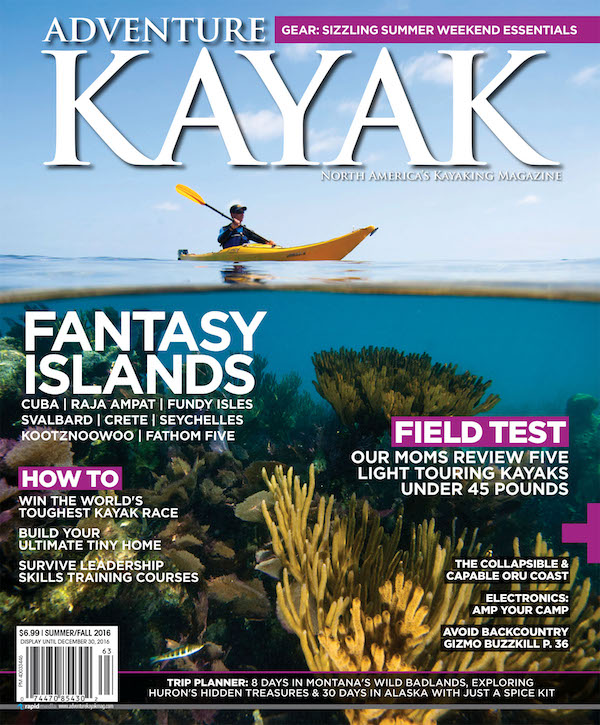 This article originally appeared in the Adventure Kayak Summer/Fall 2016 issue.