In celebration of the 10th anniversary of the Reel Paddling Film Festival, we checked back with a few filmmakers whose films we’ve featured over the past ten years. You can find more stories on past filmmakers in the pages of our Early Summer issue to catch up with them and find out what they’ve been up to since their films embarked on our annual world tour.
The Film: The Roadless Coast
Conceived around the idea that kayaks are the ideal craft to access remote beaches affected by tsunami debris, Ikkatsu—a Japanese word meaning “united as one”—brings together cultures on both sides of the Pacific, united by a single problem: plastics pollution in our oceans. Time-lapse beach surveys don’t make for edge-of-your-seat viewing, but the film—and the team’s mission—is engaging on a different level. 42 minutes, 2013; ikkatsuproject.org.
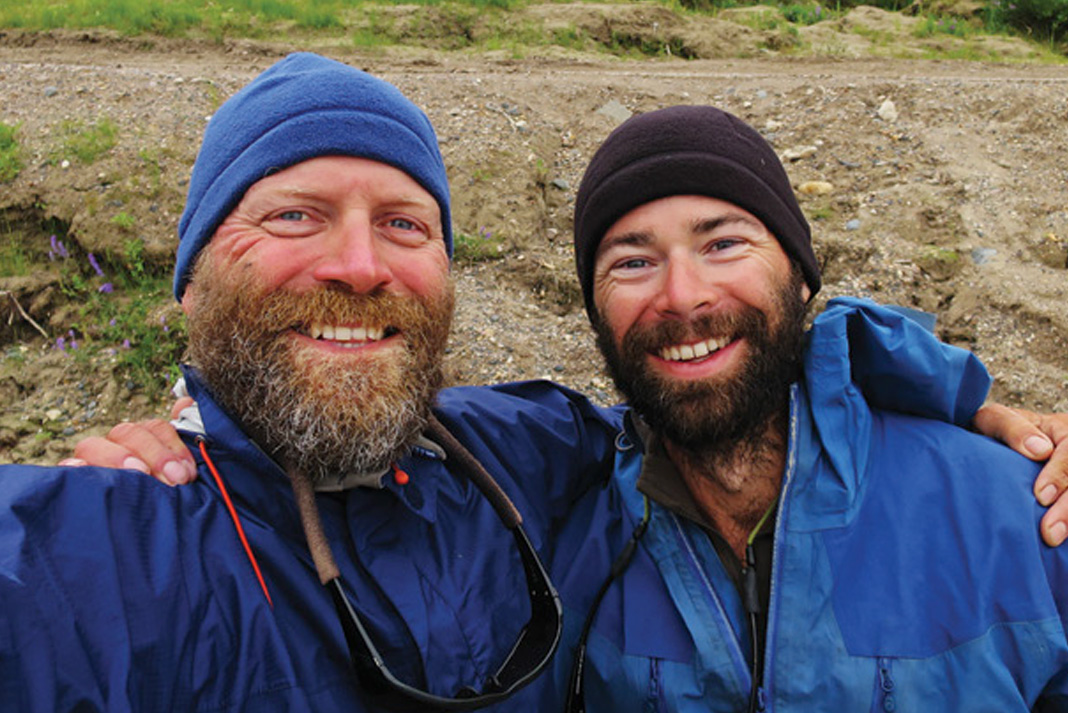
The Filmmakers: Steve Weileman & Ken Campbell
Tacoma, Washington
Washington paddlers Steve Weileman and Ken Campbell started the Ikkatsu Project in 2012 with the simple idea of taking a sea kayak trip along the Olympic Peninsula, hunting for debris from the tsunami that struck Japan in March 2011.
The friends knew they wanted this expedition to be more meaningful than a simple adventure. “I’d spent so many years becoming a good kayaker, I started asking ‘now what?'” recalls Campbell, a longtime guide and sea kayaking author. “What else could I do with these skills I’d learned?”
Partnering with advisors at the National Oceanic and Atmospheric Association (NOAA), they conducted beach surveys en route and shared their data with the scientific community.
Ikkatsu: The Roadless Coast, the film Weileman and Campbell shot on that trip, blossomed into a wide-reaching and award-winning documentary, and Ikkatsu developed into something far greater than a single expedition. As Campbell explains, “The project progressed from being a one-time vacation idea to a full-time vocation.”
Realizing the problem consisted of much more than the remains of one tragic event, the pair began researching marine debris in general, conducting surveys that could be used to coordinate future cleanup efforts. Their mission: raise awareness through print, films and data-gathering expeditions about the plastics pollution inundating ocean shorelines around the world.
In 2013, searching for a new project that would benefit from their location and skill set, Weileman reached out to Adventurers and Scientists for Conservation (ASC), a nonprofit organization that connects outdoor adventurers with scientists in need of field data.
A few emails later and Weileman and Campbell were coordinating with the Marine Environmental Research Institute to collect water samples for a global microplastics study. With another partnership in place with Oikonos, a nonprofit that researches plastic ingestion by sea birds, the pair headed to Alaska to conduct surveys on the remote, paddle-access-only beaches of Cook Inlet and volcanic Augustine Island. Once again, they filmed their journey for Ikkatsu: The Secrets of Augustine (2014).
Even on these isolated beaches, marine debris was everywhere. “Until you actually get down and count it, it kind of blends into the scenery,” says Campbell. “It’s a sobering thought, that every piece of plastic that has ever been made is still in existence.”
Campbell’s latest film and a book of the same name, Message in a Plastic Bottle, both released this spring, document his recent 150-mile paddle through Puget Sound in a kayak built out of discarded plastic bottles. Paddling a floating garbage patch turned out to be a great icebreaker for starting environmental conversations, he says.
For both men, Ikkatsu has opened the door to their own understanding of conservation issues, and how to more effectively communicate these to other concerned citizens. Along with their films and website, they also give presentations in schools to engage students in the discussion.
This summer will once again find their focus close to home. Campbell is completing a couple shorter trips in the Puget Sound area and he’s hoping Weileman will be able to steal time away from his new job as an IT systems engineer to lend his skills behind the camera. Looking ahead, and further afield, they’d like to investigate other aspects of ocean health. Top of Campbell’s list: travelling to Newfoundland to make a film about the effects of global overfishing from the persecptive of the island’s inshore fishermen.
It would be a fitting project for the Ikkatsu co-founder, who paddled around Newfoundland in 2001 and whose father—a chemist for the Department of Fisheries and Oceans—once moved the family to Newfoundland to study mercury levels in tuna, perhaps planting the seed for his son’s fascination with ocean ecology.
For Weileman, the films’ cinematographer, their reception has been especially rewarding. “I knew we were on the right track when, after a screening of The Roadless Coast, college students would come up and want to volunteer for the next project.”
 This article first appeared in the Early Summer 2015 issue of Adventure Kayak magazine.
Subscribe to Paddling Magazine and get 25 years of digital magazine archives including our legacy titles: Rapid, Adventure Kayak and Canoeroots.


 This article was first published in the Fall 2015 issue of Canoeroots Magazine.