Canoes don’t stay the same forever. Wear, different paddling conditions and changing needs can all call for modifications. Many paddlers believe modifications are the domain of professional canoe builders, but there are many DIY canoe upgrades that anyone can do. Try these to add value to your canoe in terms of comfort, performance and aesthetics.
DIY canoe upgrades
1) Replace the yoke
If you go on portaging trips, having a comfortable, properly installed yoke is essential. A new one takes less than one hour to install.
Begin by finding a yoke that fits comfortably on your shoulders and around your neck. If you have bony shoulders, you can make the yoke dish deeper with hollowing, sanding and varnishing. Undo the existing yoke’s fasteners and remove. Your new yoke will come longer than needed. Line it up with the center point of the old one and trim the ends slightly long, fine-tuning as necessary.
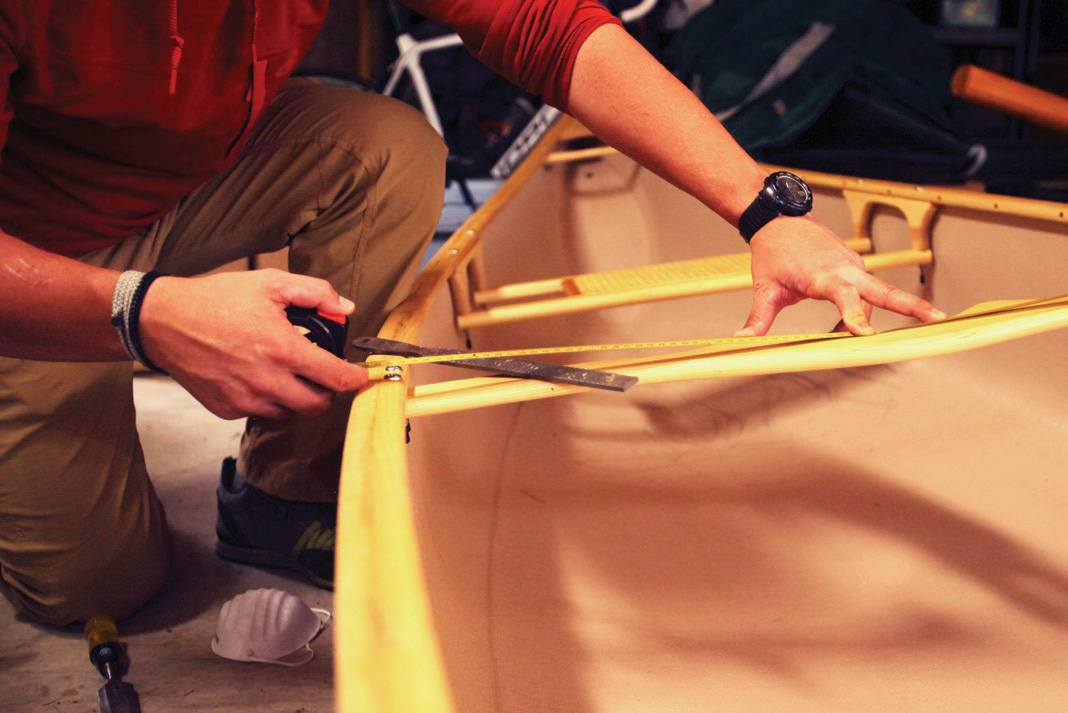
2) Upgrade the seats
Installing new canoe seats is a 30- to 40-minute modification. Paddlers may opt to replace seats because of wear or rot, or simply for something more comfortable for long days on the water. Unscrew the old seat and lay over your new one to mark where to drill holes and cut seat bars. Cut a bit long and fine-tune, cutting equally from either side. If your old seat was off center or poorly fitted, factor that in as you cut the seat bars. Measure twice, cut once. Bolt into place. This is a great opportunity to replace hardware.
If you want to make your existing seat more comfortable with no tools involved, paddling shops offer strap-on seat covers—some cushioned and with extra back support—that attach onto your existing seat.
3) Add a shoe keel to your wooden canoe
A shoe keel is a great way to help protect the bottom of your wooden boat from damage. In shallow water or during rocky landings, the shoe keel will absorb the impact instead of your precious canoe. This DIY canoe upgrade will require a weekend and an enthusiastic partner.
Adding a shoe keel to your wooden canoe involves cutting and shaping the keel, sanding and preparing the hull where the keel will sit, drilling and screwing it in place and applying epoxy. Have your partner assist to ensure the keel is attached in a straight line.
[ Paddling Buyer’s Guide: See all wood composite canoes ]
4) Add lining holes
Lining holes are a great modification because they allow for secure attachment points for painter lines used for lining tracking rapids.
Begin with a six-inch piece of webbing with the ends cut at 45-degree angles. Fold in half and mark the center. Wrap the webbing around the bow. The center mark you made should line up with the middle of the bow, no more than two inches below the gunwale. Mark the ends of the webbing on the hull, and drill a hole through the mark on either side, 1/4 inch in diameter. Then drill the hole slightly larger to 5/8 of an inch.
Repeat the above process with the stern. A drill bit will make a nice clean hole in any kind of canoe. Add and tie painter lines.
5) Add a spray deck
Having a spray deck on your canoe means you are better equipped to run whitewater, explore coastal areas, cross open water and keep out rain. Some canoeists also find it provides a bit of shelter and makes paddling in cold, wet and unpredictable weather more comfortable.
Morgan Goldie, general manager at North Water, explains that installing one of their spray decks requires drilling holes below the gunwales on each side, gluing loop patches to the inside of the hull, pulling cord through and lashing on the deck. It can be intimidating to drill holes through your precious hull but this two- to four-hour project will actually make your boat more seaworthy.
Try these DIY canoe upgrades yourself
If you’re sitting around the house this weekend looking for something to do, we encourage you to roll up your sleeves and try some of these DIY canoe upgrades for yourself. With a little bit of work you can add comfort, value, and performance to your craft.
![]()
Watch The Canoe, an award-winning film from Canadian Canoe Culture that tells the story of Canada’s connection to water and how paddling in Ontario is enriching the lives of those who paddle there. #PaddleON.


In addition to Eric’s comment about drilled-hole sizes (faulty translation from metric??), lining holes should be much-lower than 2″ below the gunnels. They should be closer to the waterline. This reduces the likeliness that if the canoe gets sideways while lining, it’ll roll over. Also, just drilling through the hull and putting the ropes in ?? NO WAY! In a FG, composite or aluminum canoe, this will lead to a weak but sharp drilled edge rubbing against the rope. There should be grommets, or a continuous sleeve attached inside the hull, to strengthen this joint and protect the rope from the sharp edge. And lowering the holes to closer to waterline means that you might have to remove-and-replace the flotation tanks or bulkheads at the canoe-ends, a much-more involved task than what was described, but with much better results. (The continuous FG sleeve I suggested should be watertight, sealed to the inside of the hull with more fiberglass.)
great article, except for one little bit (pun intended) of errata. pretty sure that 3/4″ of an inch is about 1/8″ of an inch larger than 5/8″. article states….”drill a hole through the mark on either side, 3/4 inch in diameter. Then drill the hole slightly larger to 5/8 of an inch.”
cheers,
Eric