A few winters ago, a midnight creeper broke into a barn in upstate New York and stole a 12-foot, plastic C1 canoe. Tracks in the snow indicated the direction the thief fled. It wasn’t too long before the boat’s owner, Adam Pearsall, found the boat, a Perception Slasher, discarded in a snowbank.
“They had tried to use it as a sled but decided to dump it instead,” Pearsall says. “It just goes to show, no one likes the Slasher.”
Inside Adam Pearsall’s fascinating collection of niche whitewater crafts
If Pearsall doesn’t seem too upset at almost losing a boat, it may be because he has a lot of them. How many? So many he doesn’t know.
“I have dozens of C1s,” says Pearsall. “It used to be I owned more than I had had birthdays, but now I’m 43, and I’m not sure that’s true anymore.”
Pearsall has amassed the largest collections of actual and, more importantly, virtual C1s on the planet. He’s not a hoarder, more of a historian. Pearsall hasn’t counted them because his passion is to preserve, not possess.
If the name Perception Slasher didn’t ring a bell, don’t feel bad. Decked canoes from 1991 don’t tend to be household names. But maybe you are curious. What does it look like? And why does no one like it?
There’s only one place to go for those answers. Pearsall’s website hosts a virtual museum with exhibits on hundreds of canoes—mostly decked, some open—and the much-loved C Forum discussion group canoeists have called their own since 2001.
Add it all up—his collection of boats, the sprawling virtual museum and the authoritative online forum—and Adam Pearsall has to be seen as the chine on which the C1 community pivots.
The Slasher counts among the 124 C1 designs that have their own entries on the Cboats website. Look under S for Slasher and you’ll see photos, specs and production information. Also, pointed user comments reporting this plastic boat “feels heavy to slalom lovers and edgy to rec boat users.” Not quite the boat that does everything well.
Still, the Slasher remains an important part of Pearsall’s collection. It takes its place under the covered racks on the side of his house, where he moved the boats when the barn proved unsecure, with all the other models, many of which may never touch a river again. For Pearsall, they represent the collected wisdom of the sport he loves.
Preserving a slice of history
That love started at age three, when his father started taking Pearsall down the Perry Ehlers rapid on the Hudson River near their house in upstate New York. Forty years later, Pearsall now paddles the same stretch with his 10- and seven-year-old children in the annual Hudson River Whitewater Derby. Somewhere in between, Pearsall found he was most comfortable in the cockpit of a C1.
While guiding rafts on New York’s middle Moose one summer in the mid-1990s, Pearsall traded in his kayak for a Dagger Cascade, a pioneering plastic C1 design. “I actually got two boats,” recalls Pearsall. “My friend sold me the Cascade, and made me take his Slasher. He hated that boat.”
“Before this history is lost, could we try to save it? Otherwise, without a record, how long would it last?”
In 1999, when he was fresh out of college, he bought one of the first Dagger Atoms, novel for being a purpose-built C1 from a major boat manufacturer. As might be expected, he dutifully sold his Cascade (and gave away the Slasher), but this was the year Scott Wilkinson organized a big C1 love-in in Washington, D.C. called the Concordia. It was an event that affected Pearsall and made him regret releasing his Cascade—and, yes, the Slasher.
The Concordia was well attended by luminaries of the discipline, including Davey Hearn, John Lugbill, Charlie Walbridge, Paul Mason and Mark Scriver. Seeing all these single-blade stalwarts, and such a variety of boats on display, Pearsall started thinking of posterity.
“It dawned on me; here was a slice of history,” says Pearsall. He was talking about the boats, the people who made them, and those who paddle them. “Before this history is lost, could we try to save it? Otherwise, without a record, how long would it last?”
Pearsall was, at the time, recently out of college and working seven days a week as a computer consultant. He didn’t have much time to paddle, but he did see some benefit in learning computer language HTML.
“I thought it would be great to have a virtual museum of all the boats we could find information on,” says Pearsall.
As it happens, he had a friend he had met at the small but prestigious Colby College in Maine who already knew HTML.
“I was quickly told my HTML was hideous,” says Pearsall, who later switched careers to work in financial services.
His former classmate and future software engineer, Kenneth Sarzynski, showed more promise.
“Together, we started CBoats.net to catalog all the boats we could,” says Pearsall. The present tally is 324, a full 124 of those being C1 designs. The rest are C2, OC1, OC2 and converted kayaks, a category that could expand toward the infinite, considering how much more common kayaks are than C1s.
“We were trying to save the pictures, the information, the stories, the knowledge,” says Pearsall. “If someone ever says, ‘I wonder what a Perception Sage looks like…’ Where else would they find out?”
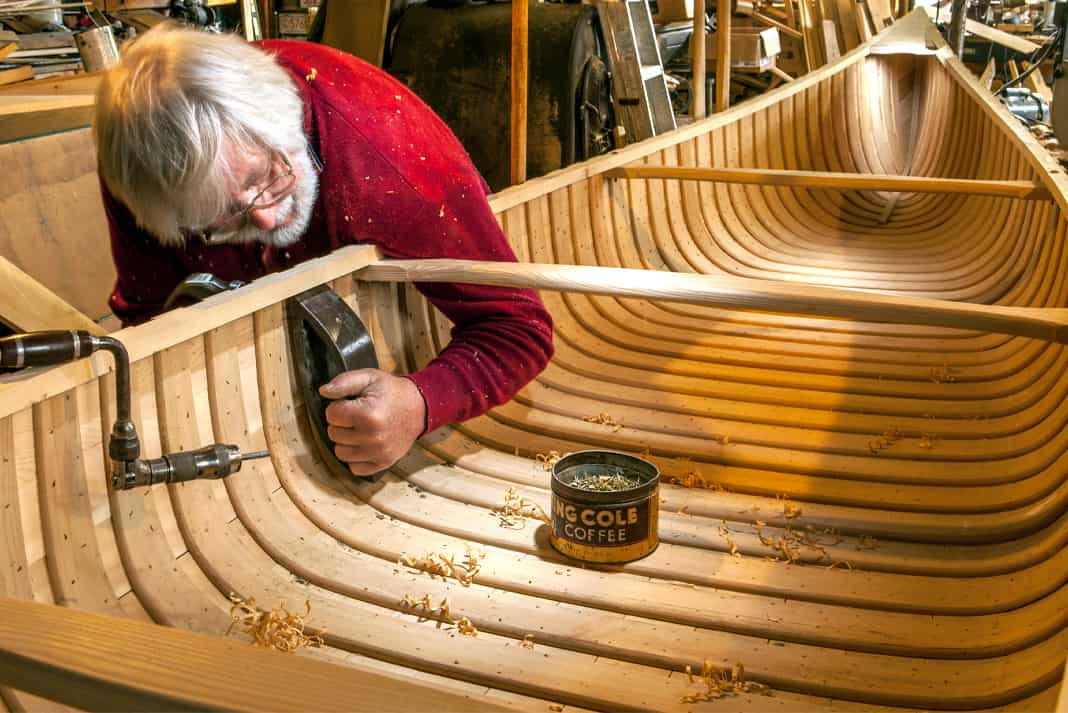
Pearsall says one of his favorite Cboats.net archive entries is of the composite-hulled Magnet. The bullet points show it was produced in 1993 by Valley Mill, but the reader comments below paint a fuller picture. A 300-word note from Frank Billue recounts how he and Paul Richey had started with a Perception hull and proceeded to rebirth it as a brand new boat.
“[We] designed it in our garages back in 1993, [spending] hours laying wood strips and planing out the hull shape, then we’d go to the Payette [River] and try it out, discuss the chine, hull shape, width, deck and go back to the garage to add gelcoat or shave off some wood… I remember the excitement when our production boats got shipped. They came as just a hull and deck like they were just out of the mold. We had a blast cutting off the flanges, seaming up the halves, and cutting and laying up the cockpit rim. But the real blast was paddling it, carved like a slalom boat, and surfed like a dream.”
“A certain boat may have been a terrible design,
but I still want to know about it.”
“I aimed to save those slices of history,” says Pearsall. “Otherwise, you’d never know who these guys are.” Or where the designs came from.
Pearsall says he’s drawn to history in general, taking an interest in the years that have passed around his Hudson River home near Glen Falls, New York.
“I like to run around the woods and search out old farms. I’ll come across the old buildings and machinery left behind. When I do, it speaks to me. It’s the same with boats.”
“A certain boat may have been a terrible design, but I still want to know about it,” says Pearsall, expressing curiosity about what its influences were, and why it didn’t work. “It could have been an important part of the historical record.”
Single blade community finds a home
Pearsall and Sarzynski registered Cboats.net in 2001. It was born in the 21st century, but relied on technology bearing little relation to what powers the processors of 2019.
“This was the world of dial-up modems,” remembers Sarzynski, now living in Colorado. “When I was designing the website, every page had to be small enough for someone on a slow Internet connection.”
“We had to resize thousands of images, so I wrote some code to do that,” remembers Sarzynski. “But my conversion wasn’t very good. A lot of the photos came out small and very grainy.”
Pearsall and Sarzynski are the first to admit the site needs an overhaul. If the virtual museum was never polished to a high sheen, that’s because only a year after the two launched the website intended to archive boat designs they greatly expanded its scope (and workload) by taking over the C Forum chat group that had formed around the Concordia event three years prior.
Organizer Scott Wilkinson was still maintaining the event’s message board as the only outlet for dedicated C1 networking on the net, but he was losing the battle against pop-up ads.
When Pearsall and Sarzynski dug in to migrate the pre-existing C Forum material to Cboats.net, they quickly felt swamped.
“In those days, the message boards were akin to a single webpage that contained all the comments forever,” explains Sarzynski. “We wanted to take each topic and put it into its own room, by making it a structured, database-driven forum.”
And the only way to do that was to copy and paste. Neither man would even attempt a guess at how many hours they spent on that task—hours that were very much unpaid.
Pearsall explains they were collecting advertising revenue for a few years, but after a while, he realized it wasn’t worth trying to make money off it, even if just to cover their hosting costs. There are still ads on the site. Pearsall considers them legacy ads, honoring a partnership that once was.
“I knew it was a good community, I just wanted to support it,” says Sarzynski of his volunteer hours. He and Pearsall, and a small group of moderators have done just that for 18 years now, with weekly maintenance sessions to try to stay ahead of the bots, the Nigerian Prince scam artists and, Sarzynski wonders aloud, the Russian election meddlers.
Though some of the photos remain grainy, and appear doubly so on today’s high-resolution monitors, Sarzkynski is at peace with the level of polish, mostly because he thinks the paddlers are.
“It could be more up to date, I suppose, but the community doesn’t seem to need video-playing, JavaScript widgets giving automatic updates to a phone,” he observes.
That belief is backed up by the 116,511 posts on 17,302 different topics that have helped bind single-blade paddlers together over the last 20 years.
It’s an irreplaceable and consistently useful repository of information, according to Davey and Jennifer Hearn. Davey Hearn won multiple world championships in C1 slalom racing over a 26-year career. Since 2005, he and Jennifer have owned Sweet Composites, where they sell all the materials needed to build or outfit a composite boat.
“We are always referring people to the C Forum,” says Jennifer. “When people get into fine details, like how should they convert a hull, what seat height should they have, I always say: ‘Check out the C Forum.’ It’s all there. Why reinvent the wheel?”
As someone with 21 boat designs to his name, Davey Hearn says any student of boat design owes a debt to Cboats.net.
“With a little detective work, you can trace design aspects back through the ‘70s and ‘80s,” says Davey. “It’s invaluable to have it all together there in one place for people to see.”
Seeing with a collector’s eye
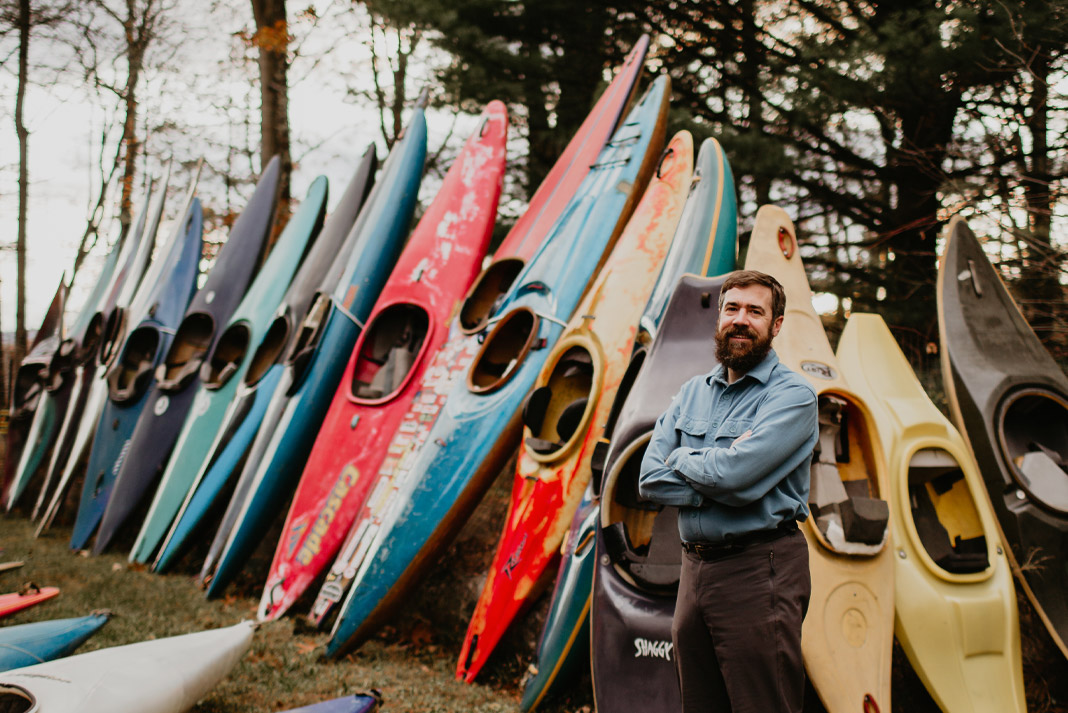
Considering the reach of the C Forum and the comprehensiveness of the virtual museum, it’s easy to overlook the third aspect of Pearsall’s contribution to the world of C-boating, the collection of actual boats he’s built up over the last two decades.
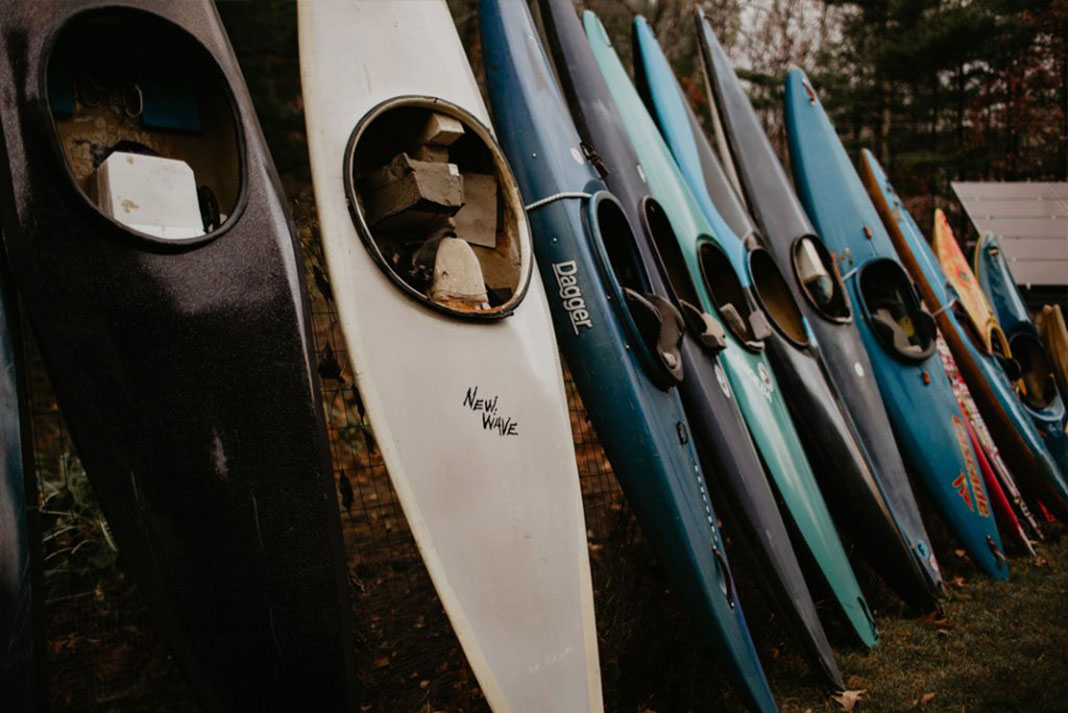
They may not get used much, but the roughly 40 C1 models he has stacked outside his house account for more than 90 percent of the recreational C1 designs ever released commercially.
Pearsall’s attraction is more than academic.
“I tend to like sharp chines and low volume boats,” says the reigning downriver champion of the Hudson River Whitewater Derby.
“I follow the lines from bow to stern and visualize the path water travels along the hull. I want to understand why boats work, and I want to help save that knowledge. It’s one thing to have a photo, but you can’t replace sitting in a boat and understanding, ‘This is how it paddles.’”
Pearsall says he’s spent about $25,000 on the collection, and it’s almost complete. He can name five models he still wants to acquire. Some of the more obscure ones he hopes to find before someone retires them and turns them into garden planters.
“There are designs I’ve only seen old catalog sketches of, I’ve never seen them come up for sale.”
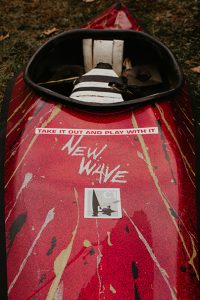
As it stands, the collection remains the first destination for anyone wanting to track down notables like the New Wave Oxygen. Designed by freethinker Corran Addison, it’s an asymmetrical hull that looks a little like an angular banana. Paddle it one way if you are right-handed. Left-handed paddlers need to turn the seat around and head in the opposite direction.
The way Kalin Pallet sees it, what Pearsall brought to C-boating was every bit as innovative as the Magnet and much more influential.
Pallet was a frequent poster to Cboats.net from the beginning. Based in Whitehorse, Yukon, whitewater canoeing has been so central to his life he named his business development agency Eddyline.
Palin remembers meeting Pearsall at that formative Concordia event in 1999, and many times since.
“Adam was the quirky guy who showed up with crazy helmets, but turned out to be just a rock-solid human being, and over time, a cornerstone of the community.”
“Adam had the vision. He understood there was something special here, something that should be preserved to help new people understand how we got to this moment in time. Others may have felt the same way, but Adam said, ‘Let’s embrace technology to document and archive it.’”
Pallet believes Pearsall should be credited with bringing the community closer together. “It gave single bladers our very own corner of the net, where we didn’t have to explain ourselves. So many events have happened as a result of people meeting there online.”
True as that may be, there’s no denying fewer people are virtually bumping into each other there these days.
Pearsall says that, from a traffic point of view, Cboats.net peaked around 2009, “Just before the Facebook paddling groups took off.”
He says he has mixed feelings about Facebook groups. He understands the draw of social media, but the archivist in him can’t help but point out that it’s hard to know how the information shared between paddlers will be saved. What’s more, you can’t search for specific things you are wondering about.
“Information can tend to get buried on Facebook,” says Pearsall. “In comparison, there is a high signal-to-noise rate on our site.”
There isn’t a trace of bitterness in his voice as he compares his labor of love to the multi-billion-dollar behemoth draining away his users. He insists he doesn’t mind if the ephemeral chatter is elsewhere.
As long as people are aware of his site, then they will be able to use it for its original purpose. Then it won’t become history. It will just continue to be about it.
Ian Merringer is a former editor of Rapid magazine.
 This article was first published in Issue 60 of Paddling Magazine.
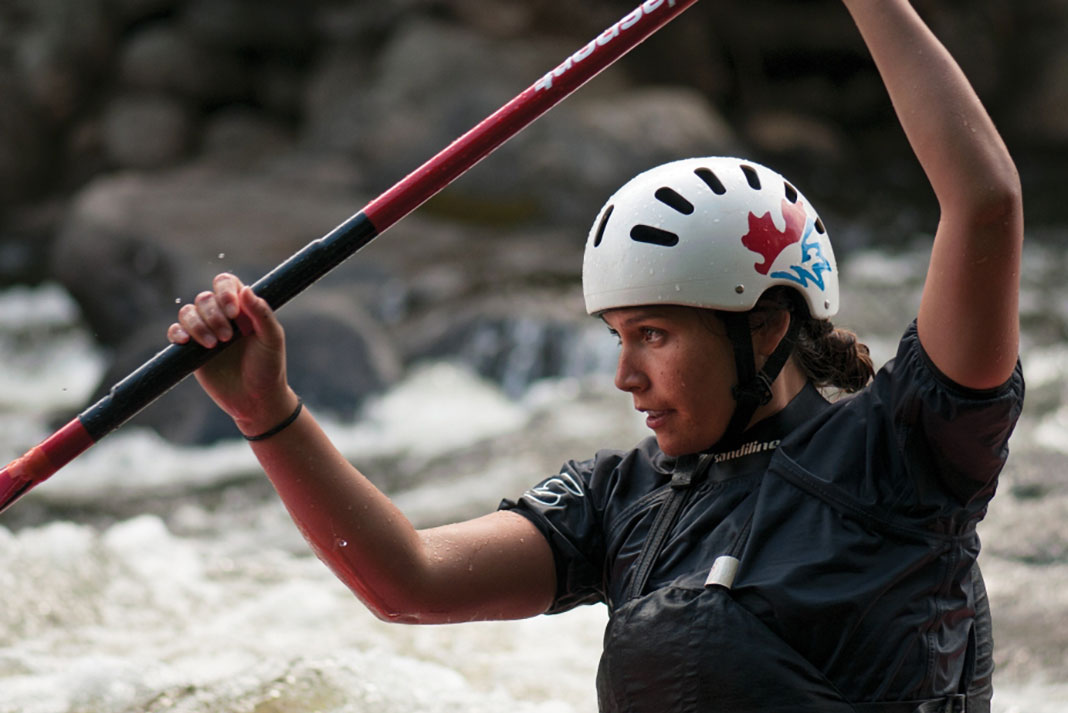
 Cultural custodian Adam Pearsall with his impressive collection of C1s at his home in Glen Falls, New York. | Feature photo: Joe Vogel