
In 2012 Kevin Callan and Kip Spidell went on two seperate two-week canoe trips in Quetico Provincial Park asking paddlers if they thought wilderness still exist. Watch to see what they said.
Video: Kevin Callan Asks If Wilderness Still Exists
7 Cold Water Paddling Essentials
If you live in a region with tough winters, the paddling season can seem far too short. It can take a few weeks to get back into the rhythm after ice out. Muscles need to return to their once paddle-ready strength. Systems and logistics for transporting your kayak need to be locked in. New gear needs to be purchased, and old gear repaired. Then before you know it, the leaves seem to be changing.
But what if the paddling season didn’t need to cease come fall? If you want to try paddling through the coldest and darkest months of the year, you will need a few solid pieces of gear to make it happen.

1A drysuit
This is the big ticket item, but also the key to making cold water paddling a reality. A well-cared for drysuit will last, and due to its ability to extend your cold water paddling missions by hours and days, it is priceless. And we’re not being hyperbolic—cold water kills paddlers every year, so don’t paddle on cold water without one. Make sure to layer underneath and tuck into a ball with the zipper partially open to remove excess air before fully zipping.
2
Down booties
There is nothing more satisfying than peeling off paddling socks or shoes and pulling on down booties at the take-out. Their weightless, cushy quality makes your feet feel like they are being hugged. Many come with soft soles so you can walk around the take-out organizing your gear without damaging them. Combine them with some fleece pants and you are all set.
[Cold Water Safety: What Every Cold Water Paddler Needs To Know]

3
Dry bags
Dry bags are essential for cold water paddling because they allow you to store extra clothing and insulation, making you safer on the water. Fill a dry bag or two with warm layers, gloves and hand warmers generally used for skiing. Also make sure you have a first aid kit and a communication device safe in a dry bag.

4
Calories
Spending time in cold water can cause your body to burn significantly more calories than a June mission. Even if you are just going out for a few hours, plan for the worst by packing emergency food in case something goes wrong. Choose calorie dense food that travels well, like Snickers bars, dried fruit, nuts, beef jerky and peanut butter sandwiches.

5
A thermos
A thermos is super important for cold water paddling days because it allows you to pack a hot lunch or beverage to enjoy on the water. If you are feeling cold and unmotivated, a lunch of hot stew or chili and a hot chocolate is a sure-fire way to get the stoke back. Pack a few mugs and make sure you buy a thermos that is durable enough to handle some banging around inside your kayak hatch.

6
Gloves
You can have the best drysuit in the world, but without gloves, all you will feel is the biting cold with each paddle stroke. Slip into a pair of paddling gloves or pogies and thinking about your numb digits will be a faint memory.
7
A plan
Make sure you know what your destination and estimated time on the water will be, and leave that information with a friend. Cold water can turn incidents that would be minor mishaps in summer into more serious issues, so having someone know where you are is vital.
5 Essentials For Circumnavigating Lake Superior
My parents had me in one form of a boat or another since I was about six weeks old and I never left. I was 11 when I first pondered circumnavigating Lake Superior by sea kayak. Two family friends had completed a historically cold lap of the Lake. For the past 25 years the trip has lived in my head. I left from Red Cliff, Wisconsin on June 20th headed west towards Duluth, and returned 53 day later after covering roughly 1,300 miles. I was my own traveling companion throughout the trip but met great new friends and travel partners along the way.
By nature I am a list-maker and if you saw my 16-tab Google planning sheet entitled “Ben’s Trip Brain” you’d laugh. So 16 spreadsheet tabs later, I offer you my five essentials to circumnavigating Lake Superior.
5 essentials for circumnavigating Lake Superior
1 Fully adjustable ferrule paddle
The injury I most worried about was over-usage. I chose the Werner Cyprus bent shaft paddle. I’m right handed but played around with left-hand control and varying degrees of feather. I only almost flipped 8.5 times while figuring it out.

2 The SPOT
I did all of my navigation by map and compass. One piece of tech I did bring along was a SPOT device as an additional safety precaution. A feature I grew to love was the nightly blurb I would send out to a short list of friends and family with my GPS coordinates. It was a one-way street so no one could contact me but they could get a glimpse of where I was and that I was off the water safely. It turned out to be a fulfilling way to keep contact that protected my wish for being unconnected and others’ wishes to follow along with my trip.

3 The no-plan plan
You plan and prepare to the best of your ability so things run smoothly. However, I like to leave lots unplanned, especially routes. One has to be open to the serendipity of passing up a freshly groomed lawn as a campsite and instead sharing the overgrown bush of an abandoned marina with two other kayakers you’d never met who also happened to be circumnavigating the Lake. Also, if someone in a powerboat offers to catch you fresh lake trout, fries it for you, and makes you a margarita—do that too.
4 The 6 Ws
Wind. Weather. Waves. Water covered. What’s next? Whatever else. These words were what started my daily reflection each night. I charted my progress, listened to the weather radio, planned the next day and jotted down highlights and expectations—a must for any journey.
5 Support network recipe
Friends willing to scour the depths of Google Earth and Weather App Land to imagine your life that day, one friend willing to cross the Atlantic and meet you in Sault St. Marie for six days of paddling companionship, family willing to drive hours on end to cook you a meal, deliver a re-supply, or swap out a boat because you snapped your skeg, and countless others to help create the right chemistry for you to even imagine the trip.
With this trip I expected and sought a mental and physical challenge. Over the course of 53 days you experience all that the Lake can offer. Day 28 while paddling through Lake Superior Provincial Park was that day—a heavy headwind, strong seas, cold air, intermittent rain, lunch with a local guide, a mother and two bear cubs, the peaks of my paddling skill, the depths of my exhaustion, hot tea under a tarp while listening to the rain, chatting with a few overland hikers, creamy polenta, 6Ws, read, rest, repeat.
A sunset shot of Pukaskwa on Lake Superior. | Feature photo: Ben Herman
Key Safety Skills For Whitewater Paddlers
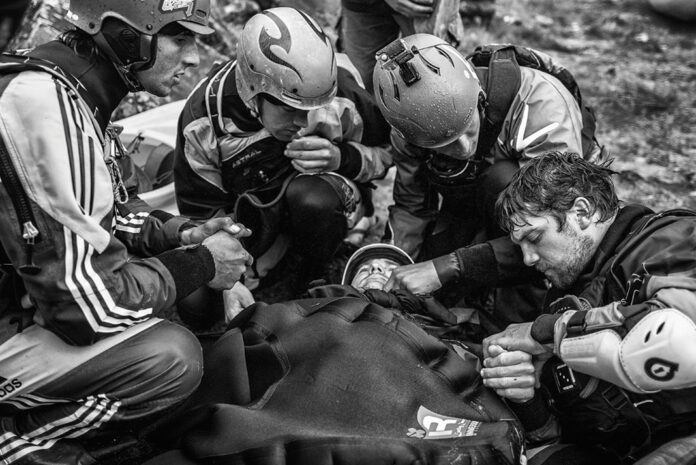
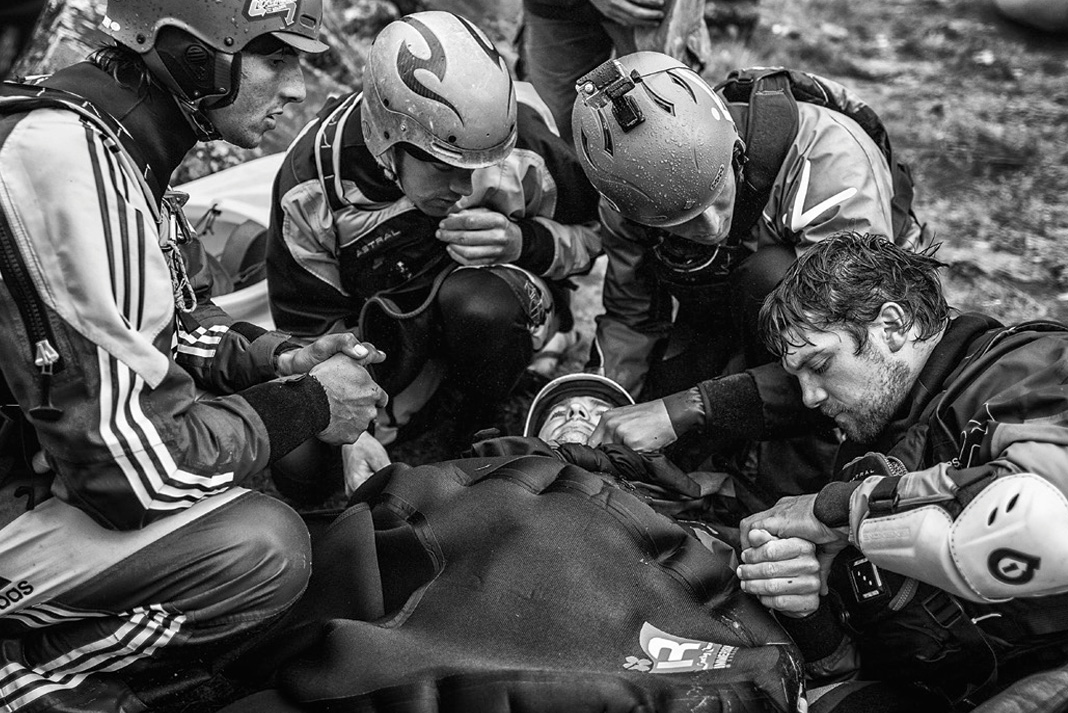
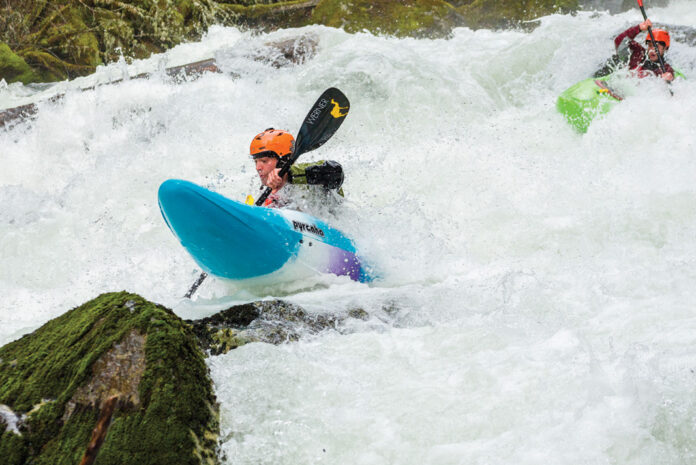
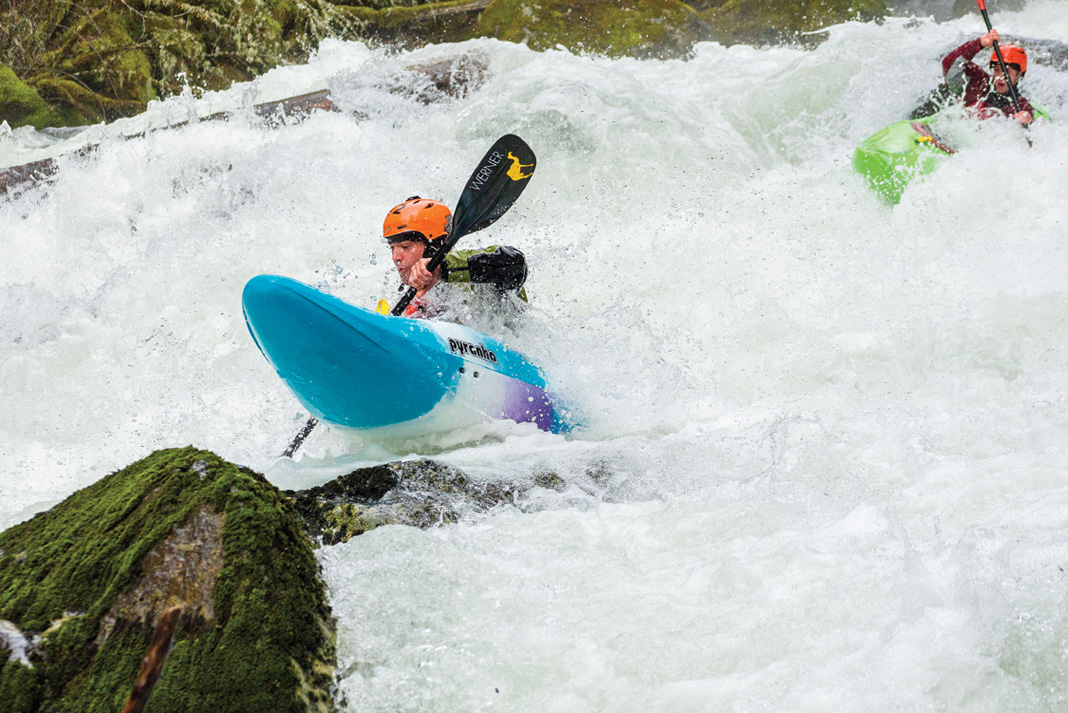
Whitewater paddling is one of the most exciting and fun activities you can do, in our completely unbiased opinion. Close calls, bad swims and river mishaps can take the enjoyment out of whitewater faster than a runaway kayak on a steep creek. To maximize good times on the river and mitigate the consequences of things not going to plan, it’s imperative to take a river rescue course and ensure you feel comfortable in the areas you paddle. Over the years at Rapid, we’ve compiled an extensive collection of key whitewater skills we think everyone should know.
1. Throw a throw bag properly
This is a skill you want to have worked on before it matters. Don’t be caught making ineffective throws on the river bank to a panicked friend—practice your toss each time you hang the bag up to dry. See how here.

2. How To Make A Flip Line
A flip line, or guide belt, made with a length of webbing and a locking carabiner, has many different uses for kayakers, rafters and canoeist. In addition to helping flip an overturned raft, you can use it to make a rescue anchor, boat tether and rescue harness. Watch how to make one here.

READ MORE: 10 things that will happen when you learn to whitewater kayak
3. The Coil Rescue
Ideally, your throw bag hits its target the first time. Even so, there are situations when throwing a coiled rope is called for, like multiple swimmers or a failed first attempt. Learn how to do a coil rescue here.

4. Equip Your PFD For Rescue
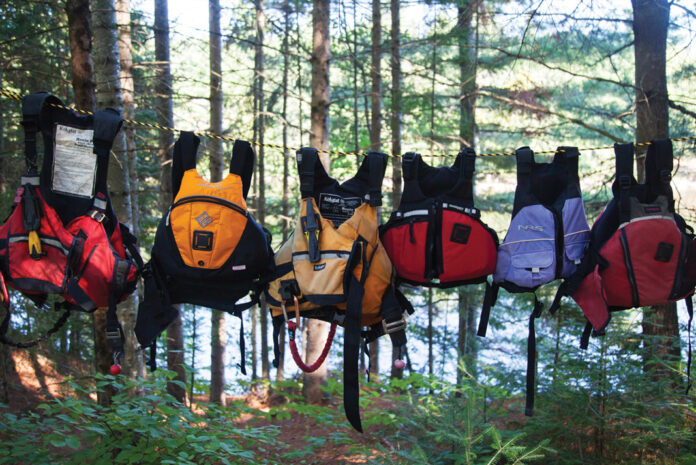
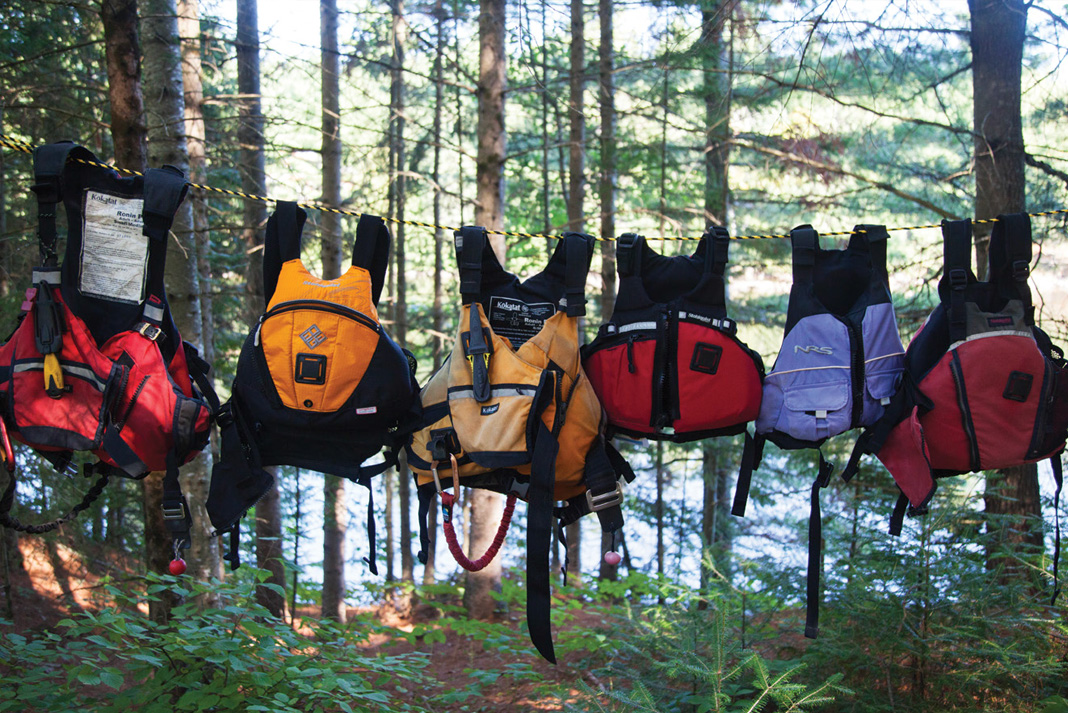
A PFD is key for your own personal safety, but it also a piece of gear that can be equipped with essential safety gear. Find out what you need and how to set it up here.

5. Learn how to escape a hydraulic
Getting caught in a hole is terrifying, especially if it’s the first time. Learn how to get out as fast as possible here.

6. How to quickly coil your throw rope
Sometimes your first throw doesn’t go as planned, and you need to coil your rope as fast as possible. In rescue situations, each second is valuable. Learn how to coil your rope ASAP here.

7. Learn How To Swim
When you see a boat-less body swirling down a river, it may not look like there is much technique involved, but controlled body position and motion can have a serious effect on how you fare in the big water. Learn how to swim properly in whitewater here.

8. Give your rescue skills a tune-up
Check in with yourself before each season and evaluate which rescue skills you need to work on or refresh. Being aware of your blind spots or weaker skills will help you focus on what to improve and aid you in making decisions. Learn more improving your skills here.

Lightweight Touring Kayak Review: Delta Kayaks 12S
This article was part of a feature testing five compact touring kayaks while on a trip in Georgian Bay’s 30,000 Islands. The other boats in this roundup include the Stellar Kayaks S14-LV, the Current Designs Ignite, the Swift Saranac 14 and the Hurricane Kayaks Sojourn 135. Read the review of the Delta Kayak 12s below.
Delta Kayaks 12s review
Stable and well behaved, the 12S embodies Delta’s West Coast touring design ethos—beginner-friendly, efficient and capable of hauling all your gear—scaled down in a compact package.
The multi-chine, V-shaped hull and full, flared bow confidently handle bumpy conditions, while offering satisfying—if not speedy—cruising capabilities on calmer waters.
At 12 feet long, it’s the shortest boat we tested—yet it has an enormous appetite for gear. The hatches swallow nearly 160 liters (33 liters more than the 16-foot Ignite) and are accessed by the largest hatch openings in our line-up.
Delta Kayaks 12S Specs
Length: 12′
Width: 24″
Weight: 38 lbs
Price: $1,425
The gasketed, press-fit hatch covers are bone-dry and by far our favorite to open and close—no straps, clasps, stubborn rubber or neoprene to wrestle with. The 12S is also the only kayak in our group with a day hatch in the front deck—perfect for keeping small essentials dry and within easy reach.
Delta Kayaks are industry leaders in thermoforming crisp lines and exquisite detail from sheets of ABS plastic. From its integrated outfitting adjustments to its gleaming deck and color-matching hatch covers, our demo is flawless inside and out.

“It fits everyone well,” said one tester, noting the perfect placement and positive grip of the 12S’ padded thigh braces. The 24-inch width cradles a fore- and aft-adjustable seat and low-profile backrest that’s supportive without getting in the way—making the Delta our runner-up roller behind the slender Stellar S14-LV.
Attractive, comfortable and well appointed, the 12S is also the lease expensive boat in our fleet, offering exceptional value for discerning paddlers on a budget.
This article originally appeared in the Adventure Kayak Summer/Fall 2016 issue.
Subscribe to Paddling Magazine and get 25 years of digital magazine archives including our legacy titles: Rapid, Adventure Kayak and Canoeroots.


This article first appeared in the February issue of Paddling Magazine. To read the entire issue, click