Mexico may be the best-kept secret on the continent. For broke paddlers, it offers up a cornucopia of epic sights and thrills, and easy logistics for a discount price. In particular, the city of Tlapacoyan near the Gulf of Mexico is quickly becoming a whitewater kayaking mecca. Boasting multiple 60-foot tall drops, deep canyons and jungle scenery, it is without a doubt one of the cheapest yet memorable whitewater trips you can take in North America.
If you live on America’s West Coast like me, you’ll know how grueling November can be. Yes, the Pacific Northwest can flush due to winter rain. But, if you’re looking for any other action there is little. November can feel like a delayed hangover from the summer season—I’m left wondering why all of my friends are sick, and why I’m feeling like I can’t move off the couch. Usually, I spend much of the month daydreaming about escaping. But if you’ve got little cash to fly overseas and no option to take extended time off work, is it possible? No problemo.
Visiting Mexico in search of great whitewater kayaking
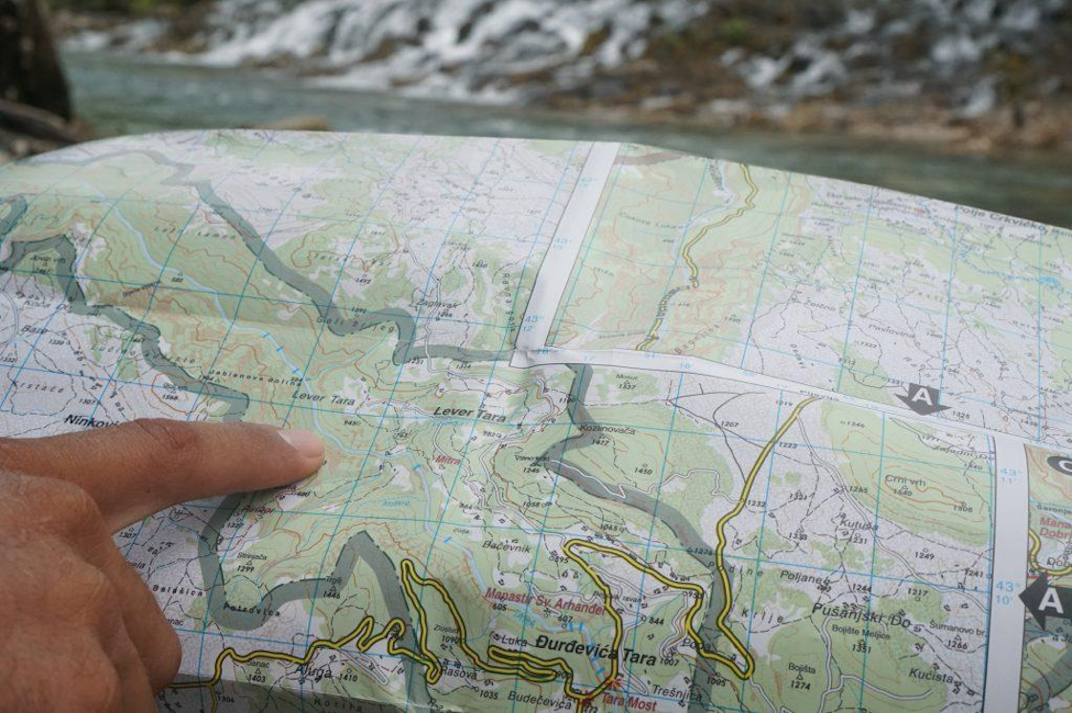
I made last-minute plans to head to Mexico for 10 days last November. After flying into Mexico City, friends and paddlers Alec Voorhees, Evan Moore and I jumped onto a local bus to travel to Tlapacoyan, a five-hour drive from the country’s capital.
Seeing the expansiveness of Mexico City was impressive, even from a bus window. With a population of 8.8 million, Mexico City is one of the world’s largest cities. Safety in Mexico off the tourist resorts has a pretty terrible reputation in the American media. However, we were soon to witness the friendliness of the locals—and their curiosity thanks to our large plastic boats—which put us at ease.
When in Tlapacoyan
We arrived in Tlapacoyan in the middle of the night, boats on our shoulders. We found a cab driver brave enough to strap two large kayaks onto his tiny vehicle and soon arrived at our home base for the next week and a half: hostel and rafting outfit, Aventurec.
The city of Tlapacoyan is located in the Eastern part of Mexico. It is a great home base for those wanting to experience the Alseseca, Filobobos and Jalacingo rivers. With a population of 100,000 it’s a sizable city, but has an unspoilt and friendly feel. Surrounded by forested hills and pre-Columbian ruins, it’s home to the massive but almost unknown sites of Filo Bobos, and also a center of citrus fruit production.
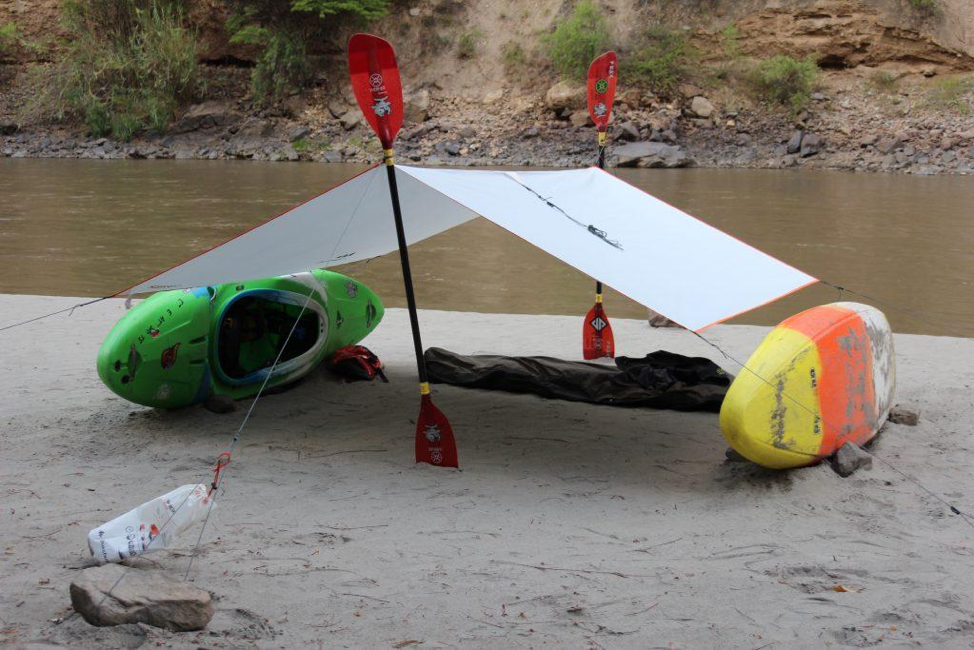
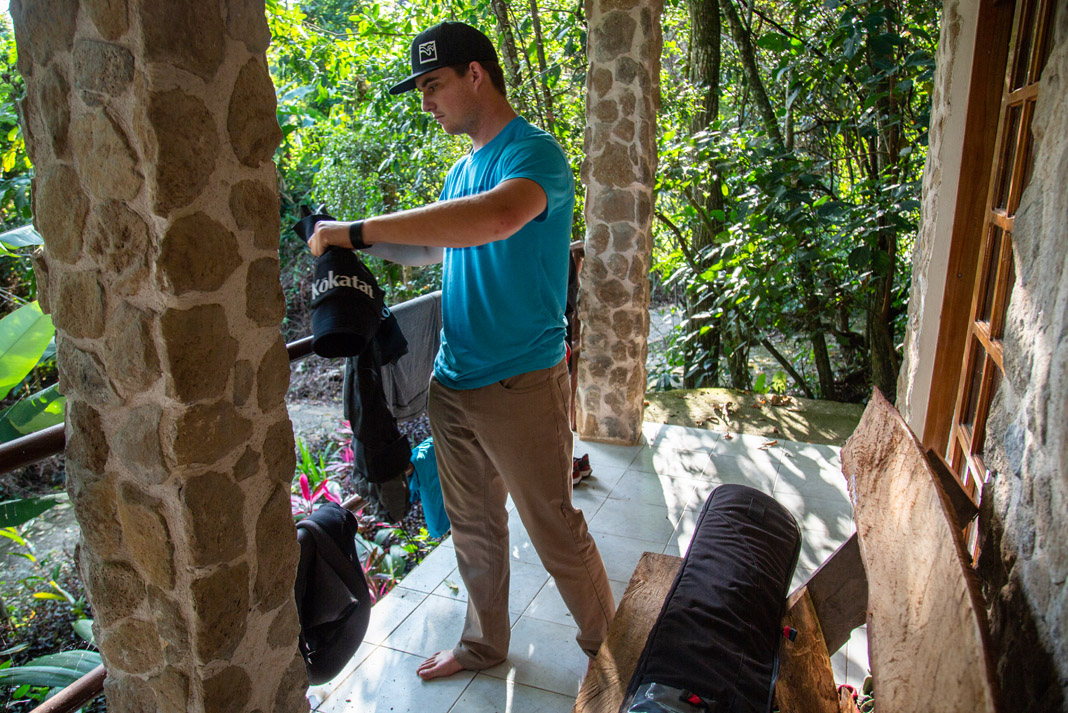
Aventurec lies on the outskirts of town, a friendly outpost to both newcomers and annual regulars. Nestled up against the jungle, this beautiful retreat makes for a relaxing place to come back to after a day on the river.
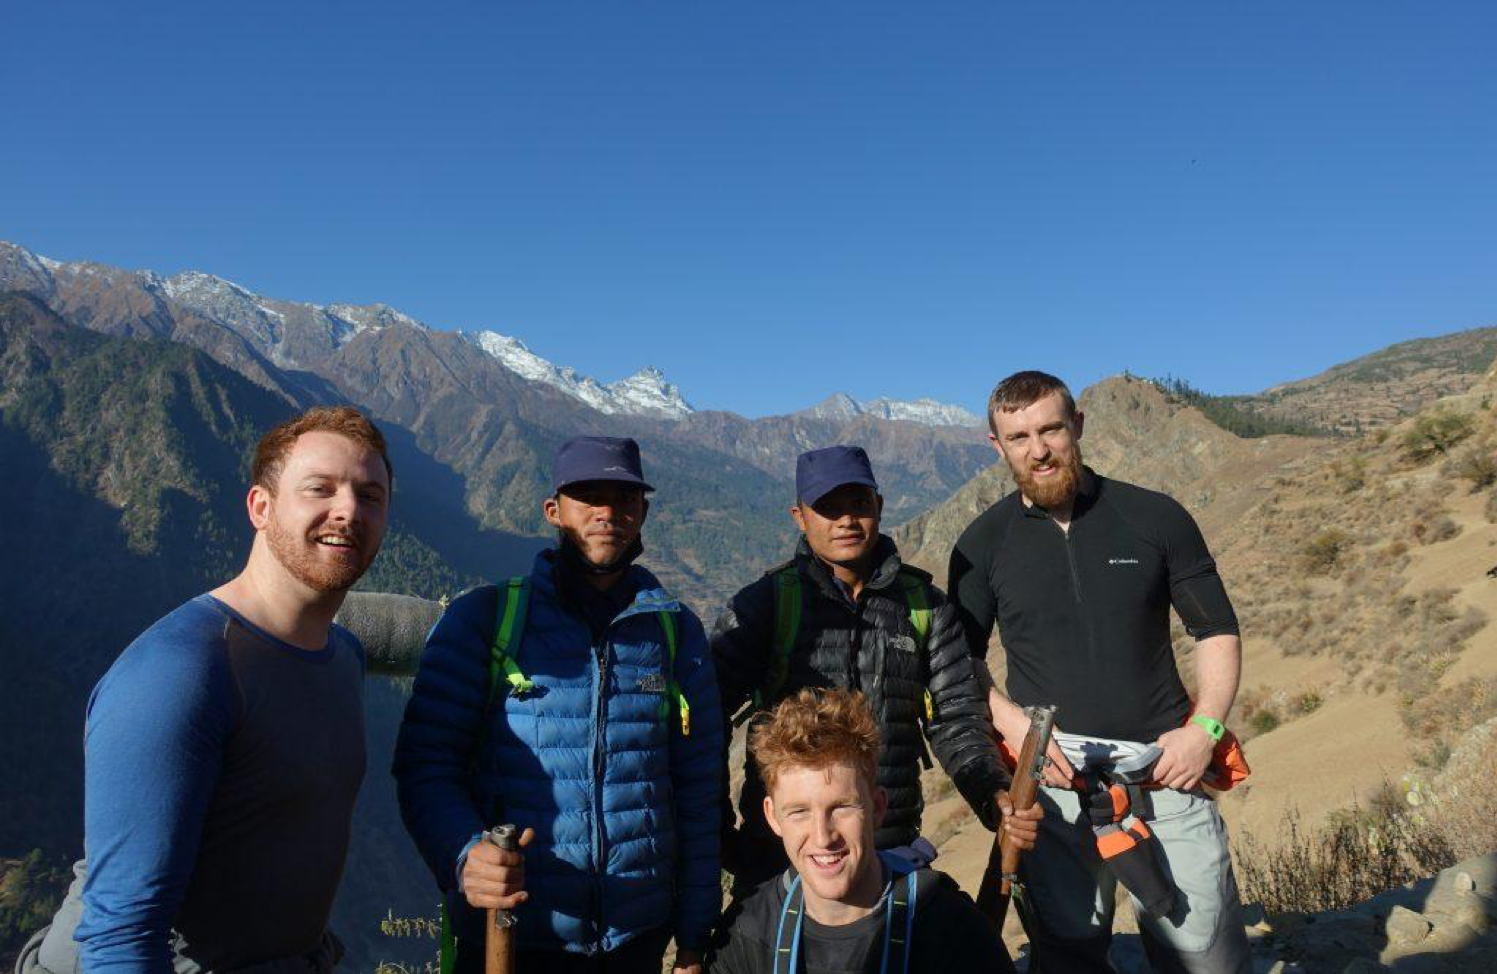
Waking up to foreign birds and insects heralding the morning, we filled up on plenty of carbs from the buffet. Alongside Alec and Evan, Czech friends Matej Holub and Petr Civrny joined in on the two weeks of fun. Our plan was to hit multiple sections of the Alseseca and Jalacingo, both classics in the area.
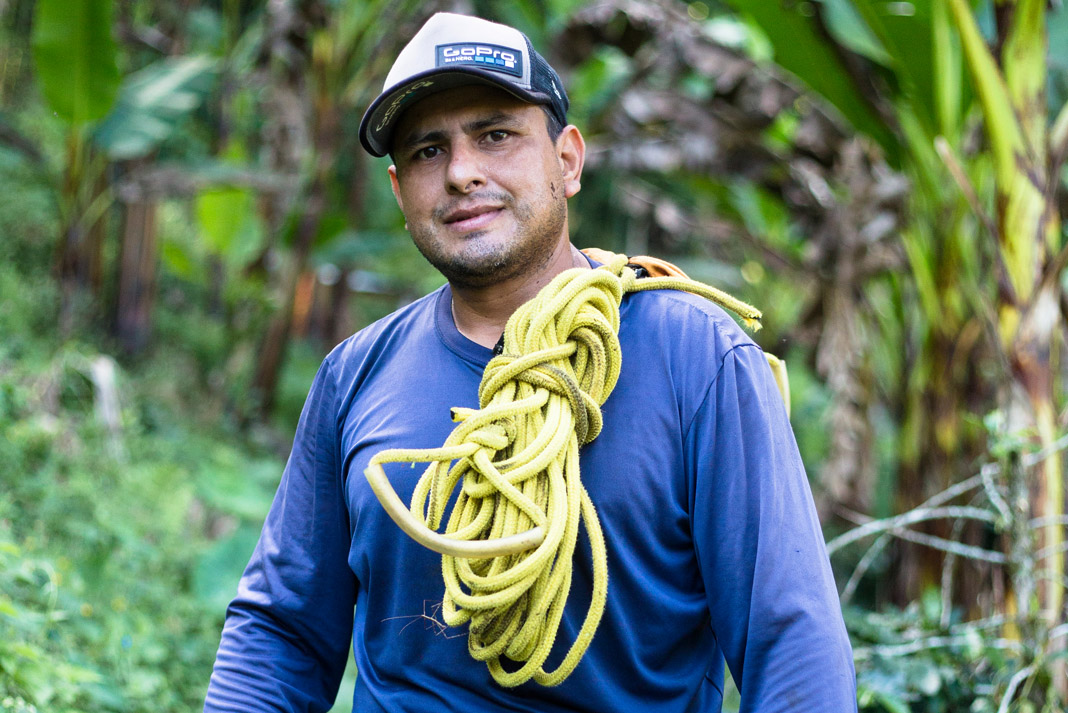
Our kayaking guide in Mexio
A couple weeks before we flew to Mexico we hired Israel Celis Mesura as a guide. Cousin to world-renowned boater Rafa Ortiz, Mesura was key in showing me to the lips of waterfalls and running shuttle for the rest of the crew. Mesura has shown plenty of crews around the Tlapacoyan area, including the film crew for Ortiz’s Chasing Niagara film project.
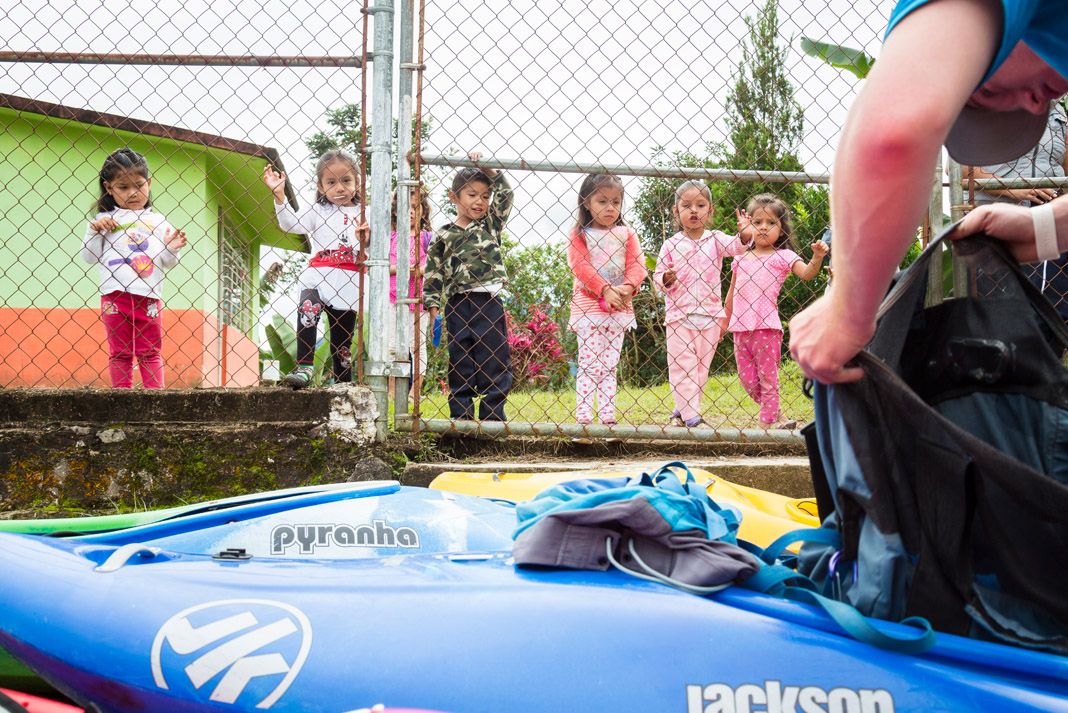
He’s the guy to know for local intel on all the best runs and how to get there in the Tlapacoyan area. From Aventurec to the put-in of the Big Banana section of the Alseseca it’s just 30 minutes via lush mountain roads. From here we saw the vast countryside around Tlapacoyan. Dense green banana tree foliage were punctuated by vividly colorful buildings—it felt like Mexico at its finest. At the portage path heading down into valley we came across a school yard.
The kids observed our brightly colored kayaks and group of gringos in silence. It was apparent this wasn’t new to them, but probably more interesting than math class.
Mexico’s best whitewater kayaking
Legendary Big Banana
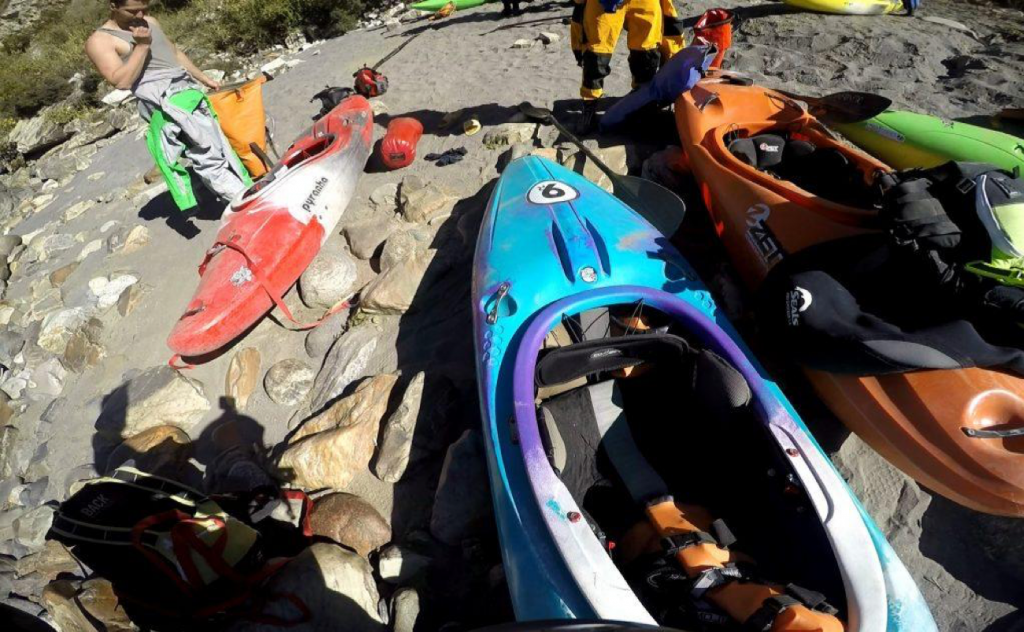
Down the slippery jungle path, I followed the crew to the base of the notorious Big Banana Falls, also the put-in to the Big Banana section. Local paddler Rafa Ortiz and Spaniard Aniol Serrasolses were the first to drop 130-foot Big Banana Falls in 2010. Back then it was the second-highest waterfall descent, outmatched only by 189-foot Palouse Falls in Washington. Big Banana’s pool below the falls has to be one of the most beautiful put-ins in the world and just downstream is some healthy gradient.
Mexico granted us good weather—ironically, not such a great thing due to the rivers being rain dependent. November is not the greatest month for whitewater kayaking in the northern hemisphere, but it is typically great for Mexico. November is the start of the rainy season around Tlapacoyan and beyond. It’s hot and humid, and the rain brings the most important part of the equation for anyone wanting to have a good time.
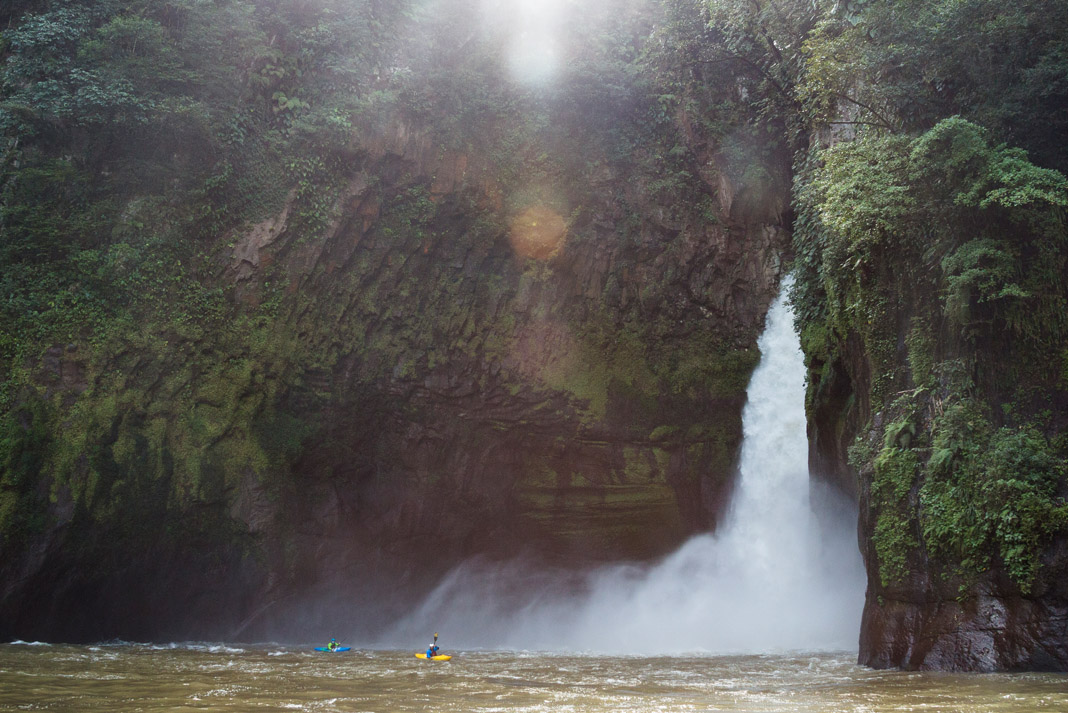

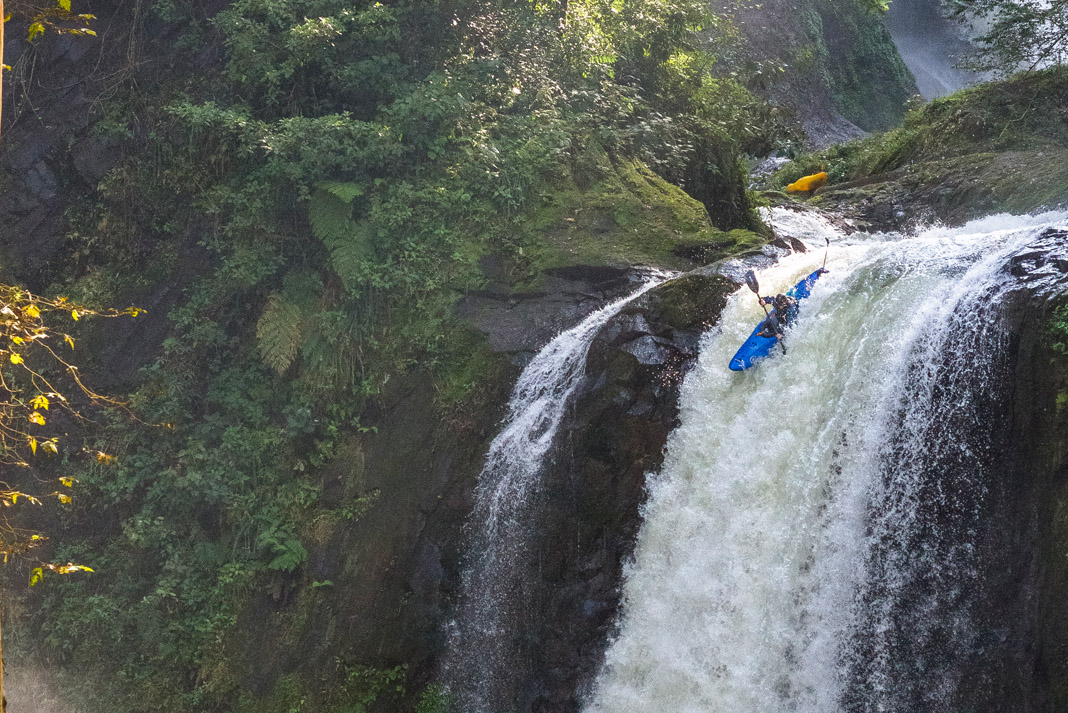
The photogenic Truchas drop
Flows were perfect, the crew ambitious and Mesura was happy to help set up ropes. Truchas lies deep in the Alseseca canyon and requires whoever is willing to descend its 60-foot drop to rappel down to the river just upstream of it. It was 97 percent logistics, rappelling and climbing, to three percent kayaking all day, but none of the guys regretted spending a day in this majestic canyon looking up at Mexico’s prettiest waterfall.
Two weeks on two rivers might sound like a lot, but my mind was blown with how much gradient and sections the Alseseca alone has. Don’t be intimidated by big drops you see on many YouTube Mexico video edits. If you like your boating less hairy, the roadside section of the Alseseca provides creeky class IV. It’s a short section most kayakers run laps on. Other class IV runs include the neighboring Jalacingo, which offers excellent gradient with clean waterfalls but some treacherous caves if lines are botched, and the Rio Oro and Filobobos.
Whitewater kayaking in Mexico is a trip to remember
Mexico is full of adventure. The locals are friendly. The tacos are delicious. And the whitewater kayaking in Mexico is otherworldly—there aren’t many places like Tlapacoyan where you can easily paddle several waterfalls in a day. Finally, November doesn’t look half bad after all.
This article was first published in Issue 55 of Paddling Magazine. Subscribe to Paddling Magazine’s print and digital editions, or browse the archives.
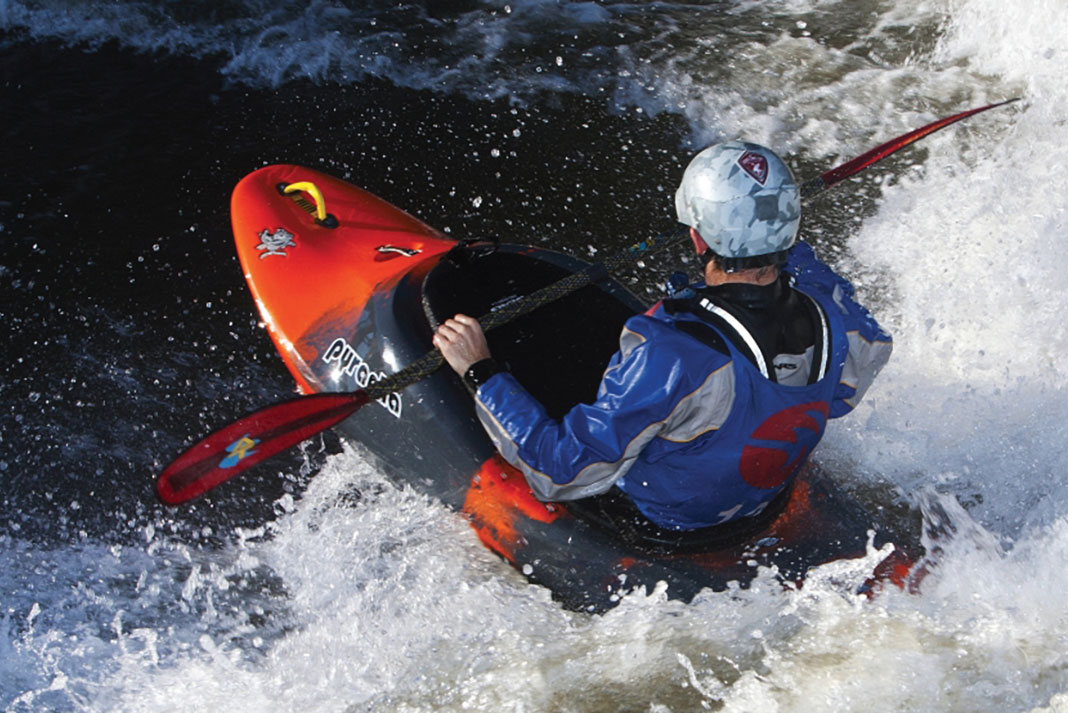
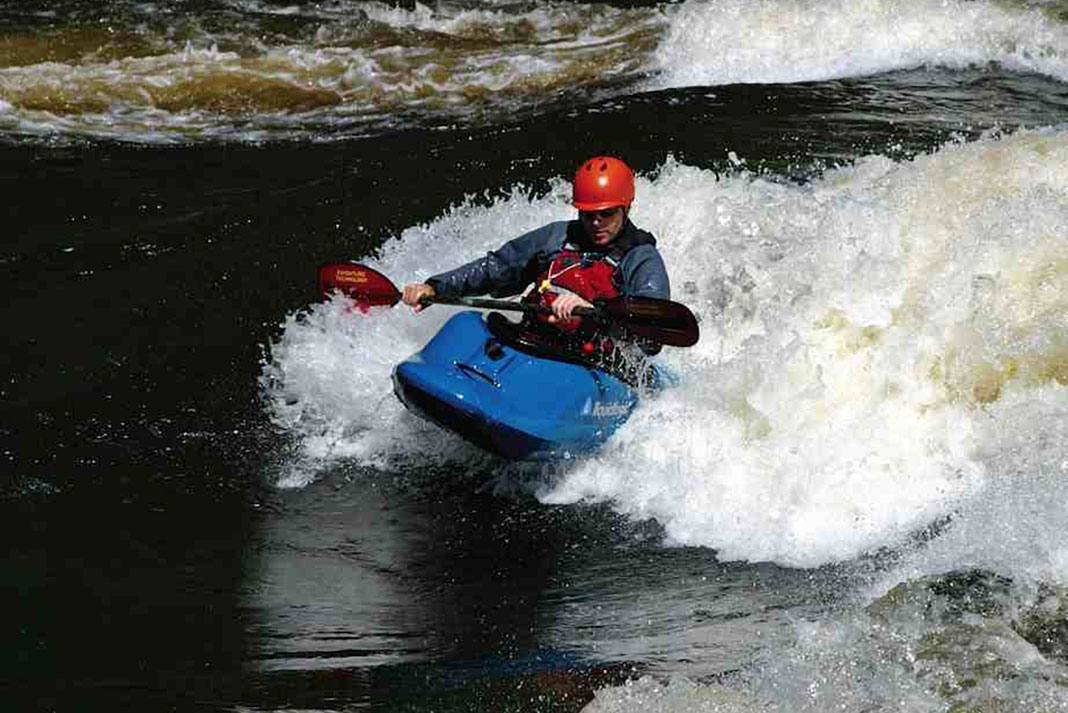
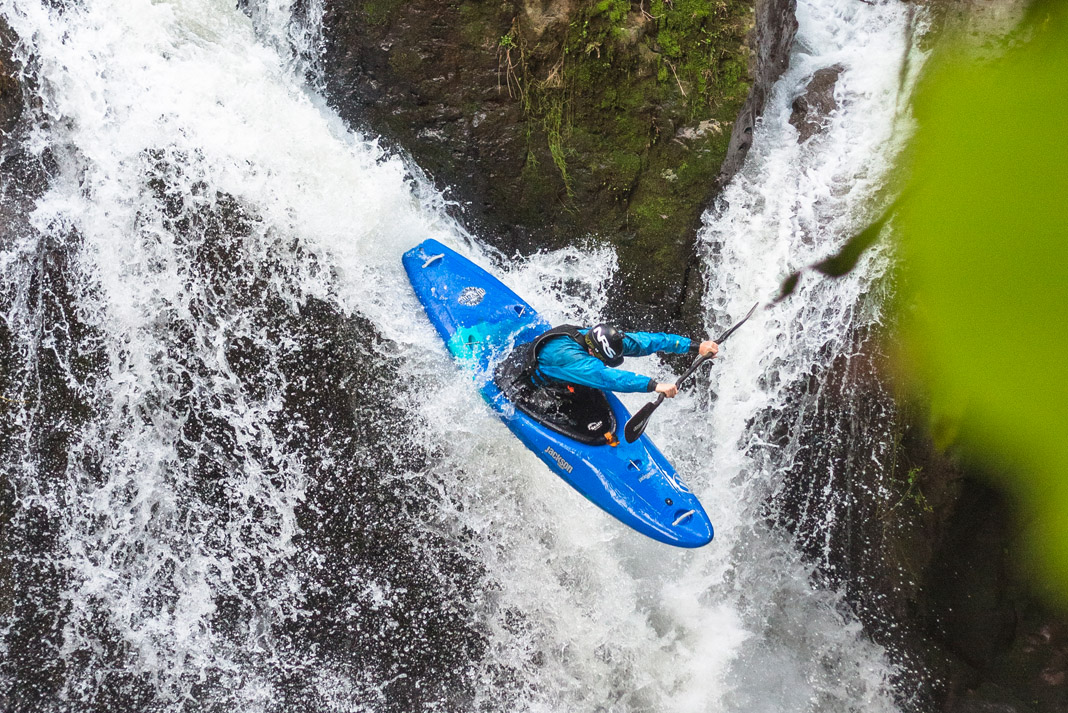
Petr Civrny drops Dirty Sanchez. | Feature Photo: John Webster