Synthetic trim may be practical—vinyl is durable and aluminum is lightweight—but in my opinion, nothing matches the warmth of wood. Even on an ultralight Kevlar canoe, the classic look of traditional, natural wooden gunwales are worth the effort.
A wood gunwale replacement takes roughly eight hours and can pare down your canoe’s weight by at least five pounds. Your canoe will never look or feel better than with a fancy new set of wood gunwales. Here’s our approach to installing new wood gunwales on a composite canoe.
How to Install Wood Gunwales on Your Canoe
Preparation and Materials
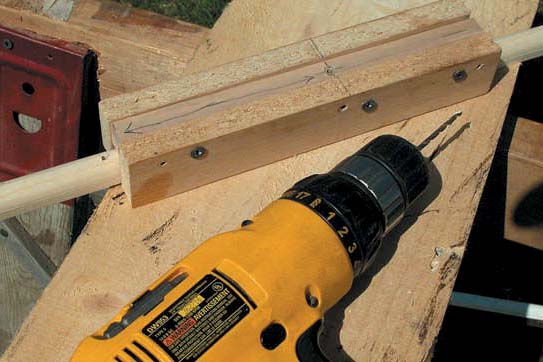
Begin by drilling out the rivets from your ugly vinyl gunwales. Now that you’re totally committed, seek out specialty lumber yards. Look for a knot-free, straight-grained length of ash or cherry, about four inches wide and slightly shorter than the length of your boat.
If you lack your own table saw, planer and router, get on a first-name basis with the guy at your local woodworking shop and have him rip your plank into four equal strips. Gunwales squared to three-quarters of an inch look beefy, ideal for people who think paddling steep drops is a giggle. Five-eighths square looks best and is tough enough for all but the craziest of open boat cowboys.
The strips should be ripped slightly wider (by about one-eighth inch) than these final gunwale dimensions, then planed down to a perfect square in thickness and width, and finally rounded off to a round profile with a router using a three-eighths corner round over bit.
6 Steps to Install Wood Gunwales
1 How Long?
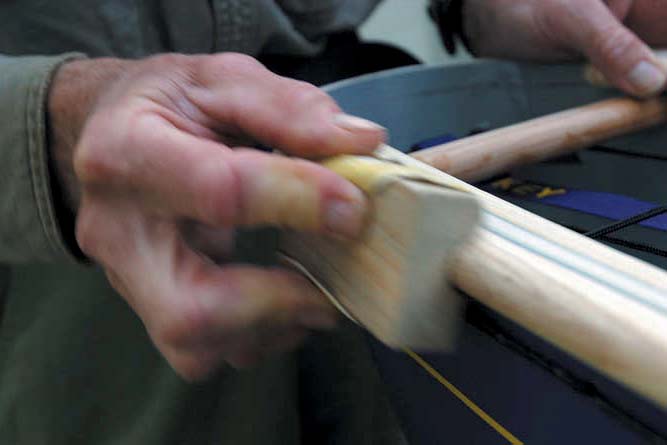
The inwale and outwale can be the same length. Play with the lengths until the inwale and outwale can be clamped together on the boat and still contour tightly to the curve of the hull at the ends. Center the gunwales on the boat using center marks on everything—boat, inwale and outwale. Round over the ends of the gunwale strips using a rasp and then sandpaper.
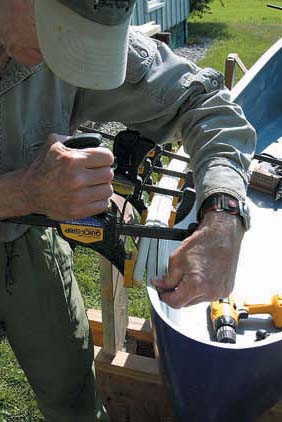
2 Drill Time
The goal is to beautify, so ensure there are only two screws showing at each end of the outwale. All other screws are installed from the inside of the boat. On your worktable, drill two one-eighth-inch holes, spaced five inches apart, in either end of the two outwales (the strips on the outside of the boat) and then a series of holes five inches apart on the inwales.
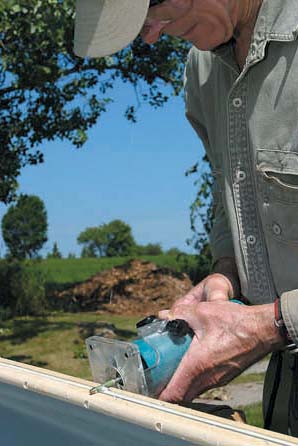
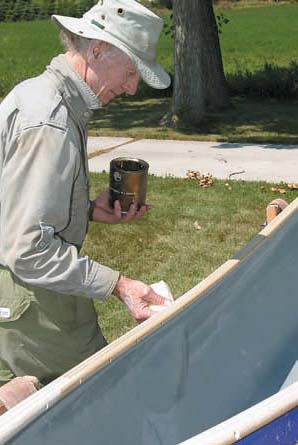
At this point, sand the gunwales to an irresistible smoothness. Seal the wood with an oil finish where it fits against the hull.
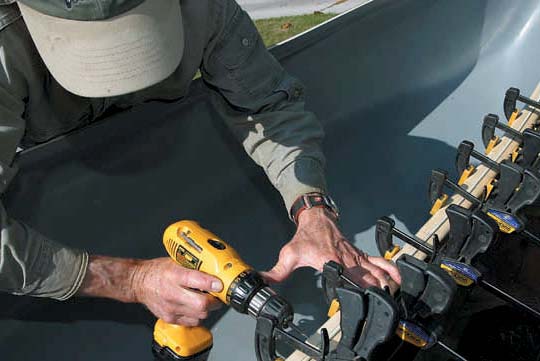
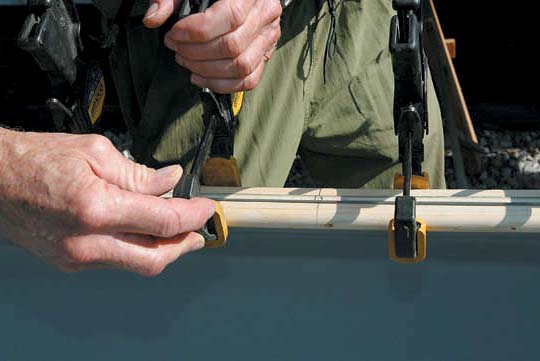
3 Clamps, Please
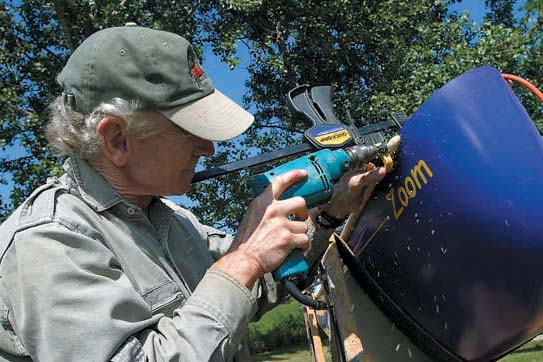
Clamp the gunwales back on the hull, centering everything again. Leave a bit of the hull protruding up between the strips; we’ll trim or sand this flush later. Now, countersink each predrilled hole, drilling through the hull. The drill bit in the countersink must be smaller than the width of a #6 screw. Screw threads need something to hold onto.
[ Paddling Buyer’s Guide: See all canoes ]
Hot shot tip: If you want to cut your boat down—reducing the depth and sheer—this is when you do it. Simply clamp the gunwales as low as you want the height of your boat. Drill. We’ll trim the excess material away later.
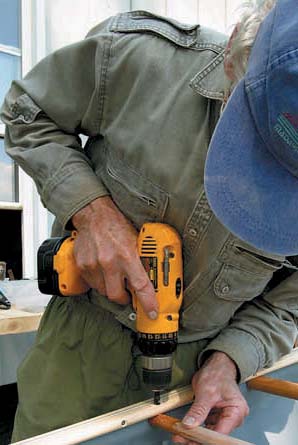
4 Pass the Screws
With a clamp beside every hole, screw the two strips together using one-and-a-quarter-inch #6 stainless steel screws. Do the final tightening by hand.
5 Pro Job
A laminate trimmer is used to trim off the rough and irregular edge. A sander does the same job but takes infinitely longer.
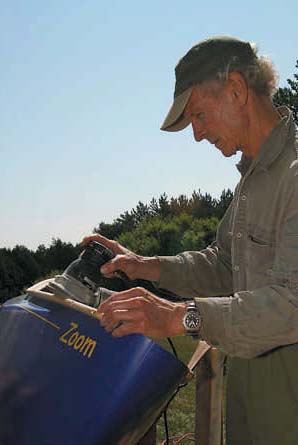
6 Polish Your Image
After a final sanding of the wood, and re-installing the thwarts, apply Varathane’s Natural Oil Finish. Cut up the old vinyl gunwales and use them as tomato stakes in the garden, the perfect final use for such hateful things.
This article first appeared in the Summer 2004 issue of Rapid Magazine and in Paddling Magazine Issue 65. Subscribe to Paddling Magazine’s print and digital editions here, or download the Paddling Magazine app and browse the digital archives here.
Trim your boat’s plastic fat and look sexy for summer. | Feature photo: Scott MacGregor


Please drill the holes thru the hull larger than the threads to prevent cold splitting a plastic hull.
One of the less pleasant tasks we face in our Canoe Repair Class at The Folk School Fairbanks is the g-flex repair of long cracks through the hull at screws holding wood trim in place. These cracks occur in the winter, not because of the contraction differential between plastic and wood, but rather due to micro-tears in the plastic caused by the threads of the wood screws. If the screw must swage the plastic aside, it becomes a point for the cold, shrinking plastic to begin a tear in a plastic hull.
While G-flex works as a repair, we must redrill the plastic to a larger hole at each screw to prevent a new tear forming next winter.
Lesson learned: the importance of a smoothly drilled hole larger than the screw threads in the plastic.