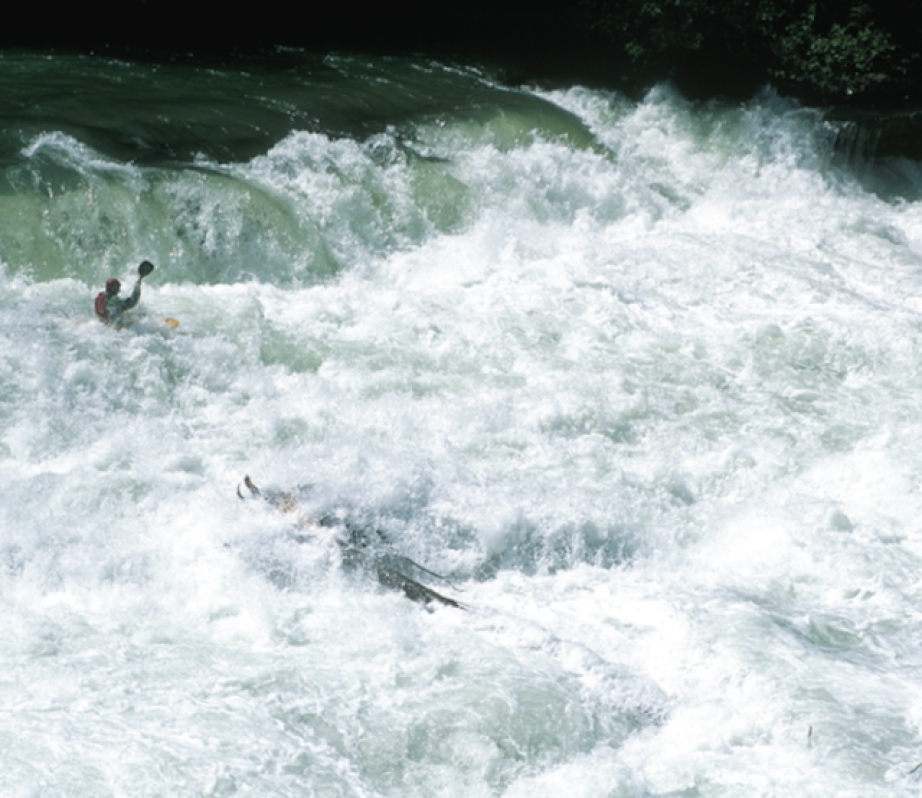
An overnight kayak trip may seem like a huge leap from downriver daytripping or park-and-play, but try it and you’ll discover that overnighting just might be the ultimate paddling experience. Packing your kayak with everything you need to survive a few days— or even just a single night between shifts—combines the fun and excitement of whitewater with a grander feeling of independence, exploration and river travel tradition.
Start with a few easy overnighters, dial in a system and then keep everything you need in a duffle bag by your back door…so you’ll always be ready when the levels are right, your friends are psyched and the river is calling.
Boat Selection
If you don’t own a creek boat or river runner, try to borrow or rent one. Larger volume boats with a high back deck are easier to pack, allow you to travel with a few additional camp items and are more comfortable.
For a summer weekend out, a river running playboat might do the trick, but keep in mind that a boat much smaller than 58 gallons will be a nightmare to pack. The exact volume you’ll need depends on the length of the trip, the weather forecast and your willingness to rough it with minimal gear.
The ideal kayak for a two- or three-day trip is a creek boat designed for someone 30 pounds heavier than you. I paddle a small creek boat (63 gallons) on daytrips, but with the additional weight of my food and camping gear, a larger kayak (72 gallons) performs better.
Experiment with a fully loaded boat on your local river—kayaks paddle quite differently with extra weight on board. You may find that your boat’s usually forgiving stern starts to grab on eddylines, and quick directional changes become more difficult.
Gearing Up
A mid-sized river runner or creek boat has about 40 to 55 litres (10-15 gallons) of usable storage space—that’s less than a typical trekking backpack. Accordingly, volume is the critical factor when selecting gear.
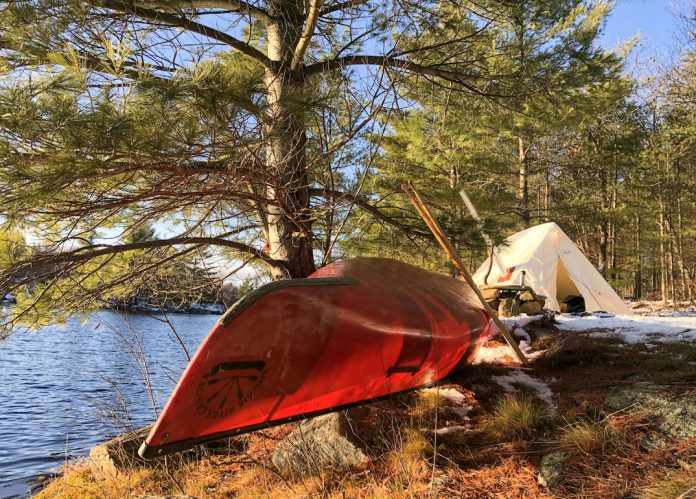
Most tents are too large to fit in a single kayak. Try sharing the load with another paddler—one packs the tent body, the other packs the fly and poles. If that doesn’t work, you’ll have to settle for a lower-volume shelter: a lightweight tarp or bivy sac—or, if heavy rain, mosquitoes or black flies are anticipated, a combination of both.
When the climate doesn’t demand a winter or three-season sleeping bag, you’re safer packing a synthetic summer bag. Down bags pack much smaller if you’re expecting cold temperatures, but they are a disaster if they get wet.
To save space on clothing, try to combine paddling and camp clothes if possible. In colder water, a full Gore-Tex drysuit with camp clothes underneath eliminates the need to pack anything but a toque. Merino wool provides the most warmth for the least volume, but polypro and fleece layers work fine and are less expensive.
Don’t bother with rain gear— keep your river gear on if it’s raining and use a versatile tarp for shelter at camp. Wear sturdy shoes on the river, but pack clogs or flip-flops to give your feet a chance to dry out in camp.
When it comes to menu planning, don’t skimp on hot meals. On frosty mornings, you’ll need a hot cuppa to get you fired up about climbing into your frozen-stiff farmer john. A small stove is handy—and a must where firewood is scarce or fires prohibited—but in most places you can do all your cooking and boiling of drinking water on an open fire with a single pot. Stick to a compact, backpacking-style menu of quick-cook pasta (ramen noodles or easy Mac are good bets), rice, salami, cheese, peanut butter, instant oatmeal, dried fruit and trail mix.
In your efforts to be efficient, it’s important not to cut back on rescue gear. In addition to personal throw bags, whistles and river knives, someone should carry a group wrap kit (webbing sling, prussiks and carabiners) and a decent first aid kit—and know how to use them. On longer, more remote trips, pack a topographic map and breakdown paddle as well. Figure out communication options in case you run into trouble. Will you have cell phone service in the river valley?
Finally, for simple equipment repairs, duct tape wrapped around a water bottle or the shaft of your paddle can be used to patch boats and sleeping mats, reattach seats or hip pads, mend a broken paddle, and perform a thousand other useful tasks.
Packing Your Boat
The kayak’s stern is the easiest to pack, so the challenge is to get enough weight forward to balance the trim of your kayak. You may want to start by moving your seat forward. Pack the heaviest items in front of your bow bulkhead or right behind your seat. You can also carve custom-sized holes into the foam of the bulkhead or support pillars to create storage space for awkward or heavy items like camera boxes.
Also consider the order in which you pack gear and food 1 items. Tapered dry bags are great for sleeping and camping gear because they take full advantage of the hard-to-reach packing space in the ends of your kayak. Breakfast and dinner food items that you won’t need during the paddling day can be squeezed past your bulkhead in individual double-Ziploc packages.
Pack your lunch, snacks, camera, headlamp, fire-starter, first aid kit and rescue gear last, so these items are easily accessible throughout the day. You don’t want to pull your boat apart every time you’re hungry. And you definitely don’t want to dig through Therm-a-Rests and tuna couscous to find your pin kit in an emergency.
Finally, do a dry run of your packing strategy before leaving home—the put-in is a poor place to realize that your dry bags don’t fit in your boat.
Steve Whittall has been organizing and running multi-day kayak expeditions from his home base in Whistler for over 15 years and works as a heli-ski guide during the off-season.
This article first appeared in the Spring 2010 issue of Rapid Magazine. For more great content, subscribe to Rapid’s print and digital editions here.
 This article first appeared in the Spring 2010 issue of Canoeroots Magazine. For more great content, subscribe to Canoeroots’ print and digital editions here.



 This article first appeared in the Spring 2010 issue of Rapid Magazine. For more great content, subscribe to Rapid’s print and digital editions


 This article originally appeared in Rapid’s Spring 2010 issue.

 This article first appeared in the Spring 2010 issue of Adventure Kayak Magazine as part of a feature on kayak dream homes. For more great content, subscribe to Adventure Kayak’s print and digital editions

