The widely available Lifetime Tamarack Angler 100 is a 10-foot sit-on-top fishing kayak with a price tag that makes it a popular choice. But is the Lifetime Tamarack a good kayak? That’s what this Lifetime Tamarack Angler 100 review sets out to answer.
You may know the Lifetime brand from other plastic home and garden items like picnic tables and sheds. Lifetime got its start in 1986 making basketball hoops. In recent years, it’s become a common name in the kayak aisles of large retail stores.
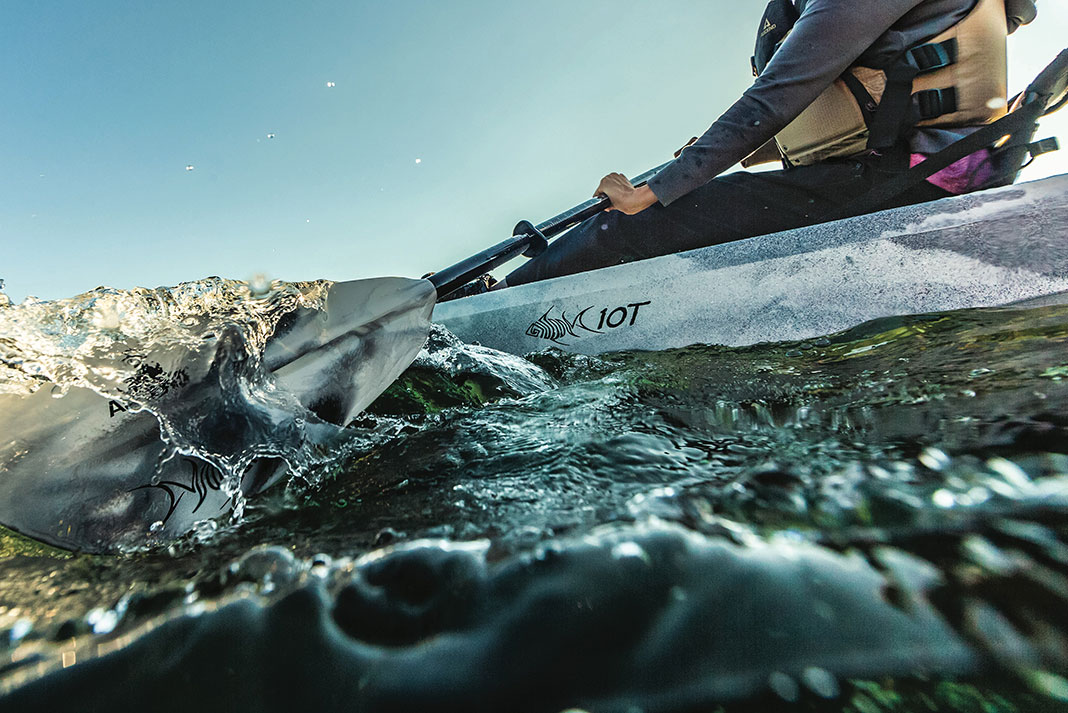
As mentioned, the Lifetime Tamarack Angler 100 fishing kayak is a sit-on-top kayak. What does that mean? A traditional kayak has a hollow rounded hull and a cockpit opening in which the paddler sits, legs extended under the deck. A sit-on-top design has more of a flat deck, on which there is a fixed seat or molded seating area. The paddler sits on top of the deck, enjoying more freedom of movement and access to gear, but less protection from the elements or waves.
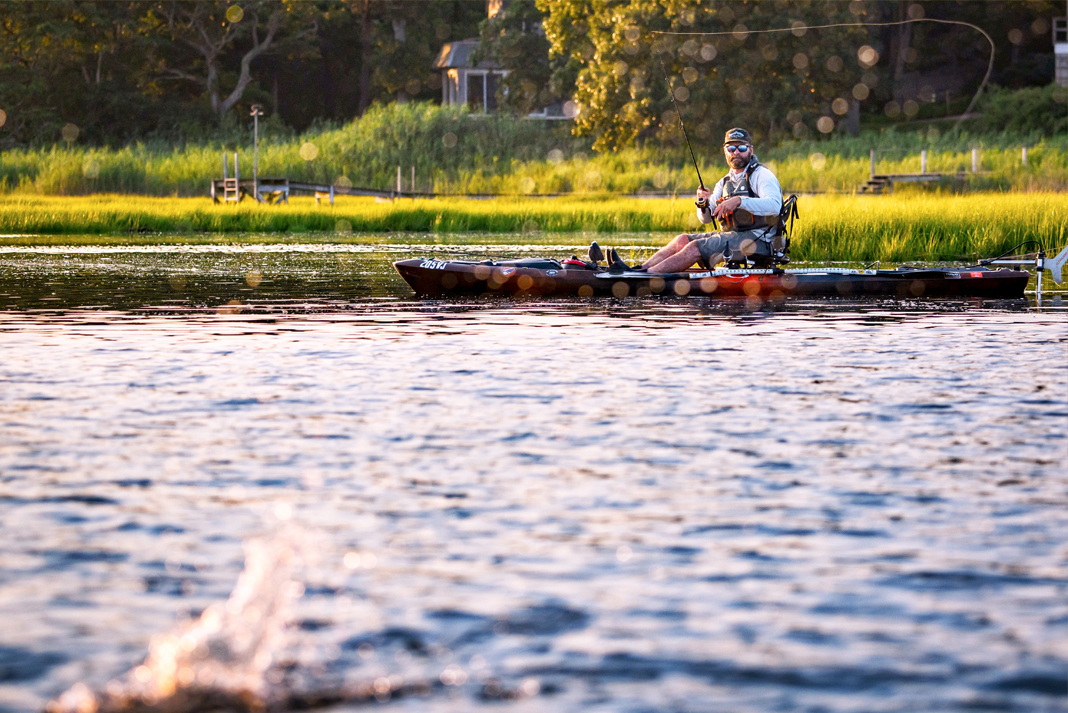
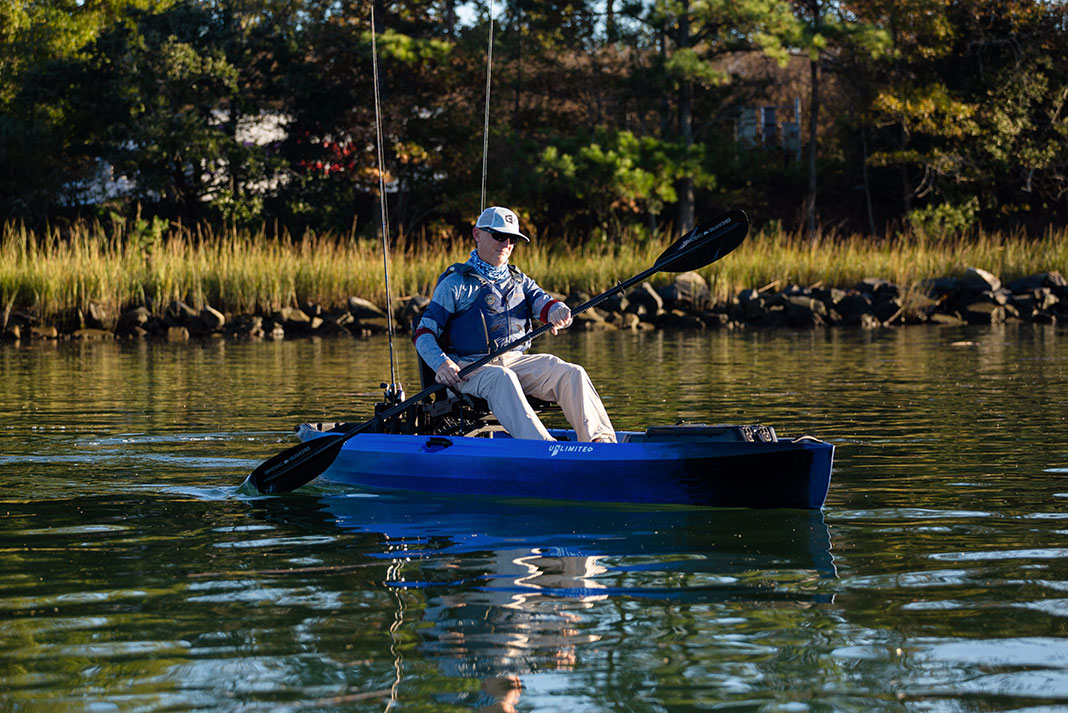
On the water with the Tamarack Angler 100
Lifetime Tamarack Angler 100 Specs
Length: 10’0” / 3 m
Width: 31” / 79 cm
Weight: 51 lbs / 23 kg
Capacity: 275 lbs / 125 kg
MSRP: $629 USD
Performance
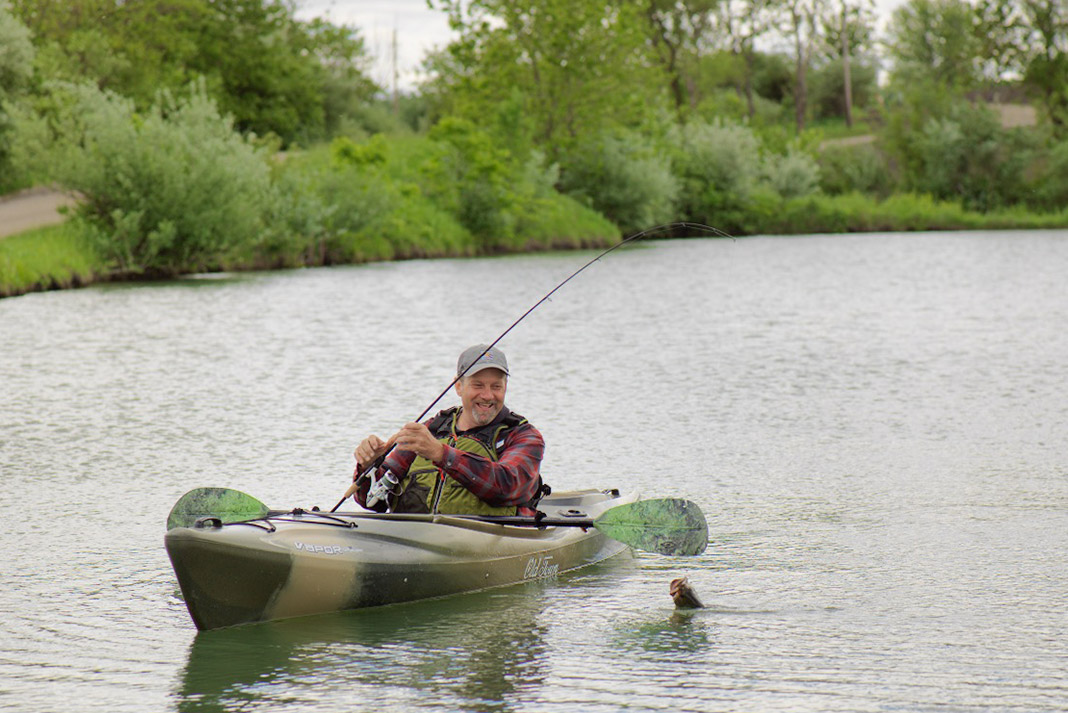
Users of the Lifetime Tamarack Angler 100 often refer to the boat as having great stability.
This sense of stability comes from the wide, flat bottom of the Lifetime Tamarack Angler 100. The stability of the kayak when it’s sitting still on flat water is referred to as initial stability. The large surface area making contact with the water provides much of the impressive initial stability of the Angler 100.
The Lifetime Tamarack Angler 100 also has rounded edges where the bottom meets the side of the kayak. The rounded edges of the kayak soften the transition and allow water to roll more easily under the boat rather than catching on the edge. This design feature improves the Tamarack Angler’s secondary stability, the stability (or lack of) experienced when the kayak is tilted or in choppy water.
Users of the Lifetime Tamarack Angler 100 fishing kayak also say the kayak tracks well. What do we mean by tracking? Tracking refers to a kayak’s ability to travel in a straight line and not wiggle from side to side in response to each paddle stroke.
Once again, certain aspects of the shape of the hull determine tracking characteristics.
The ridge that runs under the centerline of the kayak’s hull is called a keel. It helps the Lifetime Tamarack Angler 100 travel in a straight path. There are also two ridges under the hull of the kayak toward each side that contribute to making the Tamarack relatively decent at tracking for a short boat.
The Lifetime Angler 100 also features a pronounced skeg at the stern. This skeg acts like a stationary rudder to help a paddler maintain a straight course. The skeg is like the fin on a surfboard or standup paddleboard. If you were to get rid of the skeg, the stern of the kayak would want to drift out once you stop paddling. The skeg will not keep the kayak traveling in a straight line forever, but you’ll notice its effect when you try to turn on purpose and are met with resistance.
Market and demographics
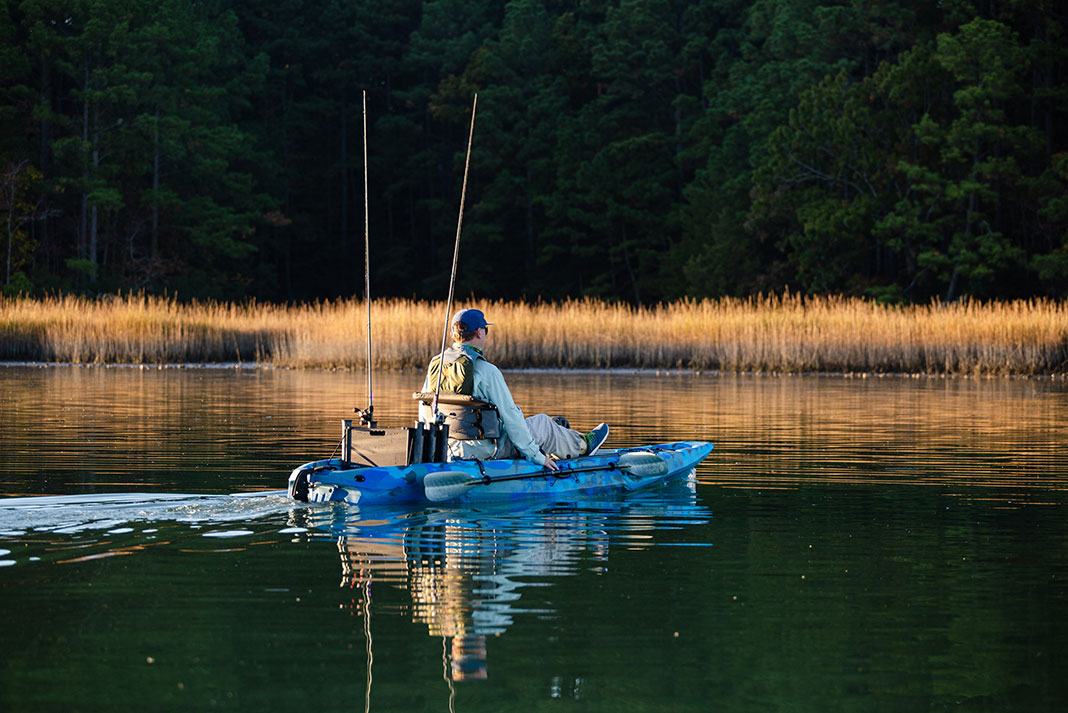
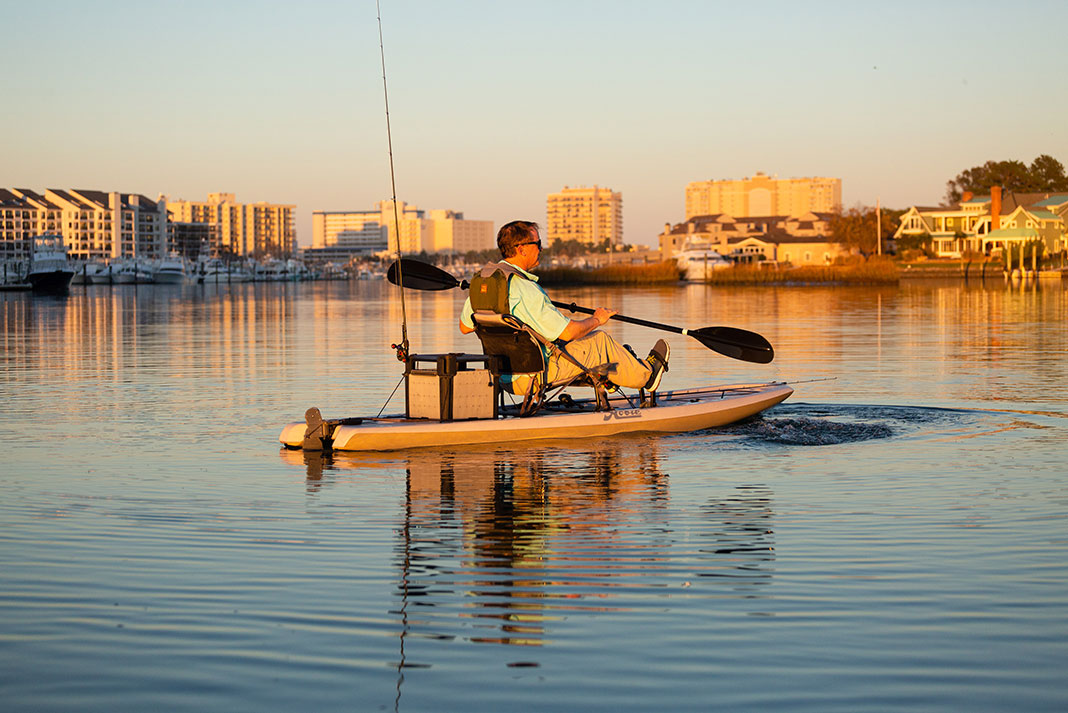
The Lifetime Tamarack Angler 100 is a sit-on-top kayak intended for kayak fishing. It is most suitable for day trips on mild waterways including small lakes, bays and slow moving rivers.
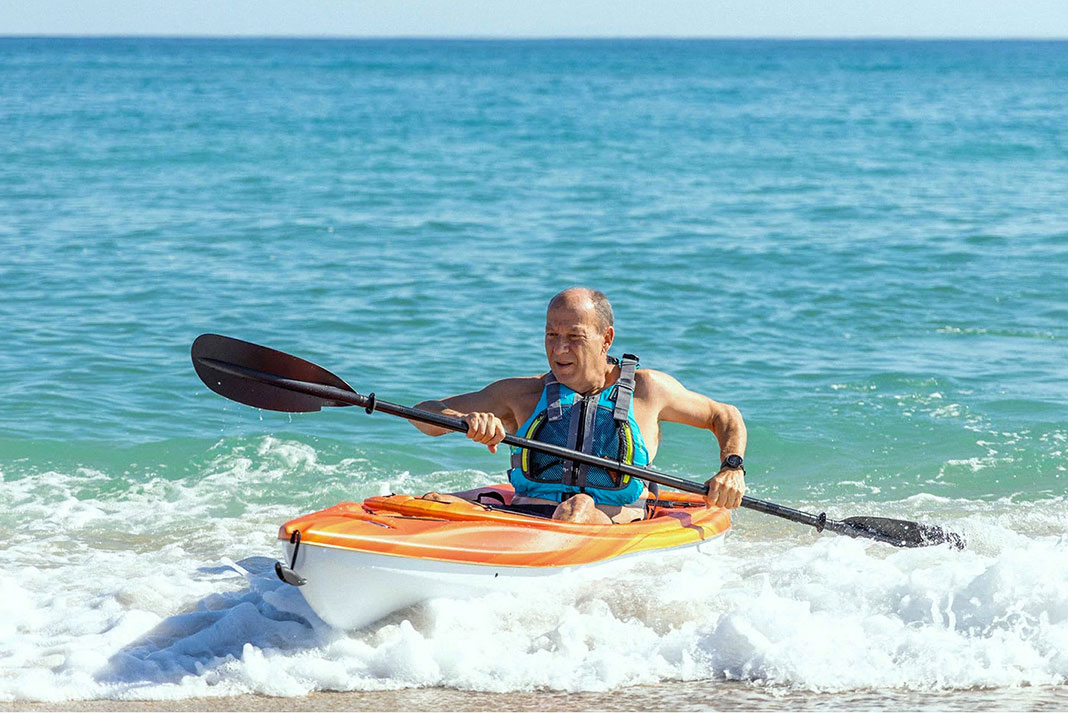
That’s a great start, but is the Lifetime Tamarack Angler 100 fishing kayak ocean capable? In concept, the Tamarack Angler 100 could be used on near-shore outings where there is minimal swell and tidal influence. The kayak design has a low seat, keeping the paddlers center of gravity low. The Tamarack also has some secondary stability for waves, as mentioned earlier. This is combined with a tapered bow to cut through waves, and shallow storage areas that won’t collect excessive water on the deck. So you could reasonably paddle this kayak along the sandbars of an East Coast beach while fishing for summer flounder.
Your ability level and environmental conditions will be larger factors in the decision of whether you decide to take the Lifetime Tamarack Angler 100 for near-shore action. Will the swell size allow you to launch or land on the beach? Are the tides through the inlet going to work in your favor? The Tamarack Angler could handle smaller ocean conditions, but ask yourself if you are comfortable with your paddling abilities and experience while on exposed coastal water. It might be a very important question.
About the Lifetime Tamarack Angler 100
Material and construction
The Lifetime Tamarack Angler 100 kayak is constructed of blow-molded, high-density polyethylene.
High-density polyethylene is a commonplace type of plastic that’s used in many consumer goods, and regularly used for kayak manufacturing.
Blow molding is a process during which liquified plastic is placed in a mold. Air is blown into the mold to push the plastic into shape.
Lifetime Tamarack 100 Angler kayak accessories and outfitting
The Lifetime Tamarack 100 Angler features many of the outfitting components commonly found on a sit-on-top fishing kayak.
There are four grab handles, so the kayak can be grabbed or carried from the bow and stern or each side. The handles at the side also make for a great handhold to re-mount the kayak should you fall overboard.
Near the bow of the Lifetime TamarackAngler 100 is a shallow storage area.This storage area is covered with a web of bungee cord to keep any gear secured. This bow storage area is not recessed much at all, making it more of a deck rigging storage space than a tankwell or hatch found on similar fishing kayaks.
Within the cockpit of the Lifetime Tamarack Angler 100 are the footwells. Footwells are molded-in, incremental steps for foot placement. This provides an easy index of positions for solid foot placement while you are paddling. Footwells do not provide the fine tuning of a sliding foot brace, but they are hassle-free and indestructible.
Between the footwells and the seat of the Lifetime Tamarack Angler 100 there is a storage hatch. The lid of this hatch opens to store gear within the interior of the hull. Inside the hatch there is no liner or bulkhead to section off the storage area, so anything you place within the hatch of the Angler 100 can slide around underneath.
The Lifetime Angler 100 fishing kayak seat is molded into the deck, and is covered with a thin pad secured with plastic rivets. The rivet holes have leaking potential as places where water could enter the interior of the Angler 100. The seat’s back rest folds down for storage and transportation, and up for paddling and fishing. The backrest features two adjustable straps that can be cinched to encourage a preferred paddling posture.
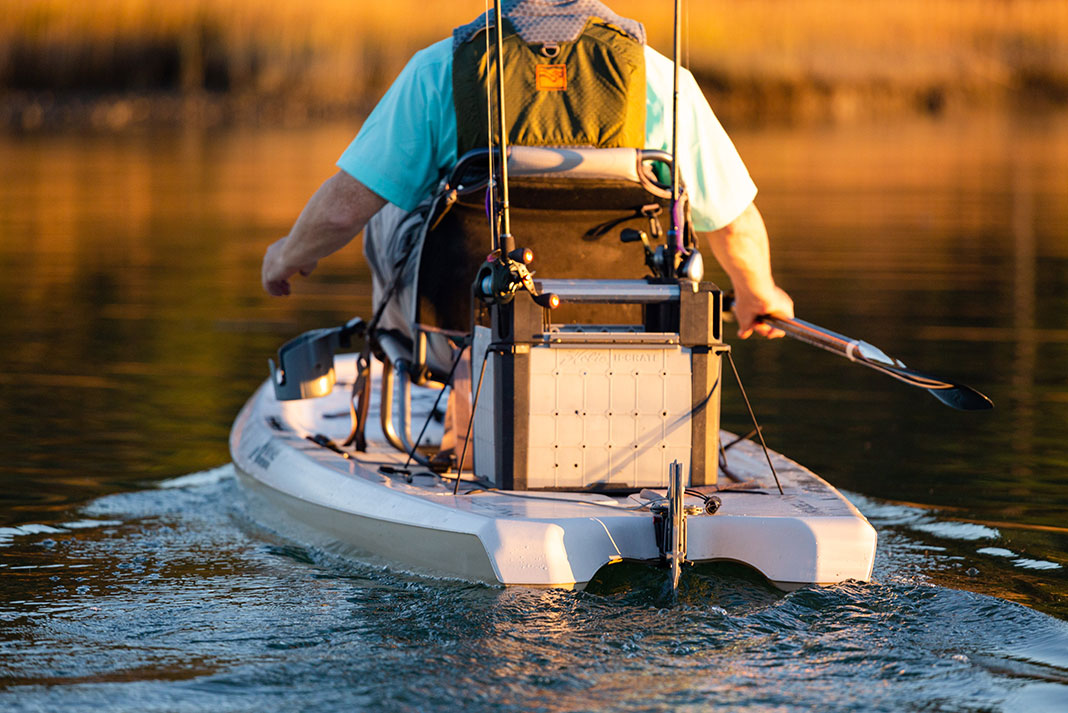
Within the cockpit of the Lifetime Tamarack Angler 100 fishing kayak are scupper holes. These four holes allow water to drain out of the floor, but their presence also means water can swash up through them and into your seating area. For this reason, kayakers often put foam or plastic plugs in the scuppers on days they expect to paddle calmer water. You can then pull the scupper plugs in rougher water, when waves are likely to make their way over the gunwales.
Directly behind the seat of the Lifetime Tamarack Angler 100 fishing kayak are two built in rod holders. These rod holders provide the ability to carry two fishing setups that are ready to go and easily accessible from the paddler position.
Near the stern of the Lifetime Tamarack Angler 100 is another shallow tankwell. The tankwell toward the stern is larger and more rectangular than the bow area, providing a space to keep some tackle. Again there is a web of deck bungees to secure your items. This tankwell also has two scupper holes, just as the pairs found in the cockpit, to drain water from the area.
Within the rear tankwell of the Lifetime Tamarack Angler 100 there is also a storage hatch. The hatch opens to allow access to the interior of the hull and store items. Just as mentioned for the cockpit hatch, the rear hatch does not have a liner or bulkheads within, meaning what you place within the hatch can slide around inside the Angler 100. The rear storage design is unique by providing both interior storage and a recessed tankwell, giving you some options on how best to store certain gear.
One downside of the Lifetime Tamarack Angler noted by users is the shallowness of the tankwells. The rear tankwell is deeper than the bow storage area, but still relatively shallow. This limits how much gear you can store and how secure your tackle feels. One benefit to shallow tankwells is it limits how much water can enter the boat. A tendency to shed water rather than taking it on can be a benefit in rough conditions.
The Lifetime Tamarack Angler 100 kayak includes a small number of accessories beyond the essential outfitting.
In addition to the two built-in rear rod holders, there is also an included fishing kayak rod holder to be installed on the gunwale of the kayak to the cockpit’s starboard side. The swiveling rod holder provides a place to have your rod in use while fishing with live bait, or light trolling while paddling along.
Kayak anglers who want to add on to the stock version can find further compatible Lifetime Tamarack Angler 100 fishing kayak parts and accessories from well-known third party manufacturers. These include YakAttack, Ram and Scotty.
Lifetime Tamarack Angler 100 mods
As far as Lifetime Tamarack Angler 100 fishing kayak upgrades are concerned, one common trend stands out. Many owners replace the low, molded seat with an elevated seat. There also seems to be a small cult following among Tamarack users to use the Cascade Mountain Tech Stadium Seat. The Cascade Mountain seat is by no means a kayak seat. But it appears to be the go-to choice for DIY modifiers of the Tamarack.
One thing to consider before elevating the seat in a kayak not designed for it is that you are lifting your center of gravity in the kayak. This decreases stability.
Users of the Lifetime Tamarack Angler 100 may also have an interest in increasing the kayak’s ability by mounting a trolling motor. Lifetime actually produces a trolling motor mount kit for some of its kayaks, however it is not compatible with the Tamarack 100. There is no factory Lifetime Tamarack Angler 100 fishing kayak trolling motor mount. If you decide to fashion a trolling motor to the Angler 100 you will have to go the DIY route.
How it compares
Just how does the Lifetime Tamarack Angler 100 stack up against other kayaks competing for your attention at the outdoor store? Let’s take a look.
-
Lifetime Tamarack Angler kayak 100 vs 120
There is regular confusion over the differences between the Lifetime Tamarack Angler kayak 100 vs 120. When looking at the specifications of the 120 compared to the 100 they seem identical. This is because they are. The 120 is an earlier version of what Lifetime now refers to as the Angler 100. If you are shopping for the 100 and come across a great deal on a 120, you would be purchasing the same kayak with a different name.
-
Lifetime Tamarack 100 vs Sun Dolphin Journey 10 SS
The Sun Dolphin Journey 10 SS is a sit-on-top fishing kayak similar to the Lifetime Tamarack Angler 100. Both kayaks are widely available and popular designs among kayak anglers.
The 9.5-foot Journey 10 is slightly shorter than the 10-foot Angler 100. The Journey 10 is also slightly narrower (29.5 inches compared to 31 inches). In comparing the stability of the two boats, the Tamarack Angler 100 appears to have the edge according to reviewers.
Both the Journey 10 and Angler 100 have outfitting features for kayak fishing, including flush-mounted rod holders and tank wells for storing tackle.
For foot placement, the Angler 100 has molded-in foot wells, while the Journey 10 has adjustable foot braces. The foot braces on the Journey 10 provide more increments, but also require reaching for adjustment. The foot wells on the Angler 100 allow you to switch foot positions as needed, hands-free.
-
Pelican Castaway 100 vs Lifetime Tamarack 100 Angler kayak
The Pelican Castaway 100 is another sit-on-top fishing kayak comparable with the Tamarack Angler 100.
The 10-foot Tamarack Angler is slightly longer than the 9.5-foot Castaway. The Angler 100 is also just slightly wider than the Castaway (31 inches compared to 30 inches). They have the same capacity of 275 pounds, but the Angler 100 kayak weighs more at 51 pounds compared to the Castaway 100 at 44 pounds.
Both the Angler and Castaway have a wide, stable hull.
Where to buy the Tamarack Angler 100
The Tamarack can be found at a number of large retail stores, though you may want to check your store’s stock before taking a drive. You will find the Lifetime Tamarack Angler 100 fishing kayak at Walmart, and Tractor Supply among others.
Pros and cons
Pros
- Stable
- Open cockpit
- Tracks well
Cons
- No dividers in hatches
- Seat holes may leak
- Shallow tankwells
Related articles
Lifetime kayak reviews
Budget fishing kayak reviews
- Inflatable Recreational Kayak Review: Intex Challenger K1
- Kayak Review: Sun Dolphin Excursion 10
- Fishing Kayak Review: SeaStream Angler 120 PD
- Fishing Kayak Review: Sun Dolphin Journey 10
- Recreational Kayak Review: Pelican Trailblazer 100 NXT
- Fishing Kayak Review: Sun Dolphin Boss 12 SS
- Inflatable Kayak Review: Sevylor Colorado
- Recreational Kayak Review: Sun Dolphin Aruba 10
- Fishing Kayak Review: Pelican Mustang 100x
- Fishing Kayak Review: Lifetime Tamarack Angler 100
Sit-on-top fishing kayak reviews
- Recreational Kayak Review: Wilderness Systems Tarpon 100
- Fishing Kayak Review: SeaStream Angler 120 PD
- Recreational Kayak Review: Ocean Kayak Frenzy
- Fishing Kayak Review: Sun Dolphin Journey 10
- Fishing Kayak Review: Ascend 12t
- Fishing Kayak Review: Sun Dolphin Boss 12 SS
- Fishing Kayak Review: Ascend 10t
- Fishing Kayak Review: Lifetime Tamarack Angler 100
- Fishing Kayak Review: Ascend 128t
- Fishing Kayak Review: Wilderness Systems Recon 120 HD

")

 This article originally appeared in Paddling Magazine Issue 65. Subscribe to Paddling Magazine’s print and digital editions


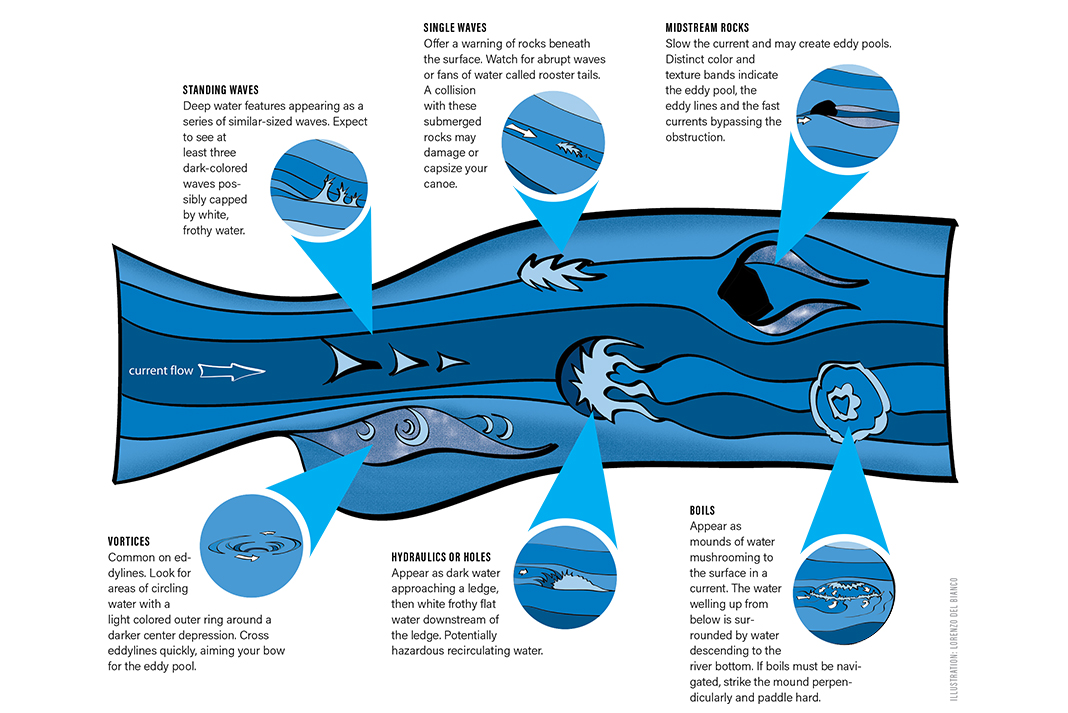
 Standing waves
 Single waves
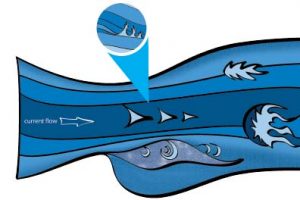
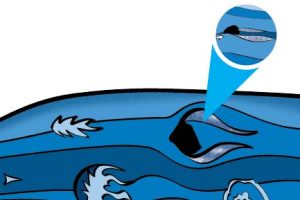 Midstream rocks
 Vortices
 Boils
Boils


